
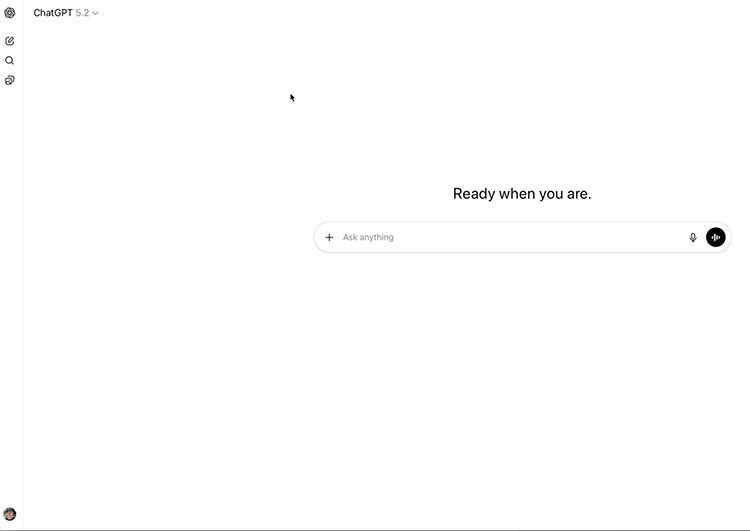
How to Use Photoshop Inside ChatGPT
Using Photoshop Inside ChatGPT: Setup, Workflow, and Real Limitations
You can now use Adobe Photoshop inside ChatGPT. In this tutorial, I’ll show you how to connect it, how to run real edits, and what it can’t do yet—so you know when it’s worth using versus just opening Photoshop normally. One big thing to be aware of off the bat: Photoshop in ChatGPT can only adjust color and tone and use a set list of filters (from Photoshop Web). It cannot remove or generate inside Chat GPT. Plan to use it accordingly.
Connecting Photoshop to ChatGPT
Go to chatgpt.com and sign in (or create a free account).
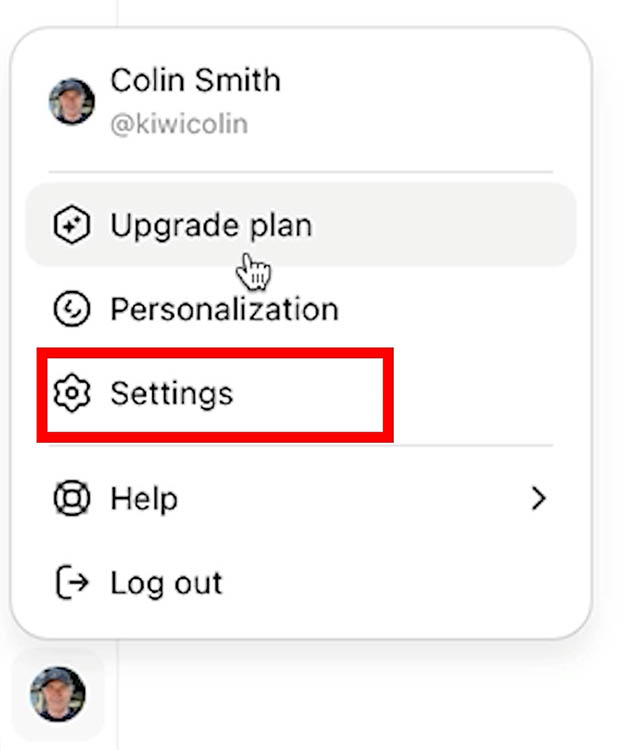
Open your profile menu and go to Settings.
Choose Apps & Connectors.
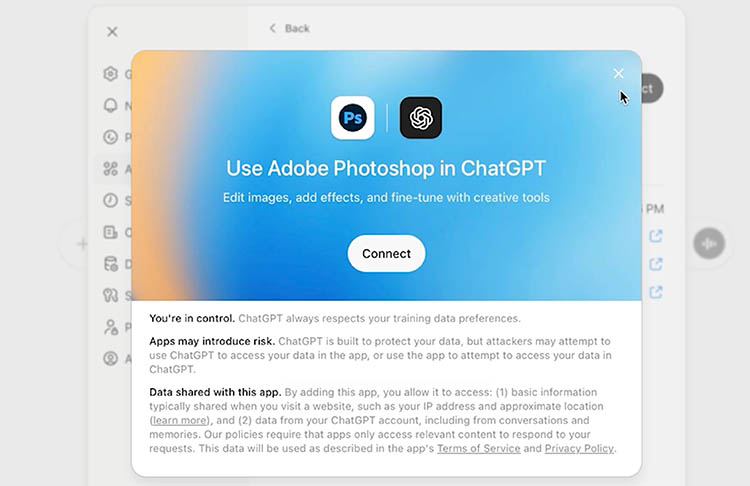
Find Adobe Photoshop and click Connect.
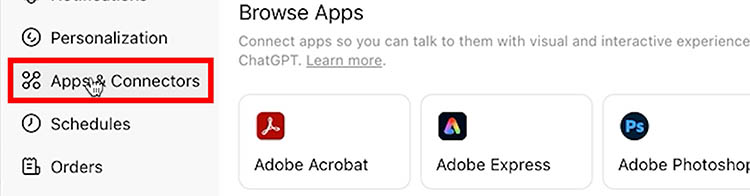
You’ll also see other Adobe apps like Adobe Express and Acrobat in the same place.
Tip: If you don’t see the Adobe apps right away, try refreshing the page or starting a new chat—connectors sometimes appear more reliably after a reload.
Using Photoshop Inside a Chat
Start a new chat in ChatGPT.
Click the plus icon in the prompt bar.
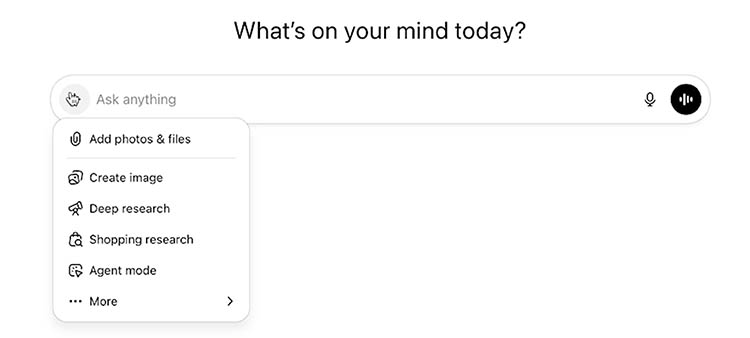
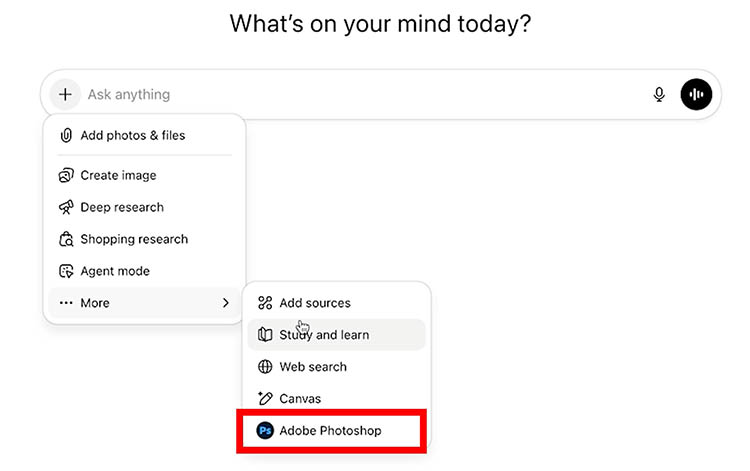
Choose More, then select Adobe Photoshop.
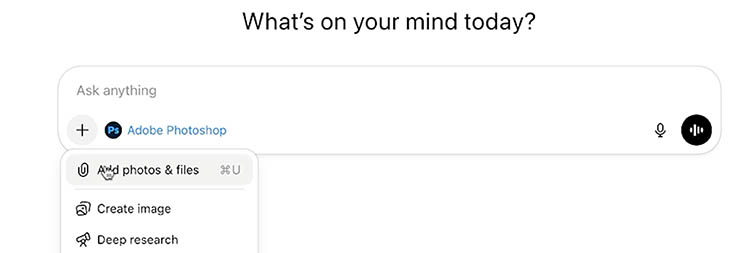
You will the see the Photoshop logo in the window.
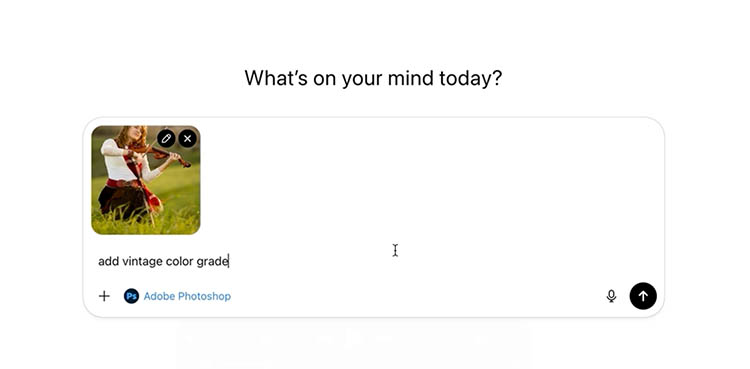
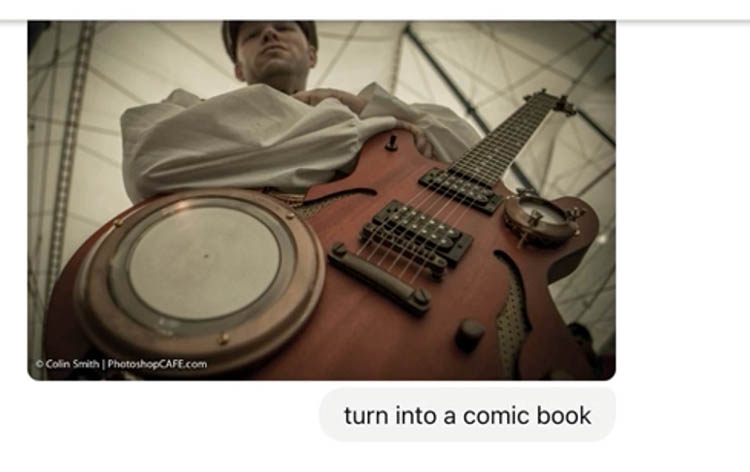
Click the + button again to upload an image, then type what you want done in plain English.
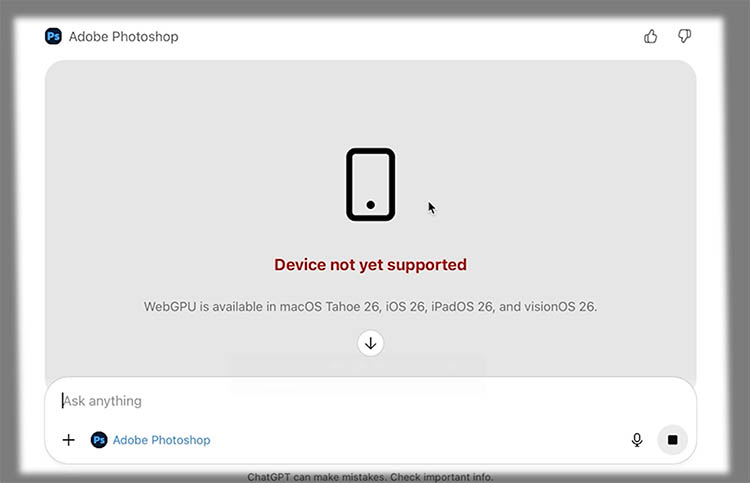
If you get this error message, like I did in Safari, try using the Chrome browser on desktop instead, this solved it for me.
For the prompt, let’s try an easy one first. Type “Add Vintage Color Grade”
It adds the effect.
What makes Photoshop unique in ChatGPT (and addresses a big weakness in ai based tools) is the adjustment button. Click the icon
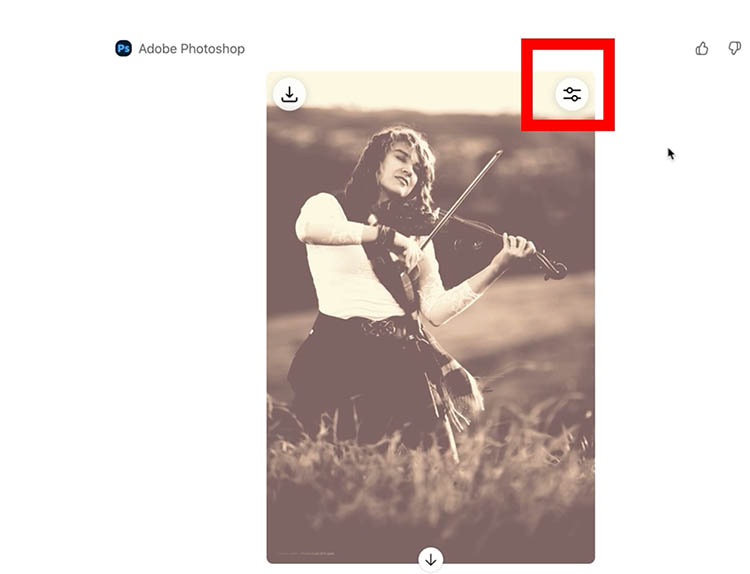
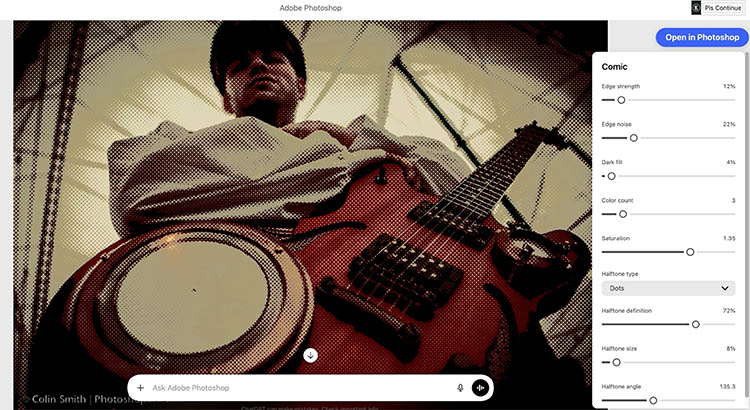
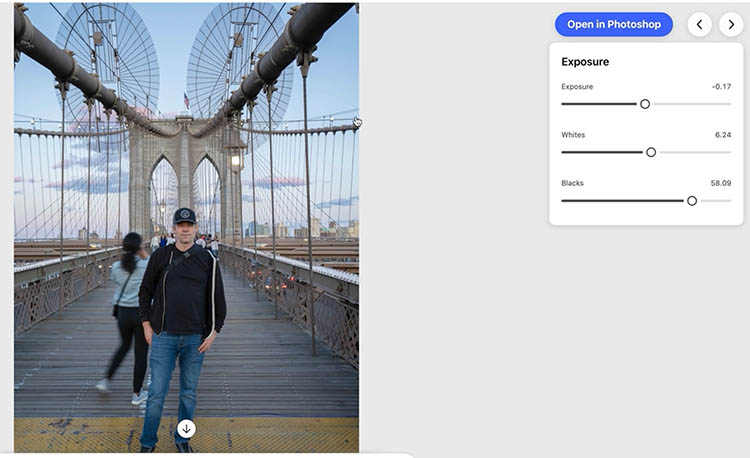
The image opens full screen with sliders that actually work.
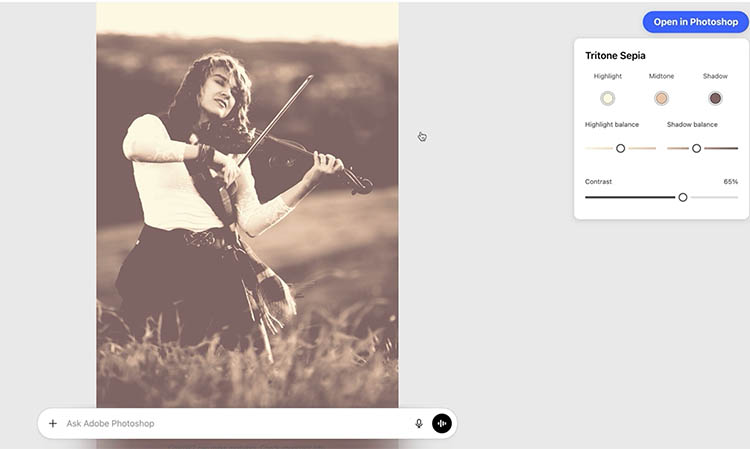
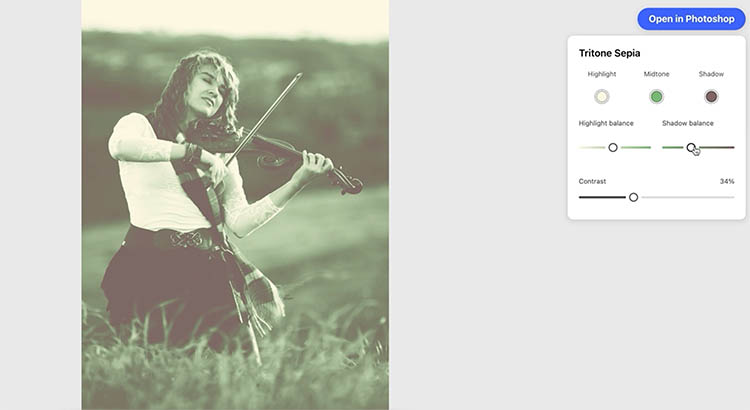
Each filter will have its own settings, so you can adjust the main settings.
Blurring Background, Isolating subjects
It can detect subjects and objects.
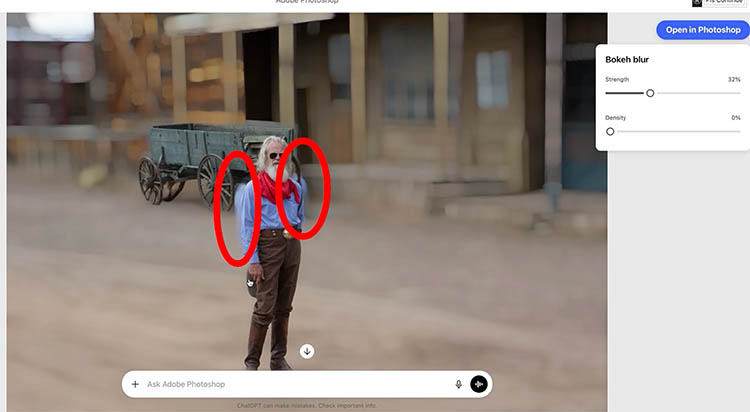
Let’s load in a photo and ask it to blur the background.

It blurred the background but missed the wagon.
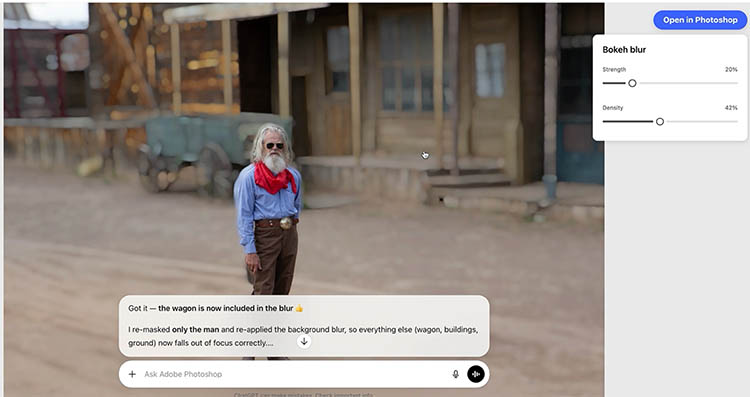
Type the prompt “Include the wagon in the blur”. It now got the wagon. However the edge halos are really bad and I wouldn’t call this a usable result.

What Edits Work Well
This integration is best for quick, guided edits where you want “one simple result,” then minor tuning with sliders.
Here are the kinds of things that generally work well:
-
Applying a simple look (vintage, contrast, color tweaks)
-
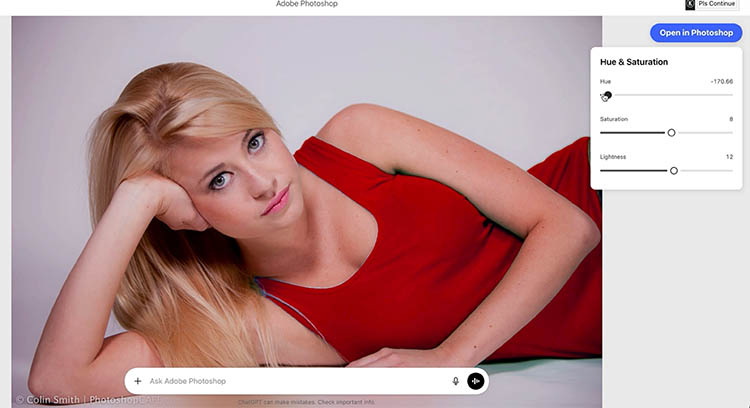
Basic color adjustments with interactive sliders
-
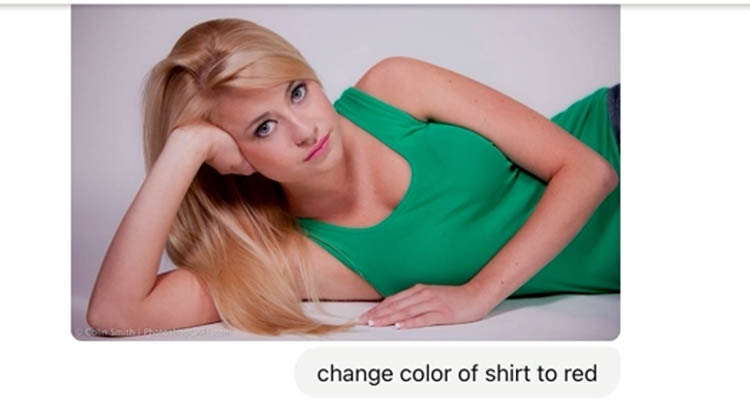
Some selective edits (like shifting the color of a shirt). However the edges often aren’t very good. See on video at top.
-
Certain stylized effects (like halftone/comic looks)
Tip: After the first result, use the sliders to fine-tune rather than re-prompting. It’s faster and usually cleaner.
Where It Starts to Struggle
This is the part that matters if you already know Photoshop.
-
Selections can be inconsistent
A “background black and white” request might miss leaves, hair edges, or fine details, so you’ll see leftovers and rough cutouts. 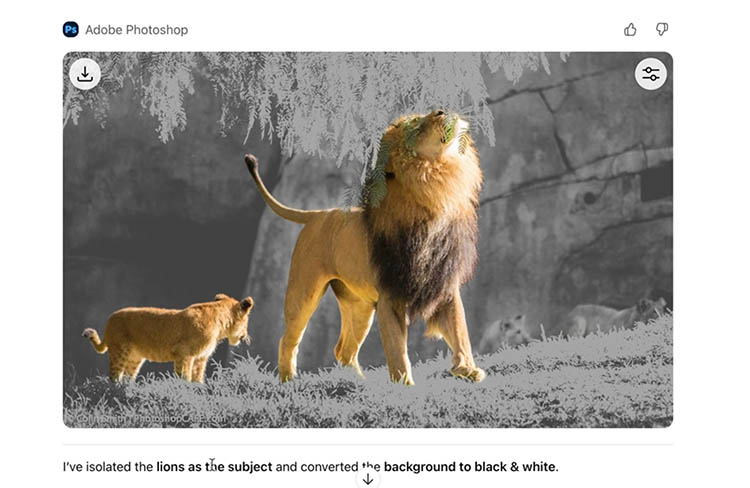
-
Background blur can halo
If the blur spills onto the subject edge, you’ll get that obvious outline/halo that screams “fake blur.” -
Effects are limited to what’s available in Photoshop for web
If you ask for something outside the supported effects (like a true watercolor look), you may not get it.
-
No full desktop power inside the chat
This is not a replacement for your full Photoshop workflow (especially if you rely on precision masking, advanced compositing, or deeper retouching).
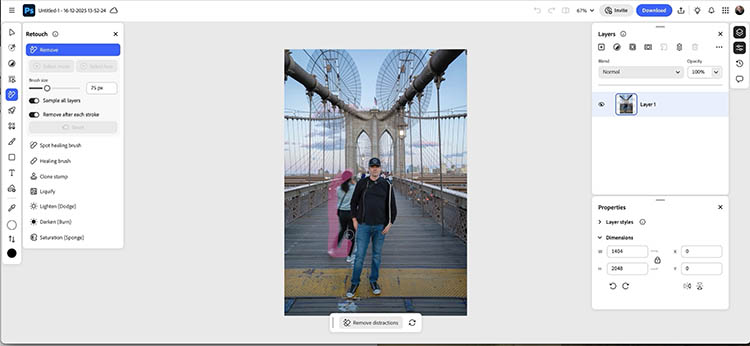
The “Open in Photoshop” Escape Hatch
What Photoshop in Chat GPT cannot do is removal or generative Ai
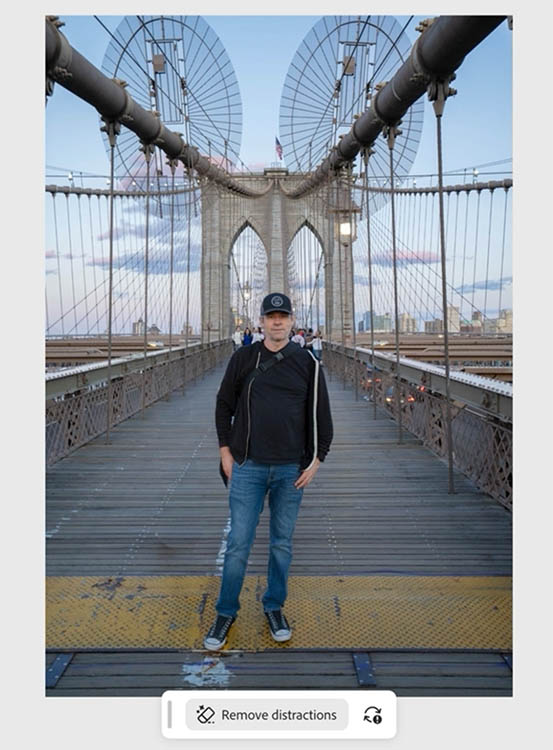
When an edit is close but needs cleanup, use Open in Photoshop.
This opens the file in the free Photoshop for web, where you can refine masks, paint corrections, or use tools like cleanup/removal more precisely.
There is no automatic round-trip. where you can bring the image back into chatGPT without loading it back in as a new image.
Resolution and Output Expectations
One of the biggest practical gotchas: the resolution is limited to 2k pixels.
For quick social posts, that’s usually fine.
For print, client delivery, or anything where resolution matters, editing in Photoshop is better..
Who This Is Actually For
If you’re experienced in Photoshop, you’ll often be faster inside the app.
Where this shines is for someone who doesn’t know how to use Photoshop, or doesn’t have Photoshop and wants to use some of its tools to spruce up a photo. They might type, “make it warmer,” “remove the cast,” “add a simple effect,” and be done—without learning layers, masks, or adjustment workflows.
Final Thoughts
Photoshop inside ChatGPT is a promising direction, but right now it’s best viewed as a lightweight, guided editor with sliders—great for quick looks and basic changes, not a pro replacement for detailed work. In my opinion, currently some of the selections and edges aren’t usable for the discerning eye.
What would you personally use Photoshop-in-ChatGPT for—quick social edits, helping a friend or family member, or rough concepting before finishing in full Photoshop? Let me know in the comments below.
It’s great to see you here at the CAFE
Colin
PS Don’t forget to follow us on Social Media for more tips.. (I've been posting some fun Instagram and Facebook Stories lately)
You can get my free Layer Blending modes ebook along with dozens of exclusive Photoshop Goodies here

5 of the most useful Photoshop Tips you will know! Here is a roundup of some very useful tips that...

How to use Quick Masks in Photoshop, the secret weapon for easy selections

How to make a page turn effect in Photoshop. Step by step instructions and video tutorial on how to make...


