
7 hidden tips for Adobe Lightroom
7 SECRET Tips You Probably Don’t Know in LIGHTROOM
Here are a series of tips that are going to help you in Lightroom. I wonder how many of these you know? You will be glad you do now, they will save time and make life easier in Lightroom.
Seven of my favorite tips for Lightroom Classic (+ Lightroom 6).
Tip 1: Using Solo Mode.
When you are working with modules, as you expand a panel, it usually stays expanded until you have a lot of panels open. This means that you end up doing a lot of scrolling, especially on smaller screens. This tips shows how to have only 1 panel open at a time and the others will automatically collapse as you open new ones.
We will use the Develop module as the example, although it works on all modules.

Open multiple modules.
Some options will be opened while others will remain closed. Scrolling through everything can become messy and tiresome.
How to prevent this?
You right-click on the little arrow on any module. You will see options. Choose solo mode.


Solo Mode will ensure that only one panel is open at the time.
If you click Detail, for example, all other panels will collapse.

Tip 2: Better adjustment sliders are only a drag away
We do most of our adjustments in the Basic panel
The sliders are rather short, meaning they don’t allow for much sensitivity.
Let’s make these sliders longer.
Click on the edge. Drag the panel out as far as it will go.

Now the sliders are longer, allowing for more precise adjustments,

Tip 3: Getting a perfect Vignette from the Radial Adjustment in Lightroom
Go to the Develop Module and Grab the Radial tool.
![]()
You can pull down the Exposure to create a vignette. If you want to make it fit exactly into that image, drag it around and resize it to fit.

Here’s an easier way to do it.
Hold down the Ctrl key on Windows/Command on Mac.
Double-click on the pin in the center of the radial and it will fill the image perfectly

Tip 4: Hiding unused Lightroom modules.
If you look at the top of Lightroom, you’ll see seven modules. If you don’t use them all, they can be hidden. Here is how:
Right click on any module name and you will see the module label chooser (I made up that name, I have no idea what it’s really called)
Deselect the modules you want hidden.

If you deselect Web and Book for example.

Web and Book are no longer shown.

Aside from the Modules just shown, you can also hide the side panel modules. .
Right click on name of the side module.
There are modules shown with the check mark next to each. Click to show or hide these components for a more streamlined interface


Tip 5: Adjusting and color grading VIDEO in Lightroom
Wait, “Lightroom does video?” Yup. Here is how.
I’m working with this video I shot in D-Log, so it needs some contrast and color saturation.

If you click on the Develop Module, it will say “Video is not supported in Develop”.

Ok, that was fun. So should we quit and move on, “see I told you Lightroom doesn’t do video!”
You need to know this little trick, let’s go…
Go back to the Library Module and look at the bottom of the video. There is a little widget.

Click on the gear icon to show options. ![]()
Choose a frame to view by dragging the playhead.

Now we are going to make a still photo from a video (Bonus Tip: This is the best way to capture a photo from video).
Click on the little box in the corner and choose, Capture Frame.

This creates a photograph from the video of the currently selected frame.

Now, we just need to edit the photo like normal:
Click on the photo>Go to Develop Module.
Adjust Contrast, Highlights, Whites, Blacks and other settings to your liking.

Now we will copy the new settings to the video.
When you are happy with the settings, Select both the photograph and the video by Cmd/Ctrl+Clicking on the video in the filmstrip.

Click on Sync. ![]()
This open the Synchronize Settings dialog box. Choose all the settings that you want to copy over. The ones that are grayed out, don’t work on video.
Click Synchronize

Go back to Library and play your video
Settings from the photo are now synchronized to the video.

Note: You can alternatively make a preset and apply it to the video. All the Lightroom presets will work on the video (Just remember there are certain settings that don’t work on video, such as ones that warp the frame like upright etc.
Tip 6: Quick collections
When you click on the small circle on the upper-right corner of a thumbnail in Grid view (G) the associated photo will be added to the Quick Collection.
Click on Quick Collection to see the photos inside.

Did you know what any collection can work in this way? All you need to do is set it to the Target collection and all the photos will be added there when you click the small circle in the upper corner. This is a super organizational tool, that I use all the time.
You can set any collection as a target collection.
Right click on the collection you want. Choose “Set as Target Collection”

The plus (+) indicates that this collection is now set as the target collection.

You select photographs that you want to add to your collection by clicking on those small dots.

If you right click on the collection, you can turn off that setting by unchecking.
![]()
Quick Collection will become the target collection again by default.
This option can also be applied when you create a new collection.:
Click + and select Create Collection.
Name the collection.
Check “Set as target collection”.

Tip 7: Seeing the metadata for multiple selected photos.
Select more than 1 photo.
The metadata shows “mixed”.

Go to Metadata>Show Metadata for Target Photo Only
You can now see the metadata for each photo you choose when there are multiples selected.

Thanks for checking this out!
If you want to learn Lightroom, check out our free (now famous) how to learn Lightroom in 15 minutes tutorial
Don’t forget, add a comment. Let’s get a discussion going and until next time.
I’ll see you at the Cafe!
Colin
PS Don’t forget to follow us on Social Media for more tips.. (I've been posting some fun Instagram and Facebook Stories lately)
You can get my free Layer Blending modes ebook along with dozens of exclusive Photoshop Goodies here


5 thoughts on “7 hidden tips for Adobe Lightroom”
Leave a Reply
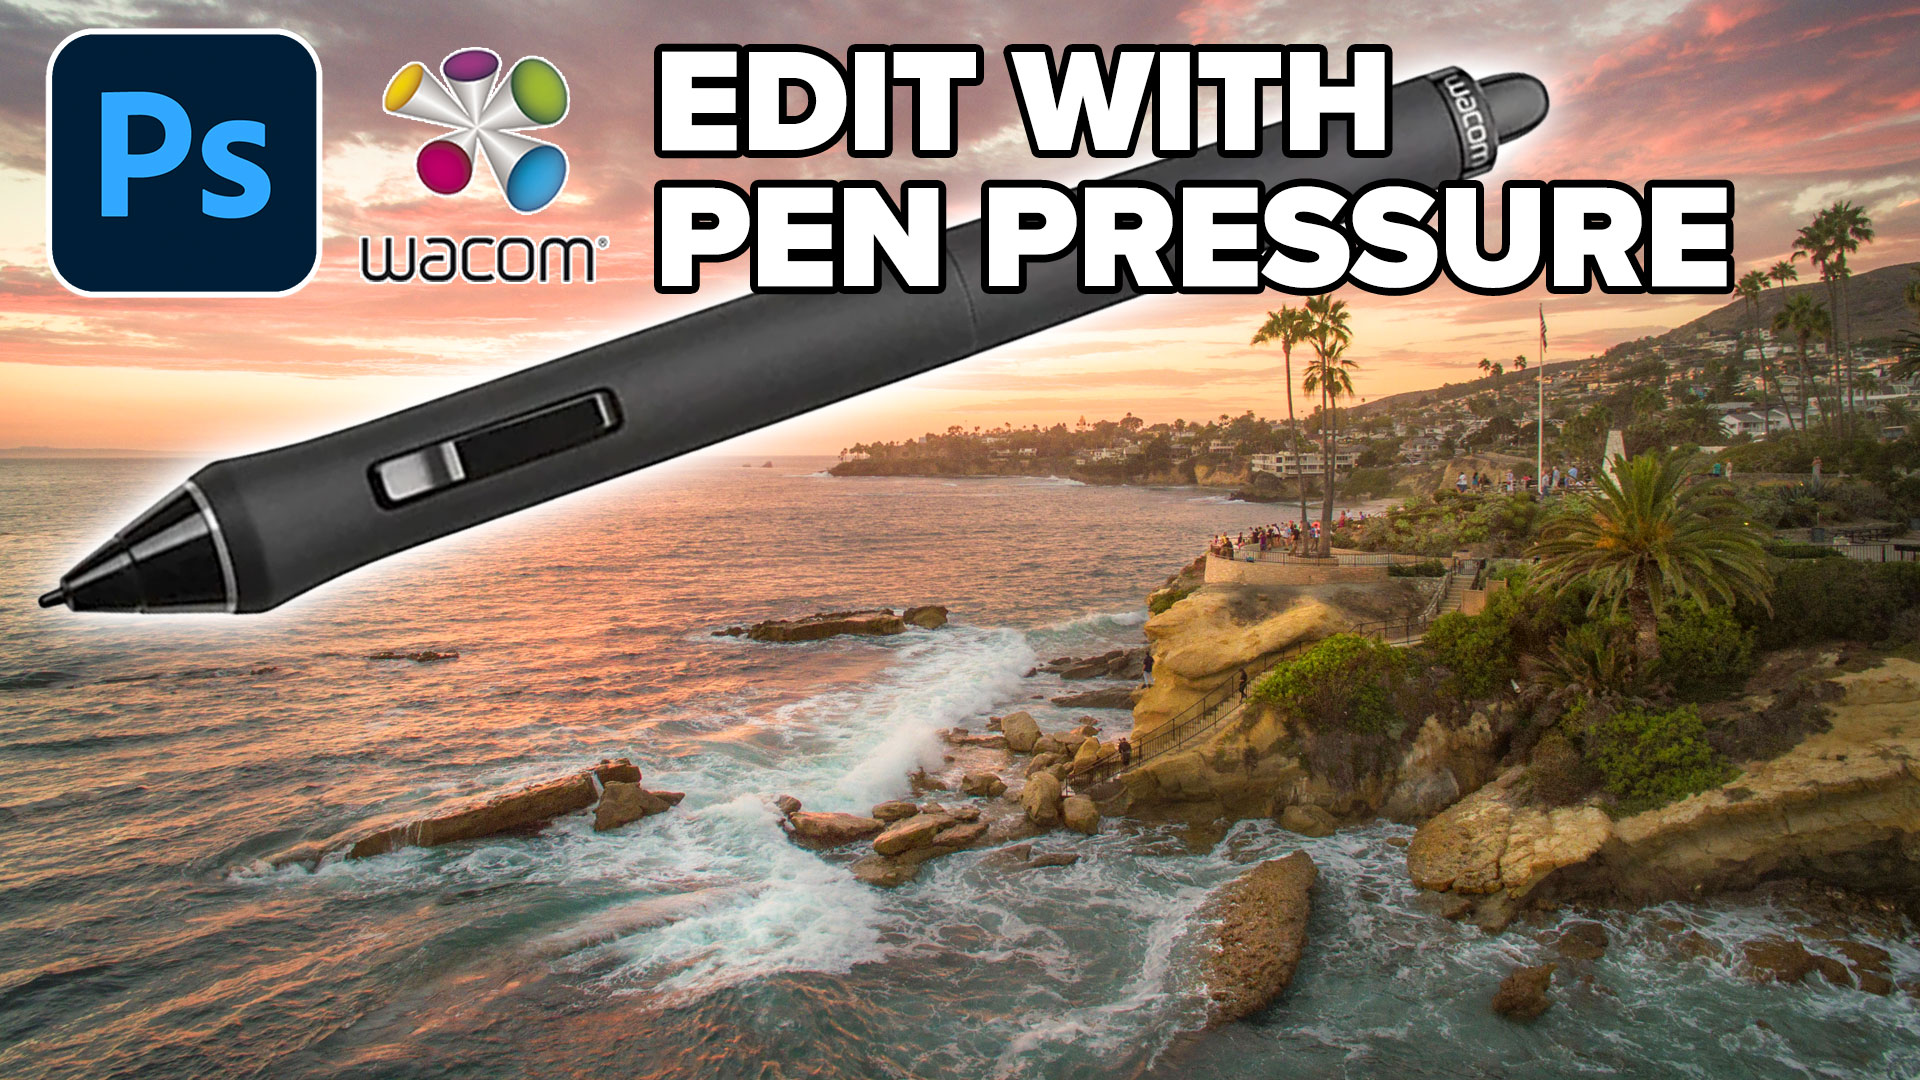
How to use Pen Pressure to Edit photos in Photoshop with a Wacom Tablet.

One of the most popular features here at photoshopcafe is the “Super Tutorials”.In Super Tutorial #3 This will be a...
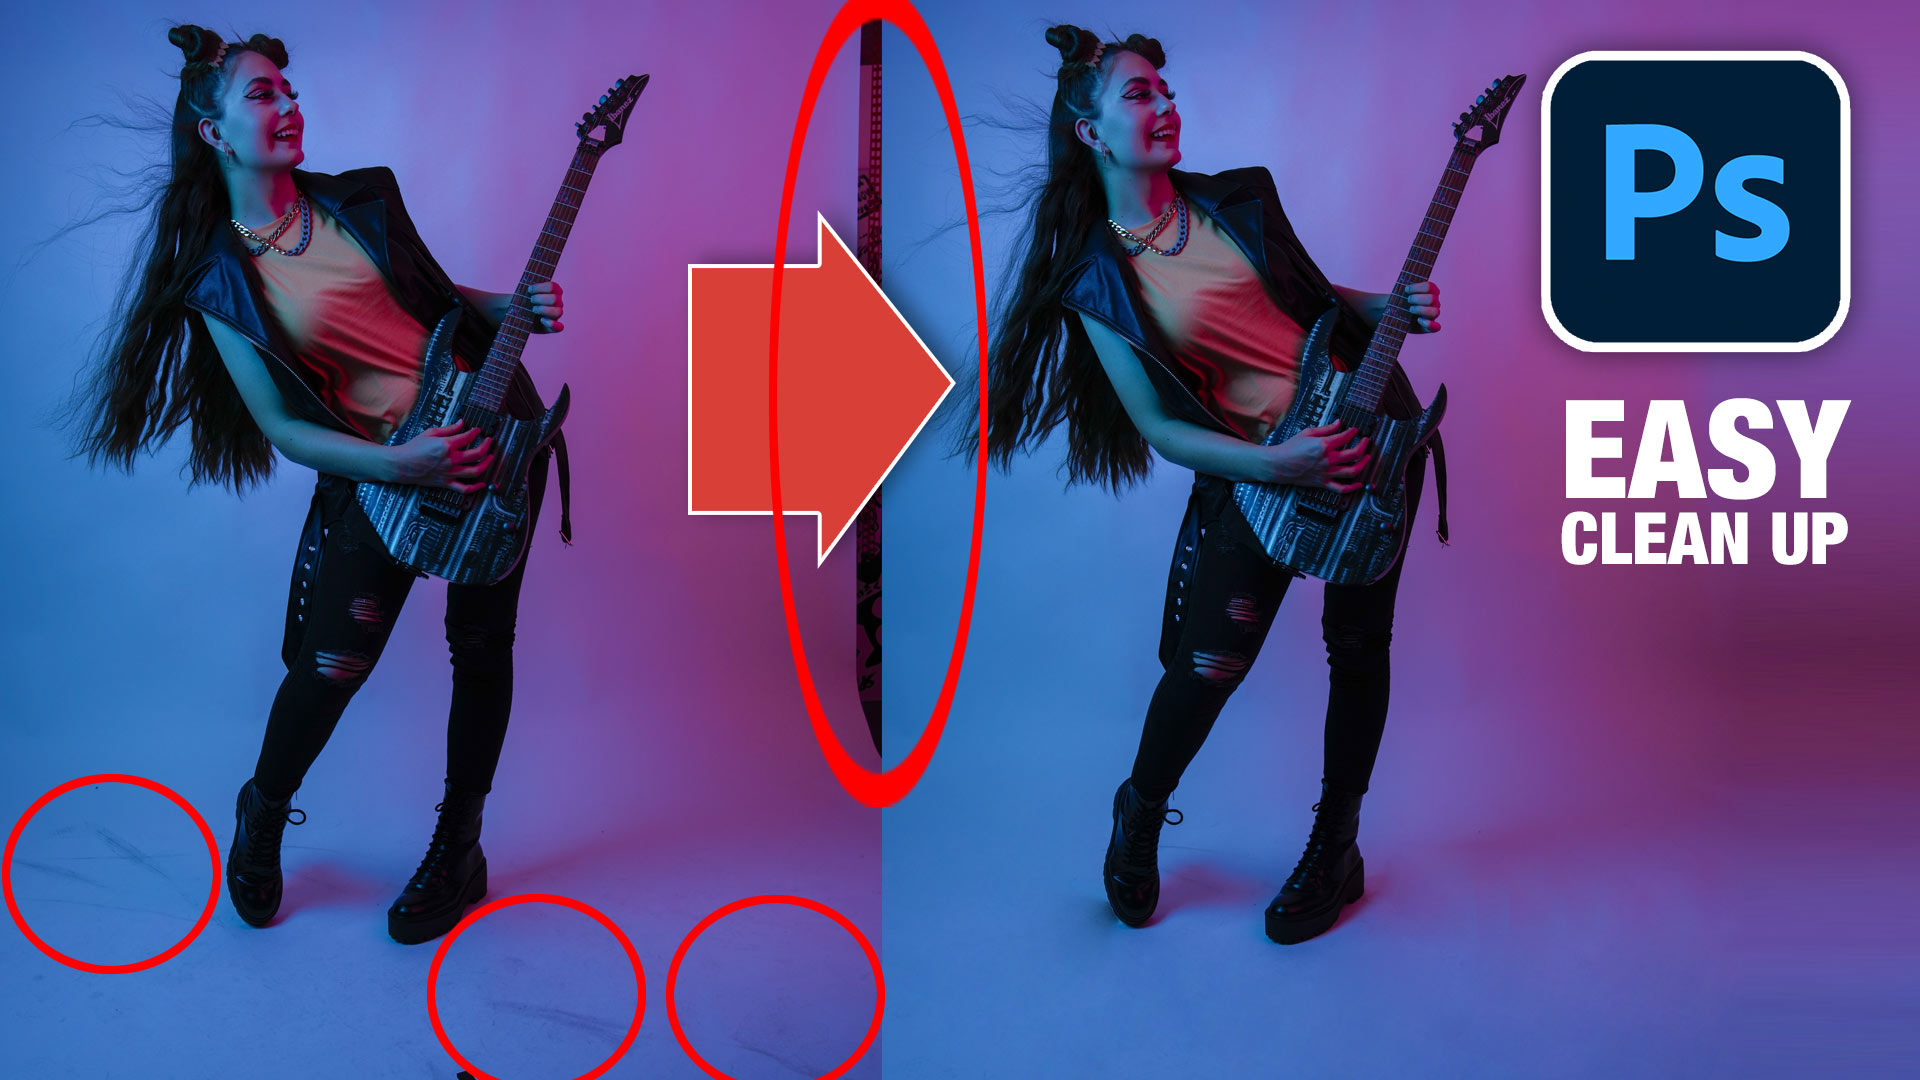
How to use the patch tool in Photoshop to quickly clean up smudges and dirt and remove distractions. Difference between...


Thanks for sharing some great tips!
Much appreciated.
Kind regards,
Serge
Gr8 stuff Matt. This is going to help my work flow a lot.
would love a DVD course on Adobe Premier Pro and Adobe After Effects. I am already subscribed so don’t re-add me to the list!
Working on a Premiere pro course!