
6 quick powerful Layers in Photoshop tips
Photoshop layer tips
Let’s have a look at 6 powerful yet quick tips for working with Layers in Photoshop. How many of these are new to you? Check out the 4 minute video to see them in action along with some extras.
Photoshop Tip #1: How to tell if a layer is really blank

You see a layer, but you’re not sure if it’s actually empty. He’s how to check.
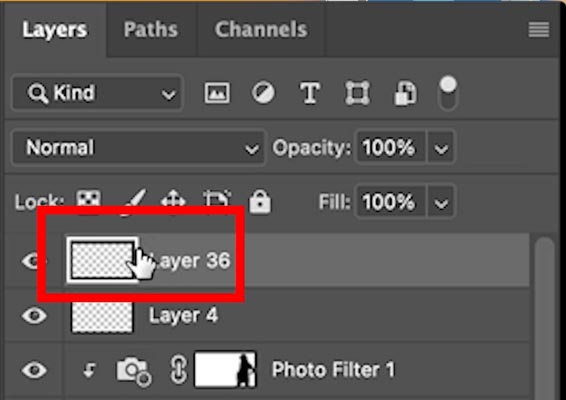
Choose the layer.
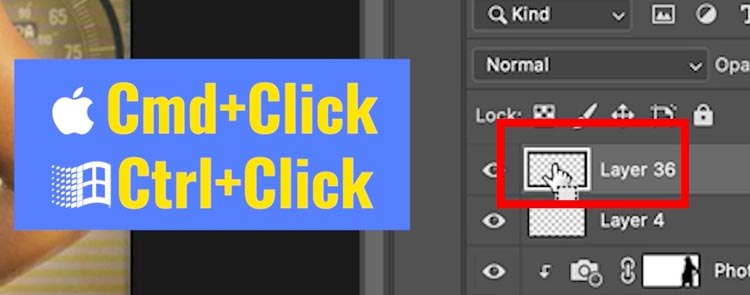
Ctrl/Cmd+Click on the thumbnail, this will load any pixels as a selection.
Grab the brush tool (B). and draw on the layer. If you can draw, the layer is blank, because nothing is selected.
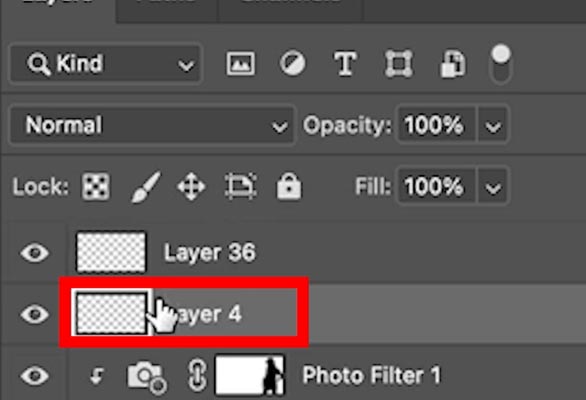
Here’s another layer that looks empty (It’s not) let’s see
Ctrl/Cmd+Click like we just did to load any pixels.
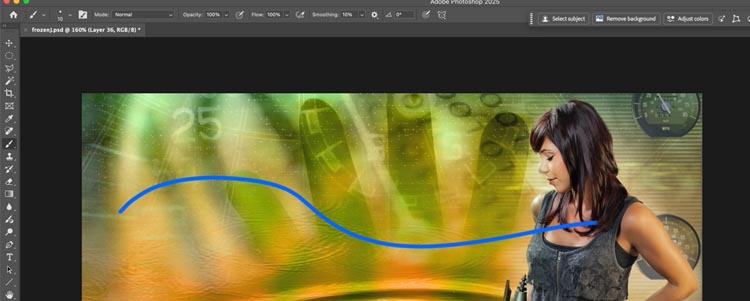
We can see there’s a selection.
Try to paint and you would see anything because there is a selection. Even if a single pixel is selected, you won’t be able to paint.

Photoshop Tip #2: How to duplicate a layer quickly

Sometimes you want to quickly duplicate a layer. You can do it right from the image without having to go the the layers panel
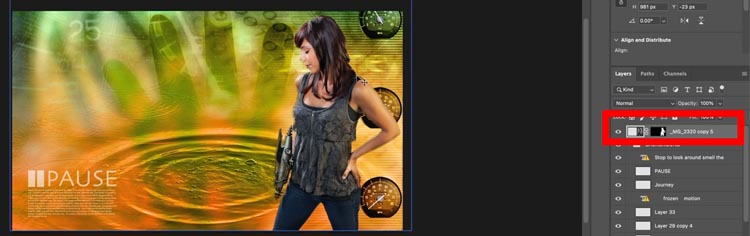
Choose the layer you want.
Hold Alt/Option+Drag to drag out a copy of the layer

So quick and easy

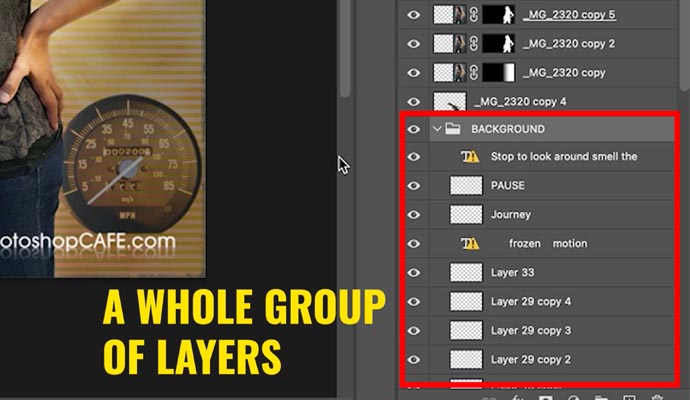
Photoshop Tip #3: How to Create a new document from a Group of layers

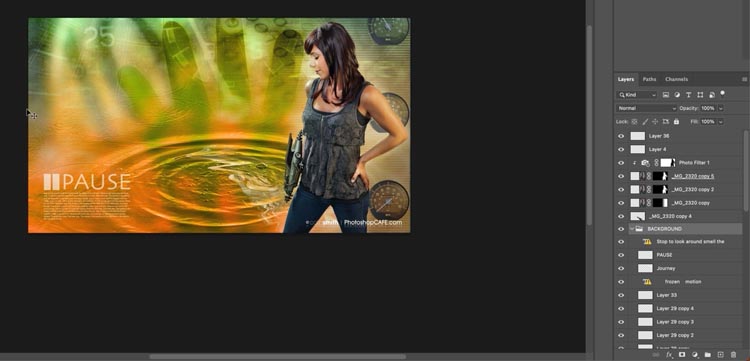
See all the layers under the background group. What if I want to create a new document from these layers and keep the layer structure intact.
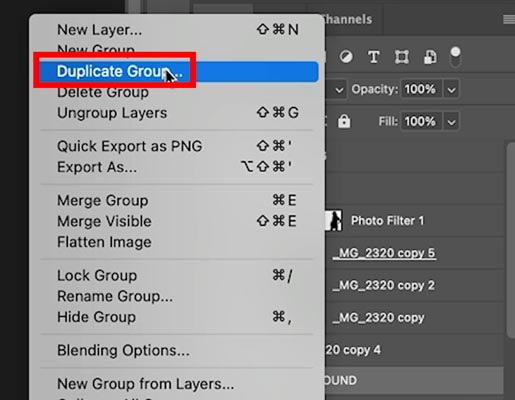
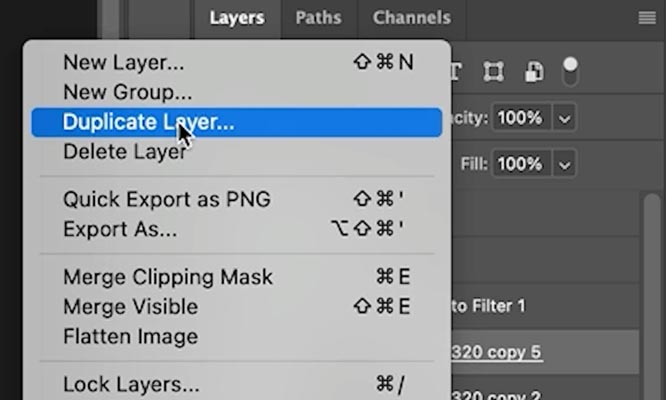
Right-Click on the group name in the layers panel.
Choose Duplicate Group.
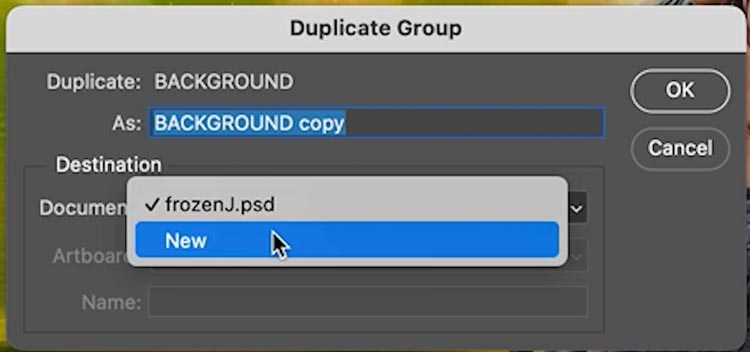
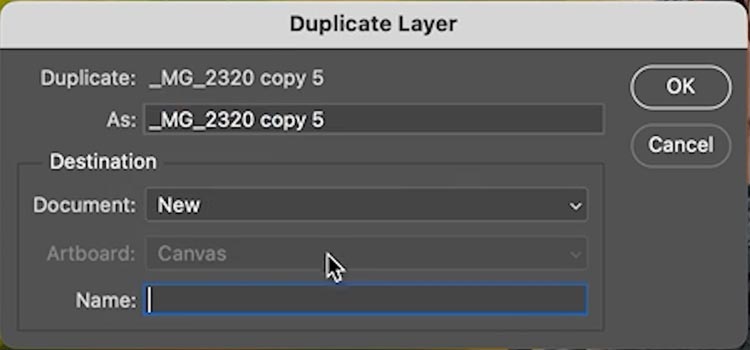
A dialog box will appear.
Change destination to “new”
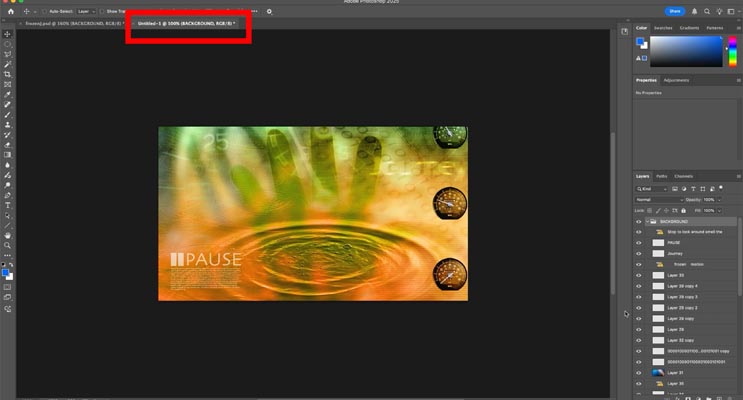
Now a new doc is created with all the content and layers, from that group.
Photoshop Tip #4: How to Create a new Document from a single layer

This is similar to the previous tip.
Choose the layer
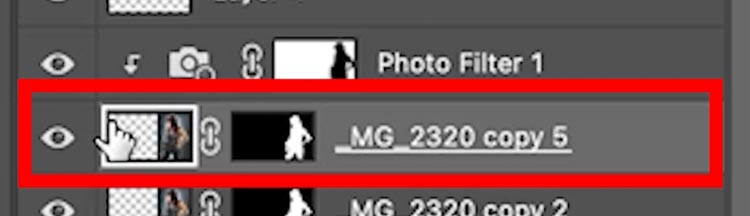
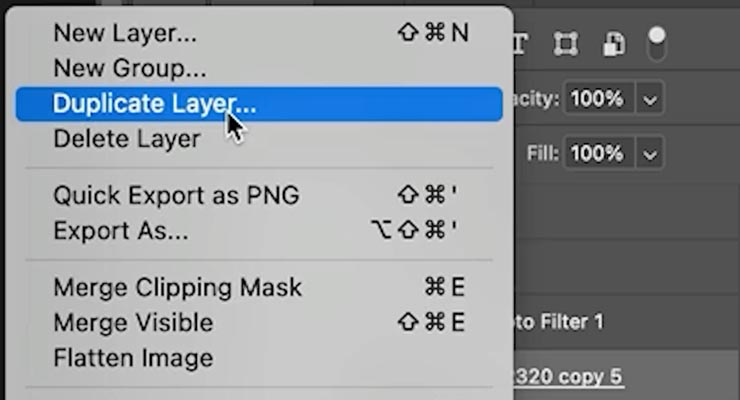
Right-Click and choose Duplicate Layer
Choose new
Now, we get a new document and just that layer. Layer Masks and styles will also be preserved.

Photoshop Tip #5: How to Move a layer to another open document

Here’s one that I actually stumbled upon while making this tutorial. I’ve never seen this one before anywhere.
Right-Click on the layer Name and choose Duplicate layer, as we did before.
Under destination, you will notice that there are several options. All the currently open Documents will be listed. Choose one. We are doing Untitled-1
Click ok
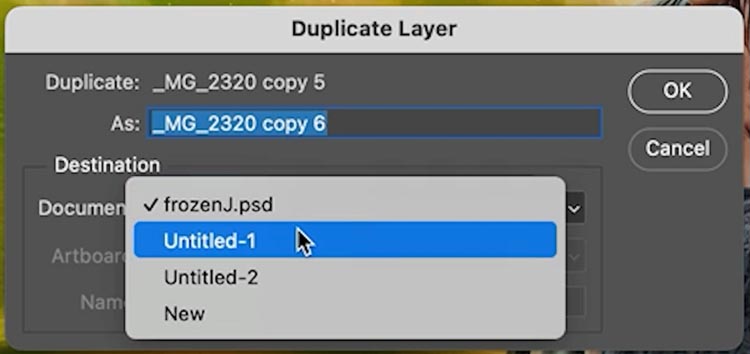
Click on the document tab, Notice that the layer was added, including it’s original position and scale, as well as mask and other settings..
Photoshop Tip #6: Duplicate your Photoshop document.

We all know this scenario: You have been working on a composite. Now you come to a fork in the road. You want to try something, but you aren’t sure if it will work, or maybe you want different variations of the image. You don’t want to change the original image. What you need is an exact duplicate.
Open the History Panel, you will see an icon that shows a document with a +. Click on it.
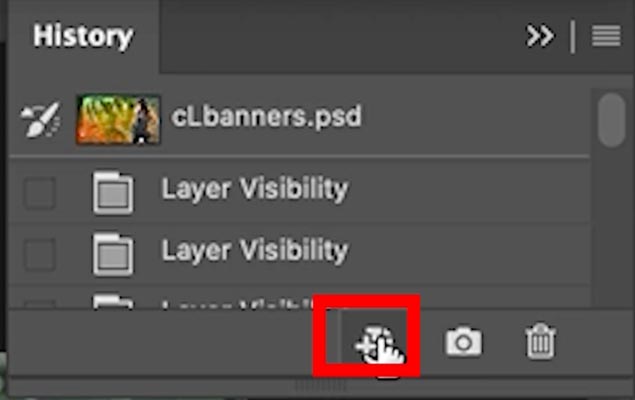
Now, you get an exact duplicate of the document.
Hopefully you found these tips handy!
Great to see you here at the CAFE
Colin
PS Don’t forget to follow us on Social Media for more tips..
(I've been posting some fun Instagram and Facebook Stories lately)
You can get my free Layer Blending modes ebook along with dozens of exclusive Photoshop Goodies here

8 thoughts on “6 quick powerful Layers in Photoshop tips”
Leave a Reply

How to blur the background of a photo in Photoshop. Add realistic depth blur to you photos with automatic neural...

How to do Frequency Separation (modern method), silky smooth skin in Photoshop. Easy way to do high end retouching for...

How to resize an image in Photoshop for best quality. Best settings for resizing, enlargements and reductions of image sizes...


These tips are invaluable, especially the dup a layer> Opt + Drag. Hey how about a method I use frequently, to, e.g., try out a ACR filter effect: 1) Click layers, 2) Opt+Shift+Cmd+”E”. This creates a new “Stamp” layer above the selected layers. Next Right click> Create a Smart Object. Finally Shift + Opt +”A” to apply the ACR filter to the new S.O. layer.
Thanks for sharing 🙂
Lo menos que puedo decir es: Muchas gracias!!
I’ve appreciated your tips and tricks for many years! Thank you.
You’re welcome!
Definitely more as I found them to be most useful
Hey Colin, I knew most of these, but having been financially crippled recently I have been out of the Creative Cloud loop, recently managed to buy a year in advance and your tips are a lovely reminder of these very handy tips.
Thoroughly enjoy your tips!
Glad to help