
How to use the pen tool in Photoshop, quick start guide
Using the Pen tool in Photoshop
This tutorial shows you how to get started using th pen tool in Photoshop. You will find it easier than you think with this Photoshop tutorial by Colin Smith.
DRAWING WITH THE PEN TOOL
When it comes to actually creating a path from scratch, the pen tool is the most common option. This tool may look familiar to you. That’s because its almost identical to the pen tool in other Adobe apps like Illustrator
Here’s a rundown of several common line/curve shapes you might want to create—and how to create them. Once you have mastered these basic shapes, you will be able to draw almost anything with the pen tool.
1 STRAIGHT LINES
Drawing a straight line is easy, you could use the line tool or the pen tool.
Choose the Pen tool on the toolbox.
Select the drawing option from the options bar to draw either a path, Shape layer or fill pixels.
Click once to mark the starting point, then Ctrl-click Cmd-click) somewhere else (without dragging) to mark the ending point. A straight line connects the dots.
You can also keep clicking to keep adding straight line segments—to create, for example, an irregular straight-line enclosed shape. Just remember to Ctrl-click) at the point where you want the line-adding to end.

2 Curved Paths
Choosing the pen tool will enable you to draw paths easily. Choosing a different kind of pen tool will give you a different behavior.
Curves are more difficult than straight lines, but they come with practice.
The key is to drag after placing each point. That is, as you create a point, don’t just click; rather, click and drag in the direction that you want your curve to go. The further you drag, the larger the arc will be between the current point and the next one that you create.
Here are some basic curves. Once you master these, you will be all set to draw almost any shape.
3 U-SHAPED CURVES
Create a simple U curve. The further you drag the bigger the curve will be.
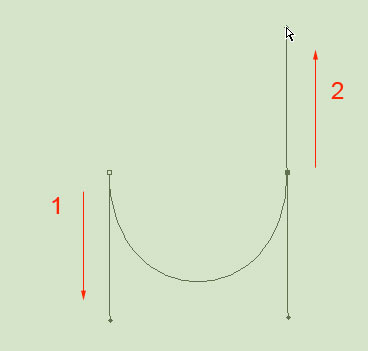
To create a U-shaped curve:
1. Drag downward.
As you drag you will notice that two handles are being created. These handles determine how acute the curve will be and the direction that you are wanting to draw the curve.
2. Move your pointer to the right, parallel with the first point that you made; click and drag upward.
Click and drag up and you will now see a U shaped curve being generated. The curve goes in the direction that you are dragging. Don’t worry if it’s not perfect; you can modify any curve.
4 S CURVES

The S-curve. Smooth loose curves are easily created with the pen tool.
Don’t be misled by the title; the complex S curve is actually easy to create. It’s called complex because it involves three points instead of two. In the previous examples, there were only two points that controlled the whole curve. Greater control is available with the addition of a third point.
1. Choose a starting point; drag to the left.
The direction handles are being created.
2. Position your pointer underneath the first point and drag to the right.
So far, you are creating a U curve, as described above.
3. Move the pointer underneath the second point and drag left once again. You are now creating the equivalent to two U curves in different directions. This is the S shaped curve.
4. Ctrl-click away from the path to stop drawing.
5 M CURVES
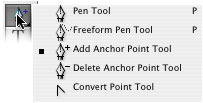
The M curve is a little trickier because it involves a new tool: the Convert Point tool. The convert point tool is found under the pen tool in the tool box as shown in step 3.
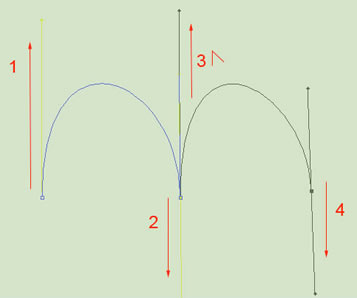
1 From your starting point, drag upwards.
You are creating the direction handle.
2. Move to the right and parallel, drag downward.
You are creating an inverted U curve right now.
3. Now the tricky part: Hold the Alt (Option) Key and drag upward.
You are not drawing a curve right now; you are changing the direction handle for the next curve. The way the pen tool works is this. First you define a direction with a direction handle (The initial drag of the mouse). The next click actually draws the curve based on the direction of the first drag and the second. If you want a sharp curve (called a cusp), you need to first change the direction of the handle without affecting the previously drawn curve. The Convert point tool, is such the tool for this task. The Alt (Option) Key is a quick way to temporarily choose the Convert Point tool.
- Position your pointer to the right of the second point and drag down
You’ve just made an M curve.
- Ctrl-click (c-click) away from the path to stop drawing.
Tip: While holding down the Spacebar on your keyboard, you can drag any point to a new position.
For more details on curves see the rest of this article here..
Thanks for checking it out!
Colin
PS Don’t forget to follow us on Social Media for more tips.. (I've been posting some fun Instagram and Facebook Stories lately)
You can get my free Layer Blending modes ebook along with dozens of exclusive Photoshop Goodies here

6 thoughts on “How to use the pen tool in Photoshop, quick start guide”
Leave a Reply

How to combine images and auto composite in Photoshop with Generative Fill ai. Colin Smith shares his Photoshop Gen Fill...
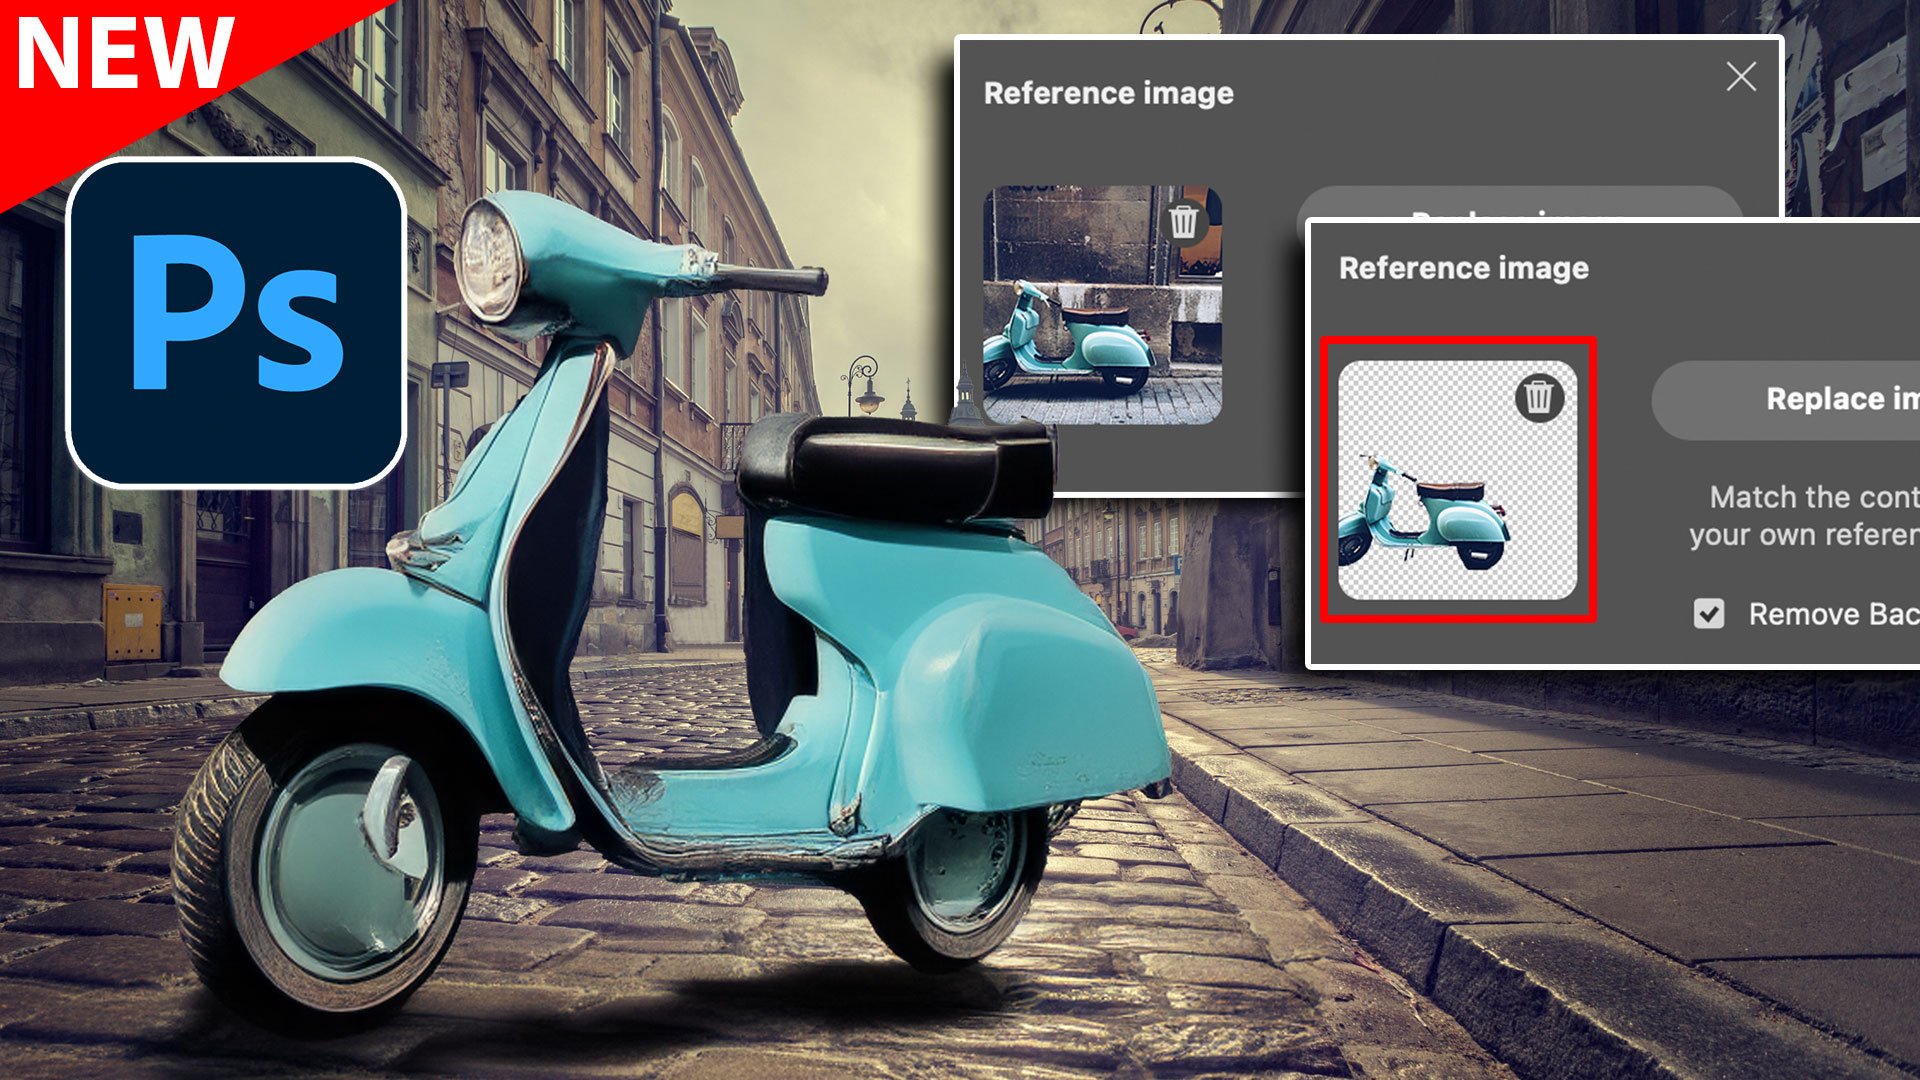
New feature, Remove Background for Reference image in Photoshop Generative Fill

Keyboard shortcuts for Photoshop. Work faster with these 5 keyboard shortcuts, to get things done faster and to do things...


Couldn’t find the code for the 20% off.
It vis in the newsletter and youtube: selections20
looking for the 20% off code for selection secrets
The offer expired, however, Ill open it up for a couple of days.. selections20
I am just now finding out about the selection tool course, so I am just out of luck because I just subscribed to your site and saw this offer on the Pen tool basis video? It seems a little bit unfair when finding out about your site after the expiration date.
If you contact me, (contact us at the top) I will give you a code so you can get the discount.