
Dodging and Burning Natural HDR in Camera Raw and Photoshop
Enjoy these two methods of Dodging and burning.
Dodge and burn are techniques that come from the darkroom. When projecting a negative onto photopaper through an enlarger, photographers used to either block light, or cup the hand to direct light into certain areas. This allows underexposing or overexposing of different parts of a photograph. This is the kind of technique that Andsel Adams employed.
Today, we can perform the same function very easily in Photoshop. There are two main reasons to dodge (brighten) and burn (darken).
The first is to fix photos. For example, you may want to open up shadows in a portion of a photo or tone down the highlights to reveal the detail better.
The second is purely creative. As the eye is usually drawn to brighter parts of a photograph, the creative use of dodging and burning can be used to guide the viewers eye to the areas of the photograph that you consider important. Toning down less important areas and enhnacing other areas can simplify the composition and create a very eye catching composition.
PS Don’t forget to follow us on Social Media for more tips.. (I've been posting some fun Instagram and Facebook Stories lately)
You can get my free Layer Blending modes ebook along with dozens of exclusive Photoshop Goodies here


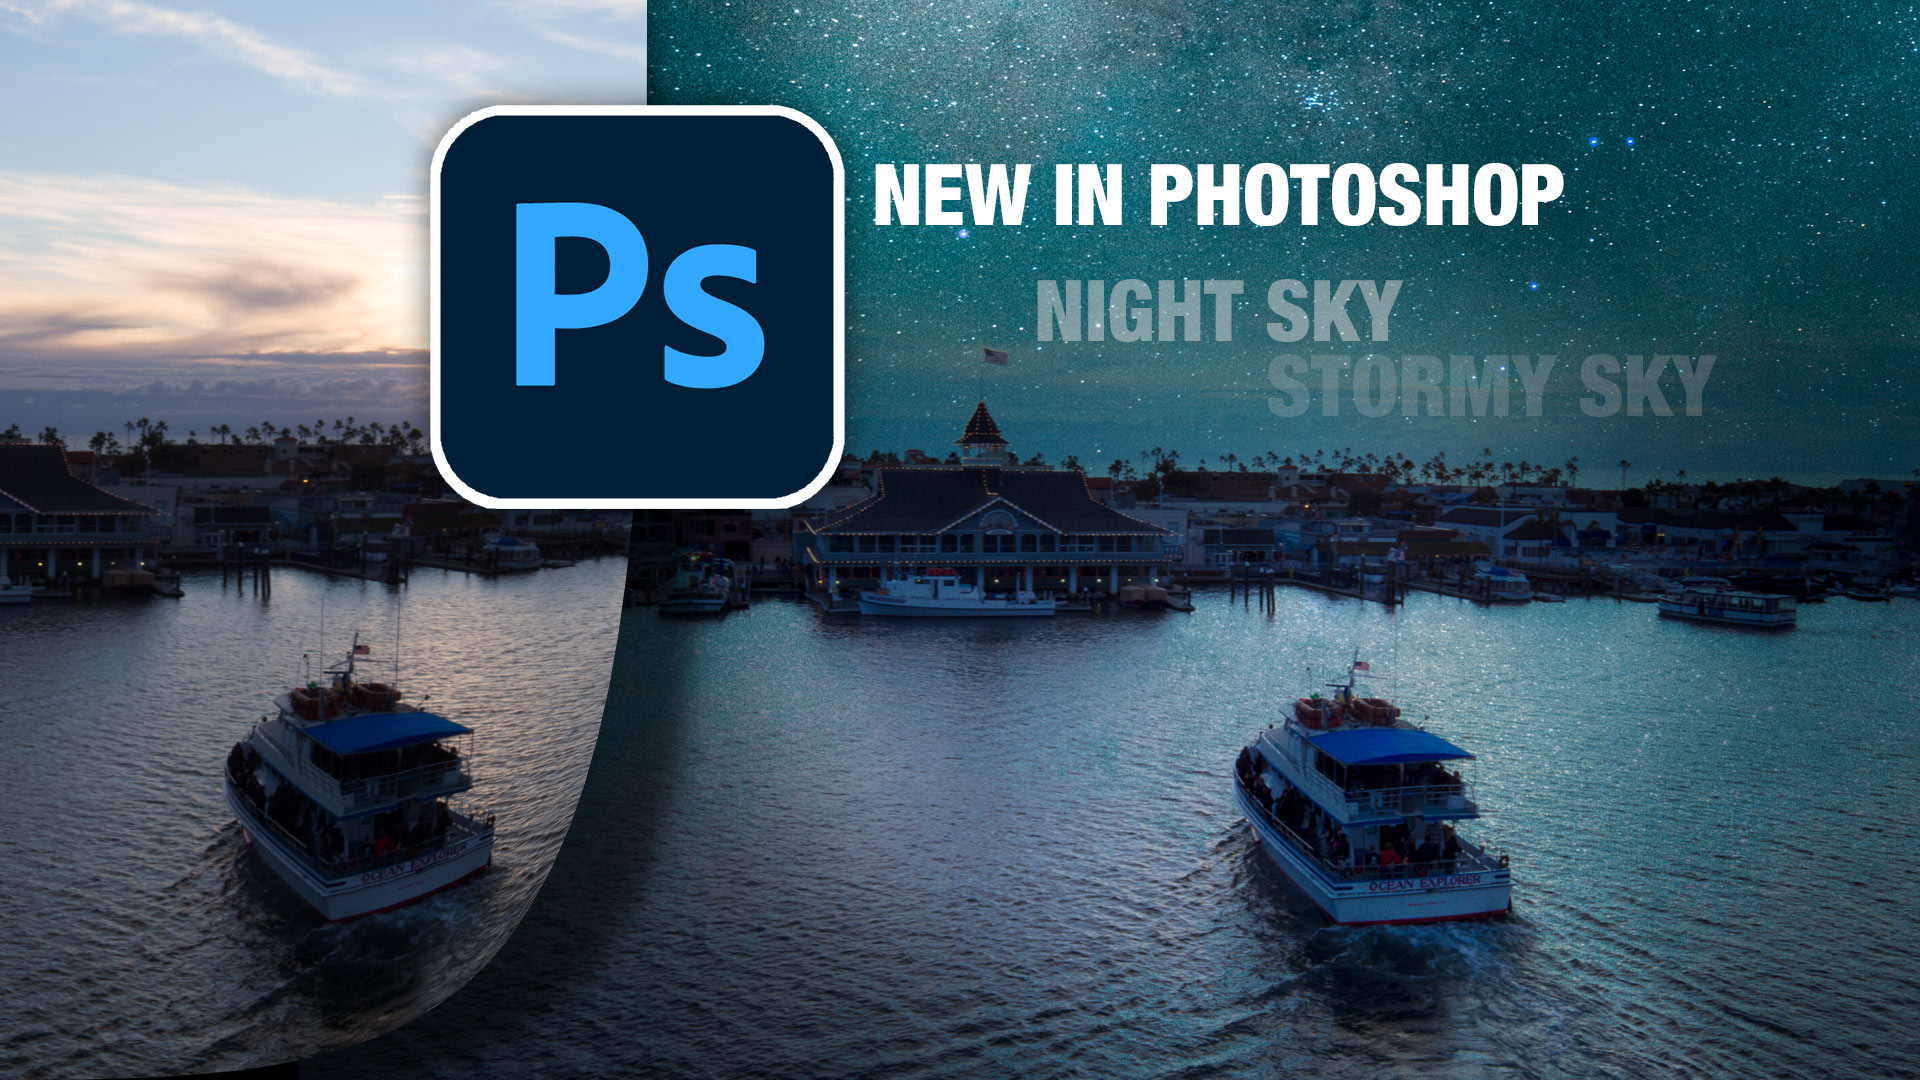
How to replace sky in Photoshop, sky replacement new features and free sky images from Adobe.
How to stabilize footage shot on a DJI Phantom with a GoPro Hero 3 Black Edition in After Effects. This...

How to use ai selections in the Adjustment Brush to edit part of a photo in Photoshop 2024.


