
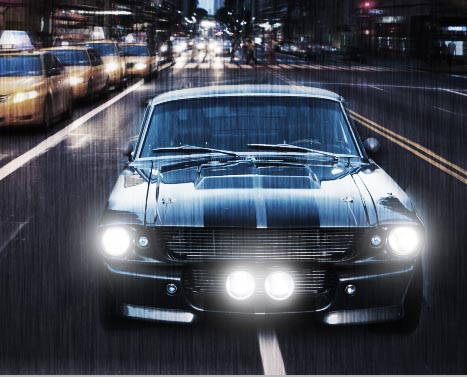
Turning on lights in Photoshop tutorial
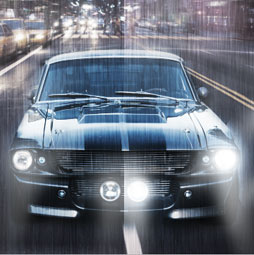
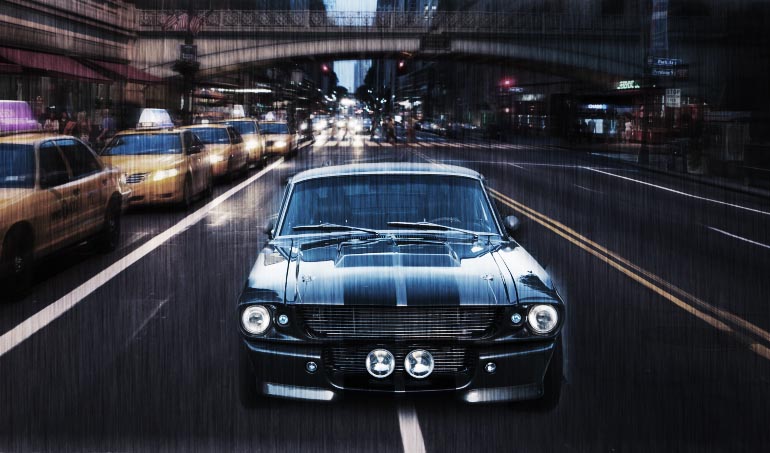
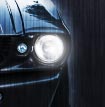
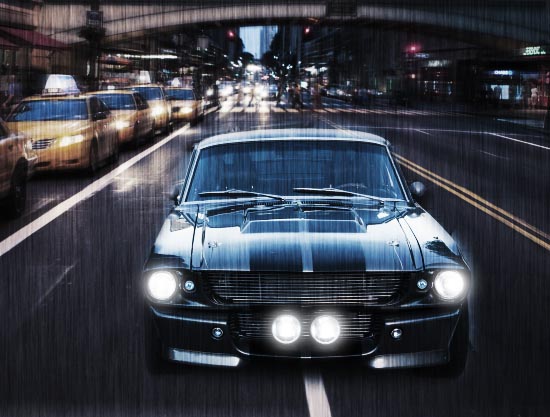
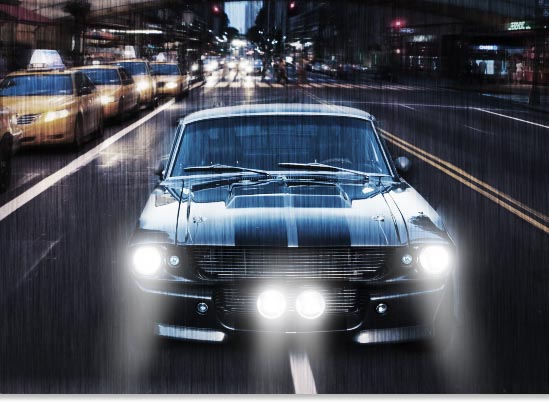
In this Photoshop tutorial, I’m going to show you how to turn on the lights in a photo. I made this car composite where I shot both the car and the background during the day, cut out the car and dropped it into this scene. I changed the mood to nighttime as well as a raining evening. The big problem with this composite is that the car’s lights are off and we need them on. That’s what we are going to learn in this tut.
Step 1
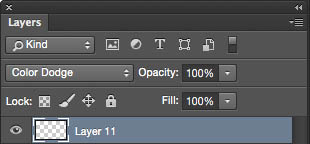
Create a new layer and change it to color Dodge blending mode
Step 2
Choose a soft white brush and change the size to roughly the same size at the light.
Step 3
Click with the brush to add a glowing effect on the light. Sometimes you may need to apply it more than once, depending on the result.
Step 4
So the same for all the lights in the scene (all on the same layer)
Step 5
We now need a glow around the lights, as real lights spread.
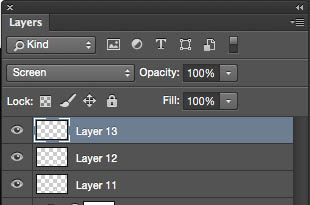
Create a new layer and change it to Screen mode.
Step 6
Change the brush opacity to 40% (you could just change the layers opacity later you prefer)
![]()
Step 7
Choose a larger brush this time and make sure the foreground color is set to white.
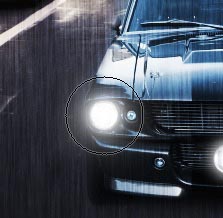
Dab the brush on the lights to create the glowing effect. In this case, I applied the brush 2x on each light.
Step 8
Now for some beams.
Create a new layer and set it to Screen mode
Step 9
Paint some lines beneath the lights, make the brush size the same as the lights.
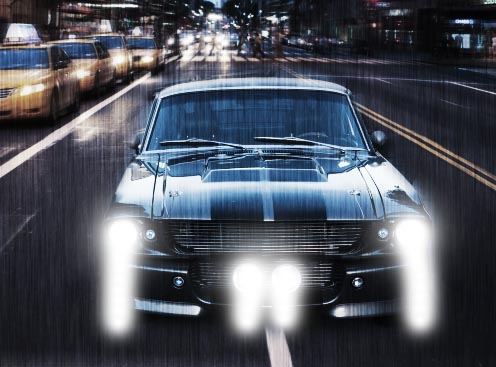
Step 10
Choose Filter>Blur>Radial Blur.
Select zoom and set it to about 44

Step 11
Here you can see the lights smoothened out to beams (Sometimes I also apply a gaussian blur at this point, I didn’t on this image, but it might have looked better).
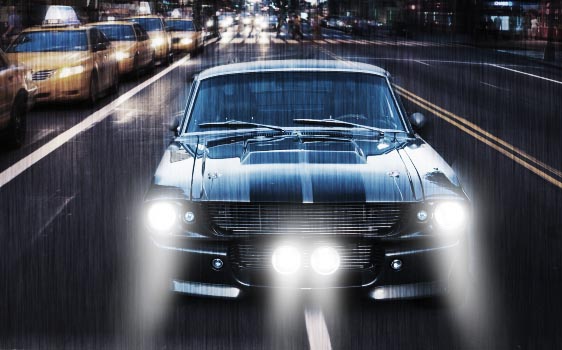
Step 12
Adjust the opacity to suit your tastes.

And the result.
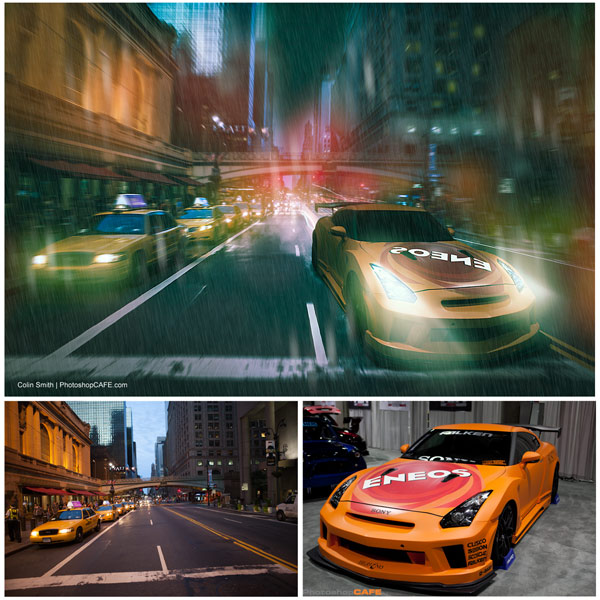
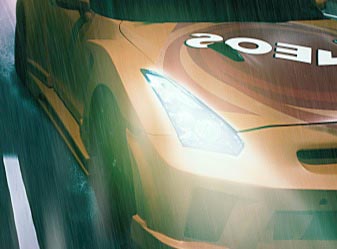
Extra Credit
Here I applied the lighting effects to different parts of the photograph where there are lights.
I also painted over the top of some bright areas and blurred them to look like streaks and lens flares that you might see on a wet evening, the way that rain makes light distort into the lens of a camera.

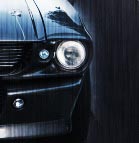
Here is an example of a different shaped light and a beam art an angle using exactly the same steps.
I hope you enjoyed this little tutorials. Check out our other tutorials here at PhotoshopCAFE and don’t forget to join our list for lots of Photoshop goodies.
PS Don’t forget to follow us on Social Media for more tips.. (I've been posting some fun Instagram and Facebook Stories lately)
You can get my free Layer Blending modes ebook along with dozens of exclusive Photoshop Goodies here

6 thoughts on “Turning on lights in Photoshop tutorial”
Leave a Reply

This technique is a contrast/tone and color correction technique all in one. Once you run through this, you will see...

How to select hair, cut out people and remove them from their background in Photoshop CC . This free tutorial...
How to edit a photo and give it a fine art, painterly effect in Photoshop.


Thank you! I did enjoy the tut! To do Christmas lights on a tree, you would substitute colors instead of white for the lights? I saw the photo in the newsletter and thought that the article was on the lights on a tree. LOL But, this is good. I can apply it to a tree. Thank you, again! Su
Yes, you can do exactly the same thing for a tree, just add color to your brush.
Yes, if you were doing christmas lights, you could do the same thing with colors.
Thank you! Happiest of holidays to you!
Su
I enjoyed the tutorial most. Really the tut stunning concept.
Its most awesome and tutorial i have learned very important things from this tutorial.