
How to use Generative Workspace in Photoshop
Don’t forget to subscribe if you haven’t yet, this way you won’t miss my tutorials.
Photoshop’s New Generative Workspace (Beta)
Adobe just released a brand-new feature inside Photoshop Beta called the Generative Workspace. This is more than just an update to Generative Fill—it’s a full environment for creating AI-generated images with more control, higher resolution, and faster workflows.
Let’s take a look at how it works.
Getting Started with Photoshop Beta
At the time of this recording, the Generative Workspace is only available in Photoshop Beta.
On Mac, open your Creative Cloud app from the top menu bar.
![]()
On Windows, you’ll find it at the bottom of the screen.
Inside the app, go to Apps>Beta and you’ll see Photoshop (Beta).
Once installed, you’ll find Generative Workspace inside the Edit menu.
Why Use Generative Workspace?
The Generative Workspace expands on Generative Fill in several ways.
- The generated images are larger, at 2048 by 2048 pixels.
- You can batch process multiple prompts at once.
- You can use references and variables to control composition and style.
- Each generation produces four variations instead of three.
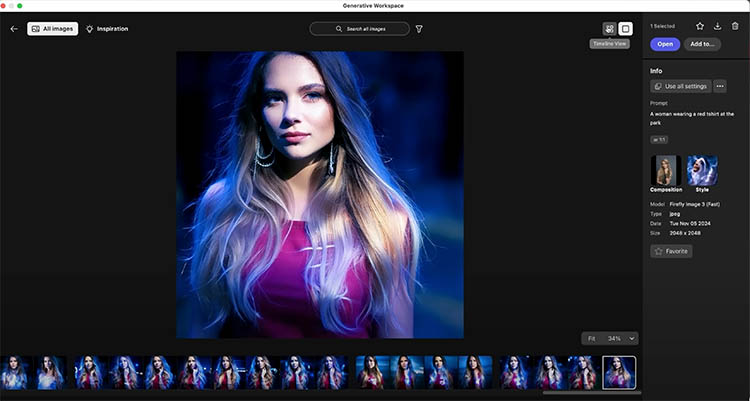
Exploring the Workspace
When you open the workspace, you’ll see a library of all the images you’ve generated, along with a history.

You can view results in Timeline view to see everything at once, or Detail view to focus on a single image.
Each generation produces four variations.

You can also toggle Fast Mode, which makes generation quicker.
Fast Mode is best for simple images with clean backgrounds.
For complex prompts, turn off Fast Mode to get better quality.
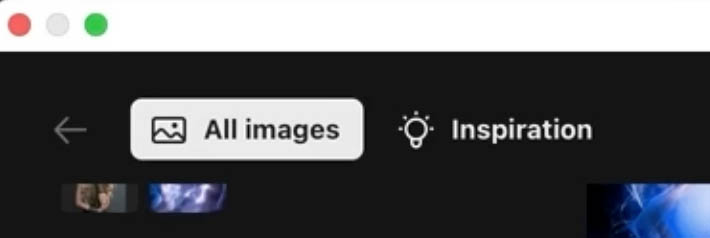
At the top, you’ll notice options like All Images and Inspiration.
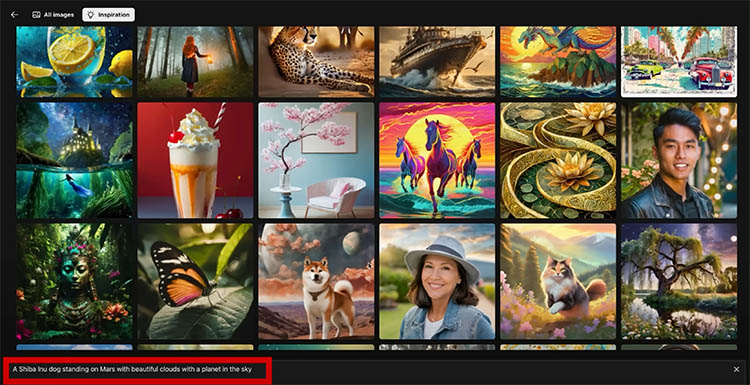
Choosing Inspiration lets you explore sample prompts provided by Adobe. Selecting one—such as a Shiba Inu—loads the settings and effects into your workspace.
You can clear these effects anytime.
This is a great way to practice with prompts and learn how different effects are achieved.
Generating Images
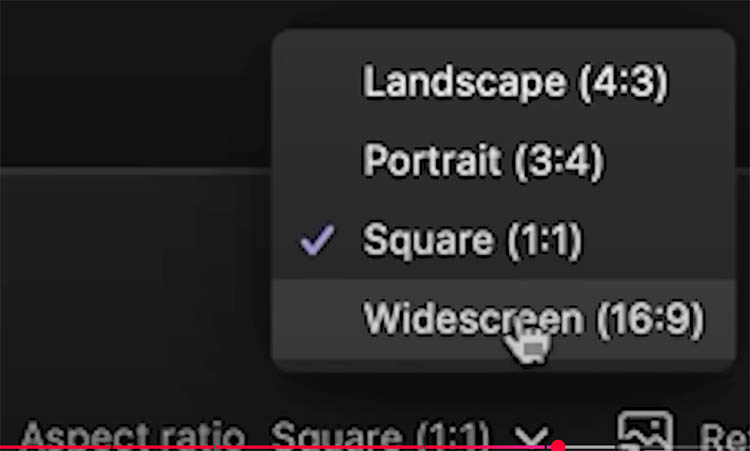
Start by choosing an aspect ratio, such as wide, tall, or square.
Type your prompt. For example, “Large ship sailing near Antarctic icebergs under aurora.”

Choose Photo or Art mode.
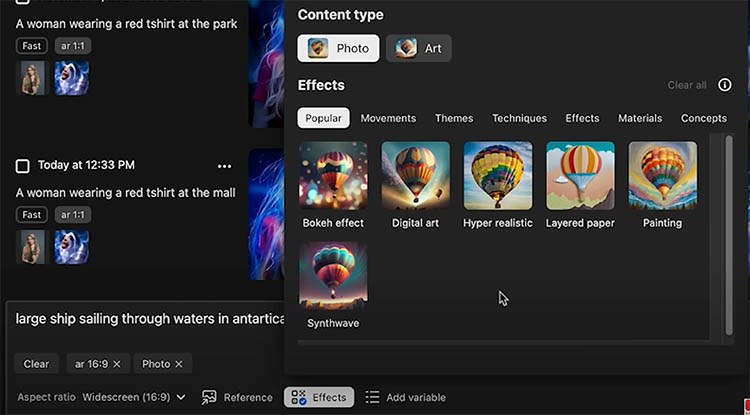
In this case, selecting Hyper-realistic Photo adds detail.
Click Generate and Photoshop will create four variations of your image.
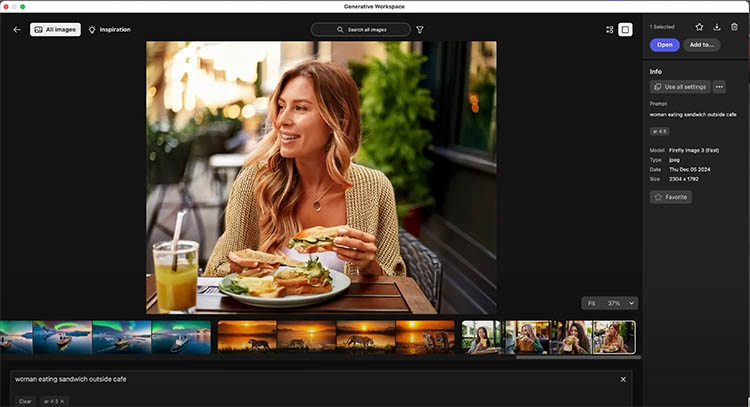
You can click any result to view it in Detail view, where you’ll see the prompt, image size, and settings.
Tip: You don’t need to wait for a generation to finish before entering another prompt. You can batch multiple prompts at once to save time.
If you want to refine a result, adjust the prompt. For instance, change the camera angle to “aerial view” or remove descriptors like “beautiful” or “hyper-realistic” to simplify the output.

Remember, results may not be perfect yet. The workspace is still in Beta, so quality will continue improving.
Using References
References give you powerful ways to control results.
-
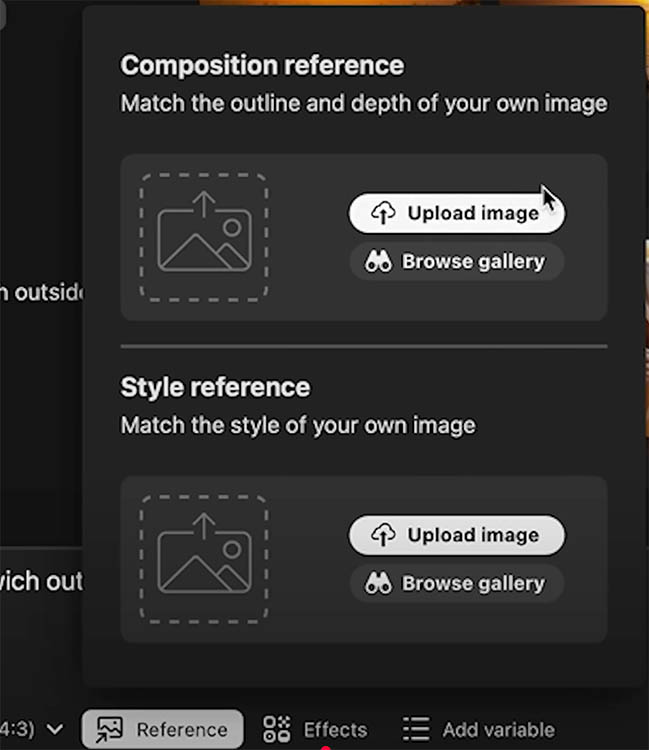
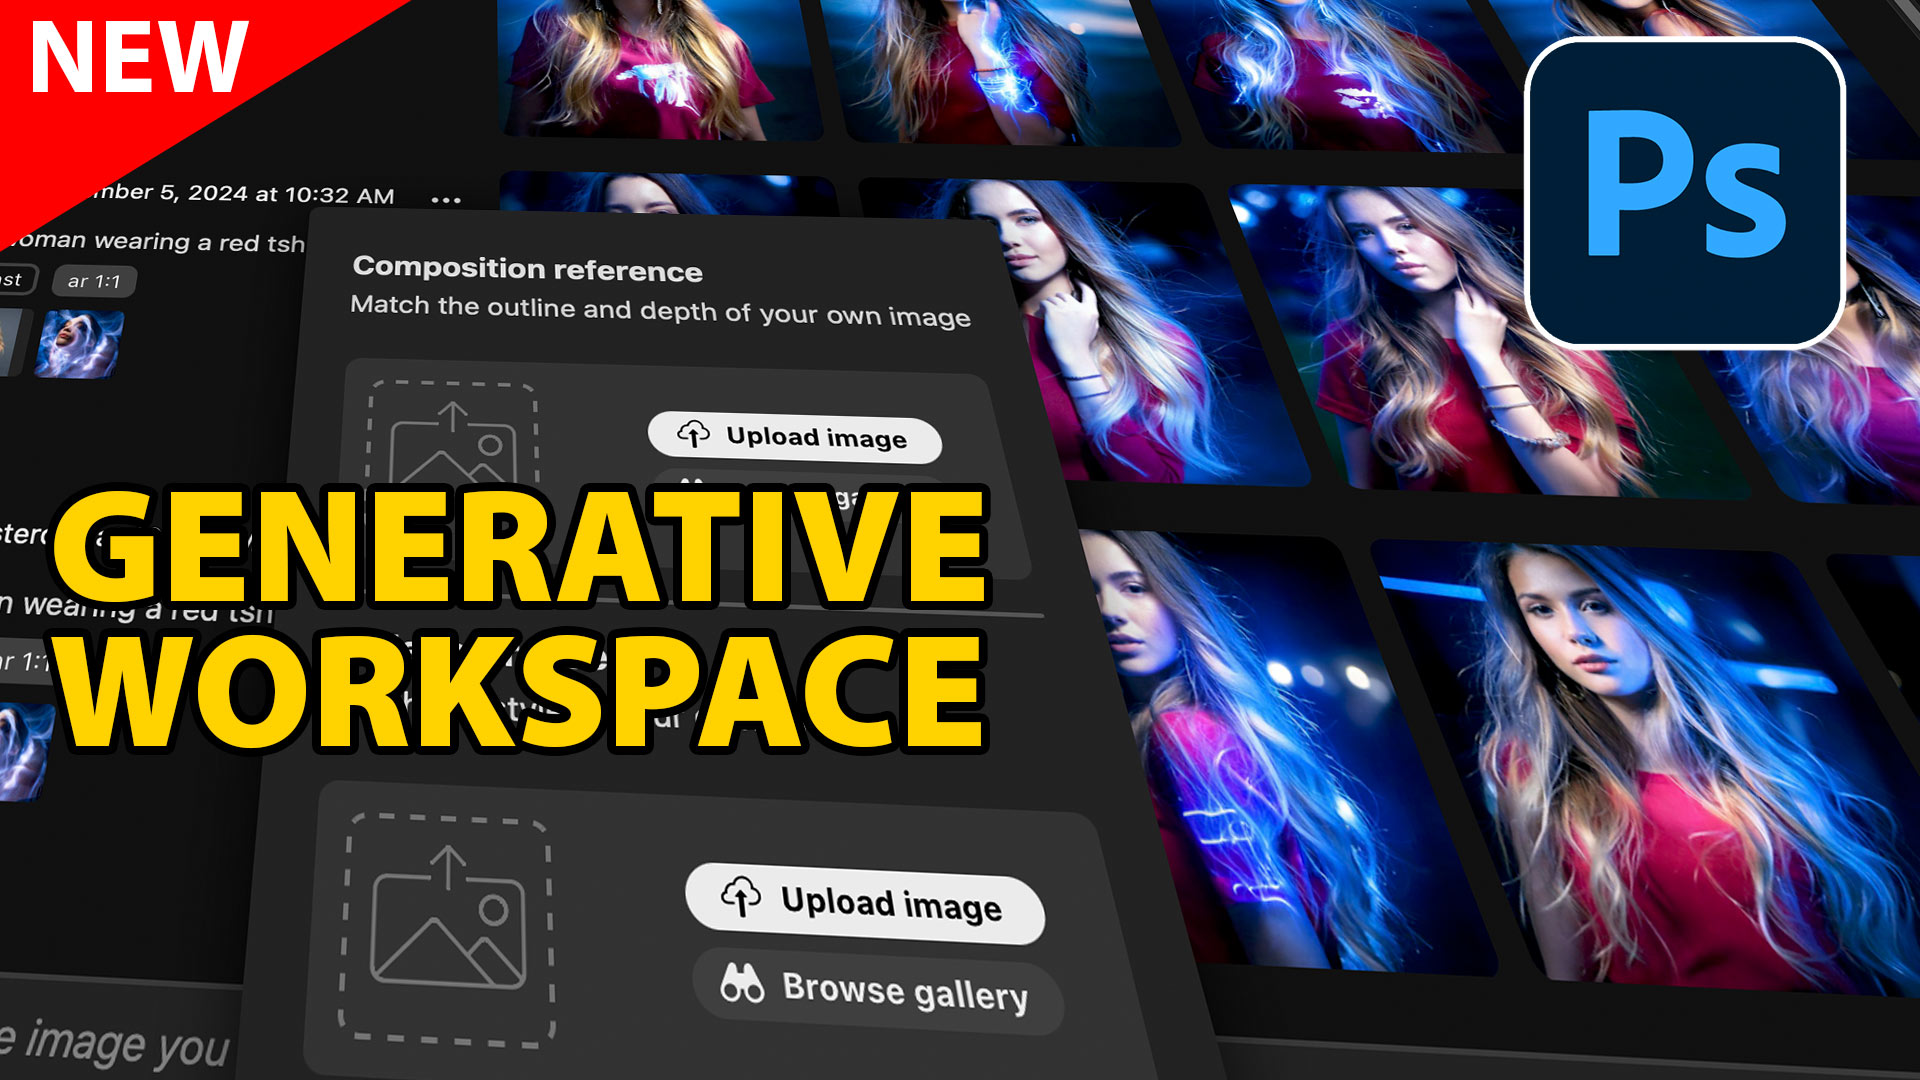
A composition reference controls elements like pose, layout, scale, and angle.
-
A style reference changes the overall look, such as turning your result into a pencil sketch, watercolor painting, or HDR photo.
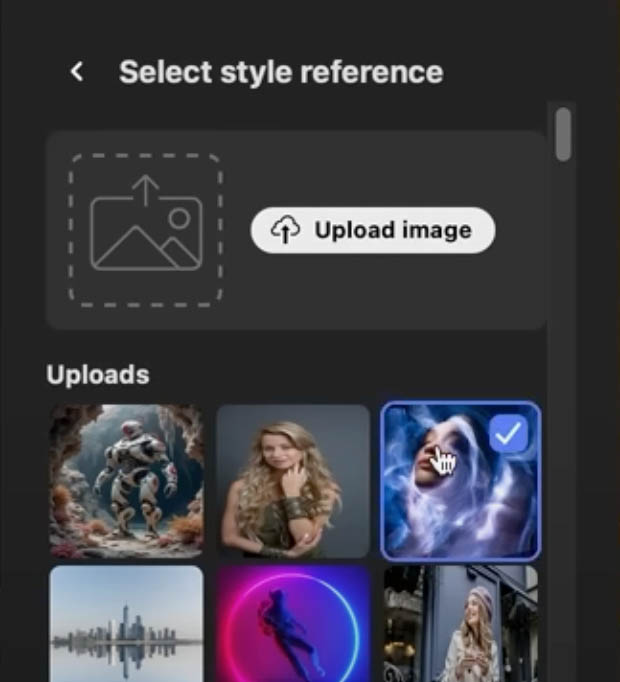
You can upload your own images as references, or browse Adobe’s gallery.
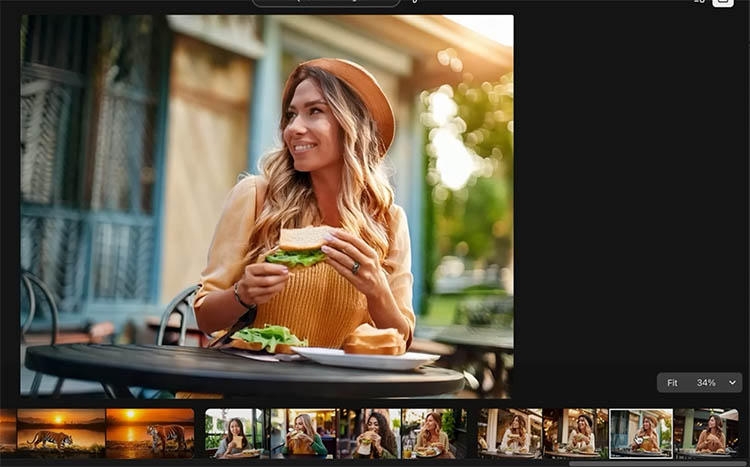
For example, try the prompt “Woman eating sandwich outside a café.”
Set the aspect ratio to landscape, then generate the first results. You’ll see several variations of women eating sandwiches.
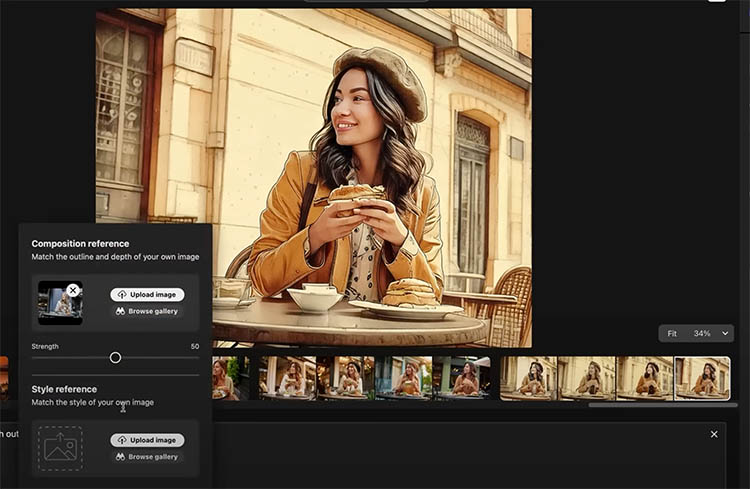
Now, add a composition reference.
Upload your own image, and Photoshop will match the pose and framing while generating new subjects.
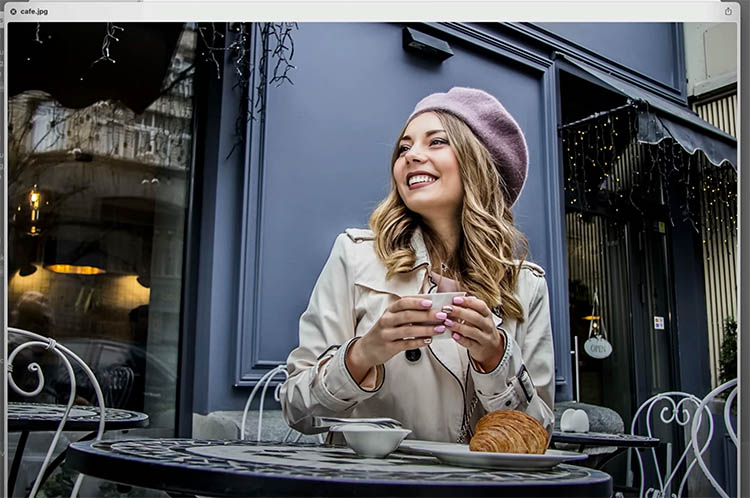
You’ll notice the same angles and structure from your reference, but with new variations.
Switch to a style reference. Browse Adobe’s gallery, or upload your own file.
For instance, try applying the “architectural sketch” style. Your generated results will now take on a sketch-like quality.
If you want more or less influence from the style, adjust the strength slider.
You can also experiment with multiple styles until you find a look that works. For example, choosing a more ethereal style from the gallery can produce dreamy, magical effects.
Working with Variables
Variables are one of the most exciting tools in the Generative Workspace. They allow you to create multiple results from a single prompt.
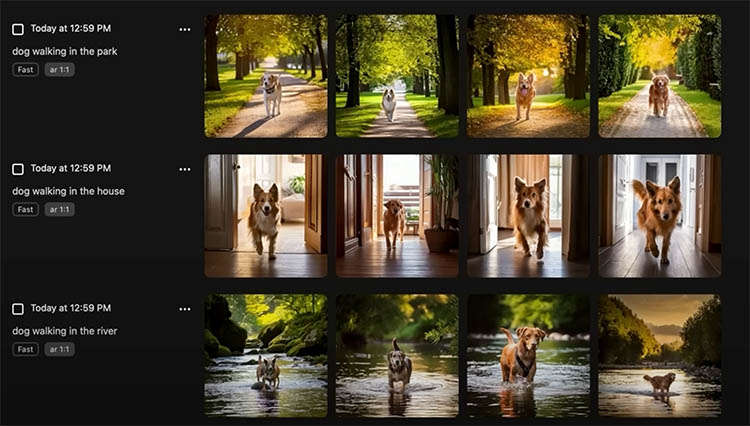
Start simple with this prompt:
A dog walking in the [park, house, river]
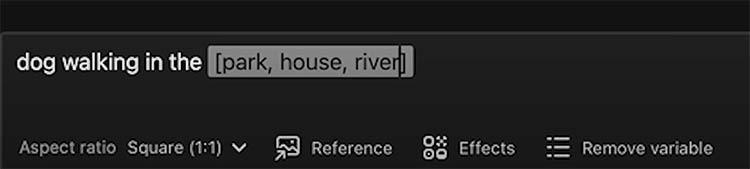
This will generate 12 images—four variations for each location.
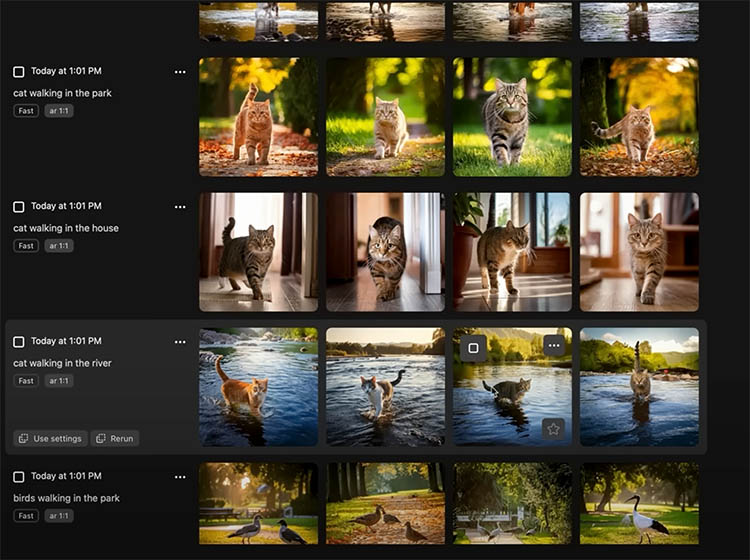
Now add a second variable:
A [dog, cat, bird] walking in the [park, house, river]
This generates 36 images—four for every possible combination of subject and location.
If you added a third variable, you could create over 100 results in a single run.
Tip: The “add variable” button inserts brackets for you, but you can also type them manually for full control over your prompts.
You’ll notice some subjects, like cats, are more consistent and realistic because they’ve been trained on more image data. Others, like birds in unusual locations, may be less refined.
Still, this is an incredibly powerful way to explore variations quickly.
Saving and Opening Results
Once you’ve generated results, you can manage them in several ways:
-
Mark favorites with a star so you can return to them later.

-
Download them as JPEGs.
-
Open them directly into Photoshop.
When opening, you have two choices.
You can add each image to separate layers in a new or existing document.
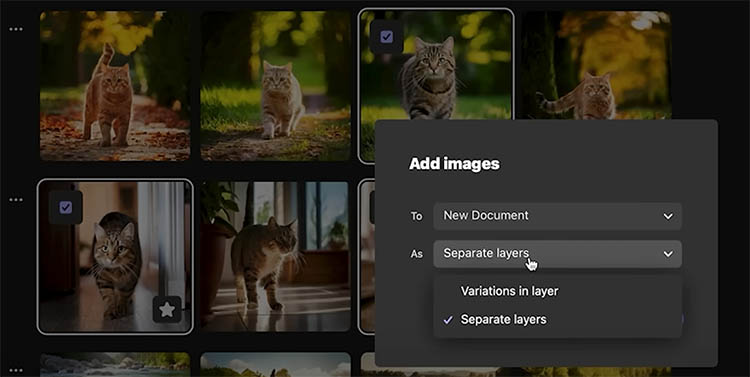
Or you can stack variations on a single layer, making them easier to organize.
This flexibility reduces clutter and keeps your workflow smooth.
Final Thoughts
The Generative Workspace adds a huge range of creative possibilities to Photoshop. From batch processing prompts with variables, to refining results with references, to organizing outputs directly into layers, it’s a game-changer for AI-assisted workflows.
How do you see yourself using the Generative Workspace—to explore creative ideas, streamline client work, or experiment with AI art? Share your thoughts in the comments below.
It’s great to see you here at the CAFE
Colin
PS Don’t forget to follow us on Social Media for more tips.. (I've been posting some fun Instagram and Facebook Stories lately)
You can get my free Layer Blending modes ebook along with dozens of exclusive Photoshop Goodies here

3 thoughts on “How to use Generative Workspace in Photoshop”
Leave a Reply


I am going to show you an alternative to lightening your photographs. This technique will add depth to your lighting...
New features of Lightroom Classic CC, speed and range masking tutorial, See the range mask in action on the brush,...


Thanks, Colin! Nice explanation of the new features.
Thank You for the update…
Colin Thanks again for a wonderful tutorial for people like myself learning Generative Fill & Firefly you explain it really well for us people to follow just like for years I followed your Photoshop tutorials (still do)