
Hidden Luminosity Mask trick in Photoshop
Hidden use of Black and White to fix color
Photoshop tools are designed to do certain things. Sometimes, with some imagination, we can use them in different ways than intended to get some really useful results. I love to experiment and try things, and here is something I came up with, that I use quite a bit. This is a case of using Black and White, to darken and lighten COLORS!.
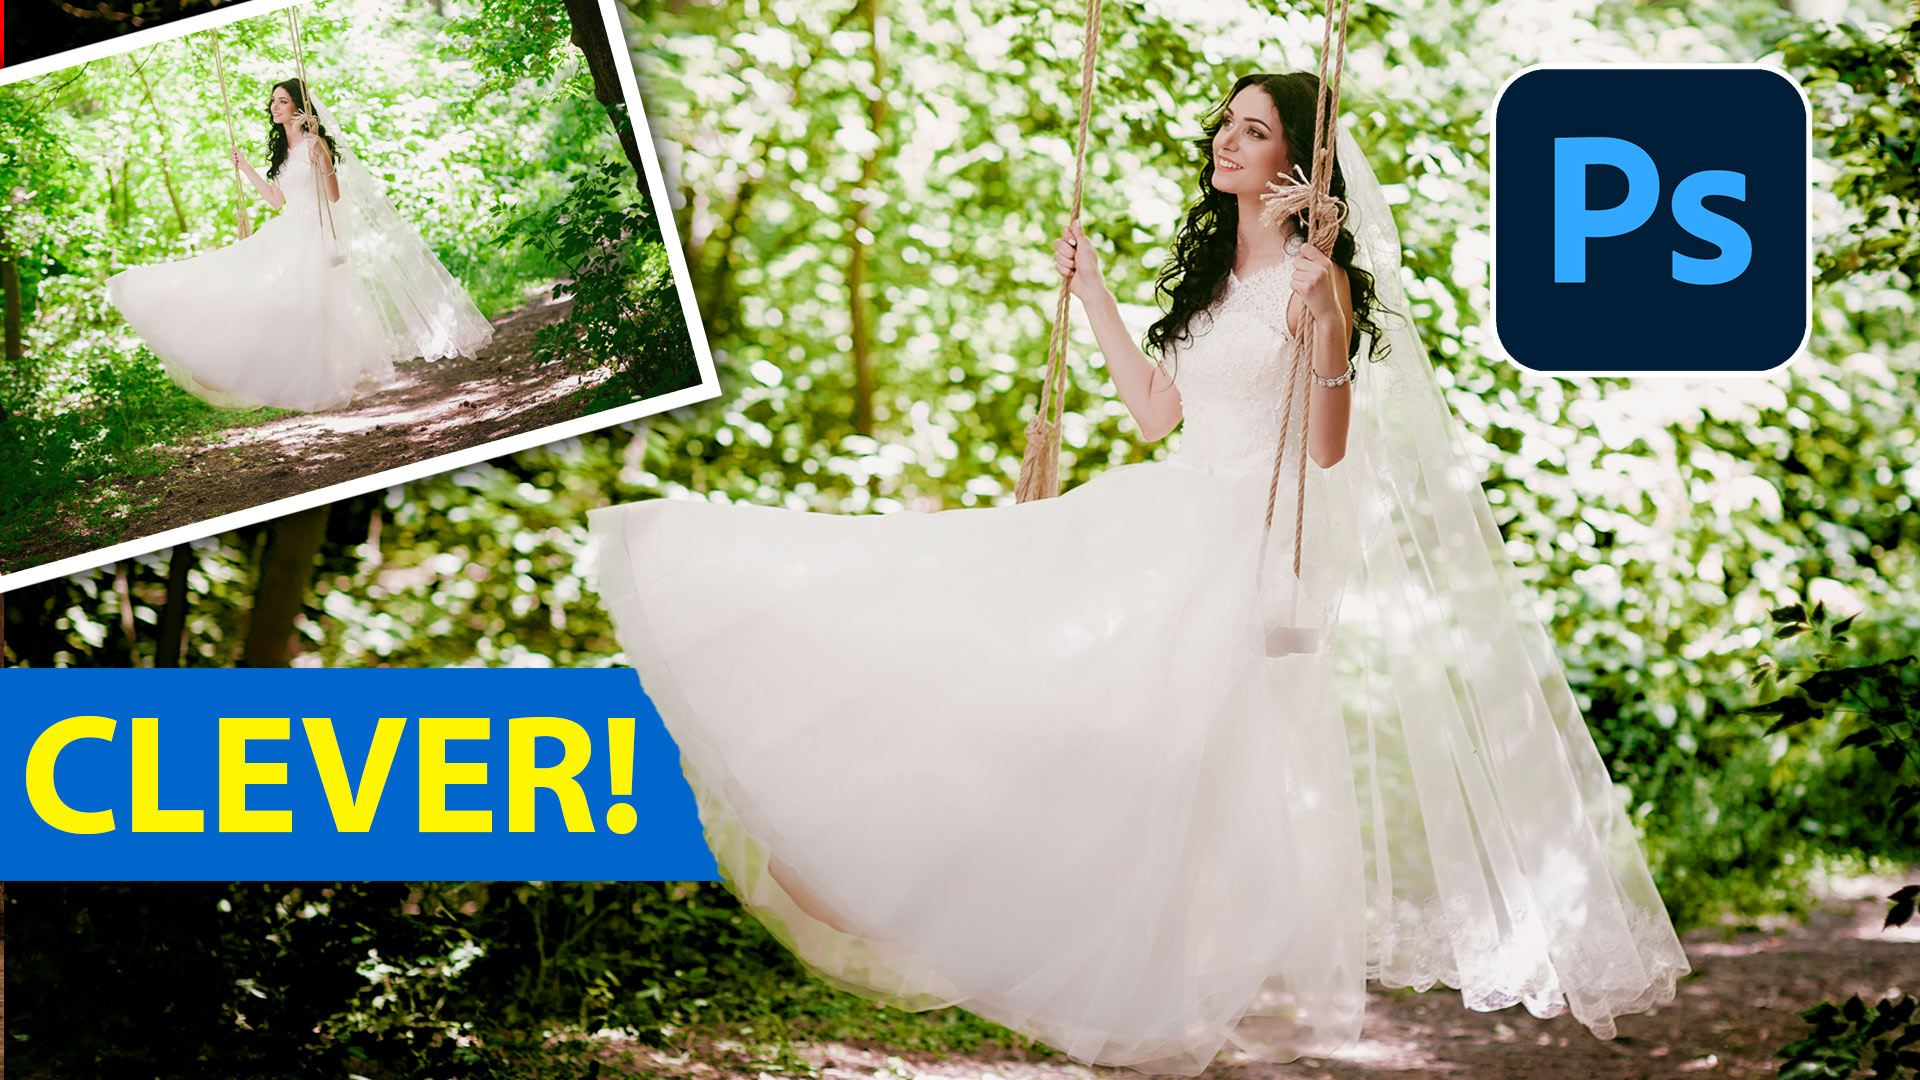
Here is the starting photo. Notice how the background is very bright and saturated and fights with the subject for attention.

Let’s tone the background colors using an unexpected way.
In the Layers panel, click on new adjustment layer

Choose Back and White

The image will change to grayscale.
You typically move the sliders to adjust the tones in the color areas to get a better black and white conversion.

We are going to keep the image color, but use the sliders to darken or lighten the colors.
Change the blend mode to Luminosity, so only the brightness will change and not the colors.
You will already see a difference because the sliders aren’t in a neutral position.

Move the slider in the reds to lighten or darken skin tones. This has a lot of other uses, from making sunburn and more.
Also move the yellow and green sliders to darken the foliage in the background and make the color more cinematic.
Of course, you will use this on your own photos and adjust in a way that is personally pleasing for you (Just because I like this style of color grade doesn’t mean everyone does. The cool part is you get to adjust how you want).

Another way to work, choose the picker tool
As you drag over colors directly on the image, you can adjust their brightness.

Because we are adjusting the brightness, it changes the way the colors look. (Red becomes pink, if lightened)
If you want to shift the colors you can.
Choose a new Hue Saturation Adjustment layer

Choose the picker tool

Click on the color you want to adjust.
It will now limit it to the selected colors

You can now adjust the saturation and color if you like, check it out on the video above to see what I did.
I hope you found this tutorial useful!
Drop a comment and let us know if you did.
Great to see you at the CAFE
Colin
Browse the other free photoshop tutorials here at the cafe
Download 100s of dollars worth of Photoshop adds on for free here at the Vault.

Also follow me on Instagram, Tik Tik, Threads and Twitter. for shorts and reels.
PS Don’t forget to follow us on Social Media for more tips.. (I've been posting some fun Instagram and Facebook Stories lately)
You can get my free Layer Blending modes ebook along with dozens of exclusive Photoshop Goodies here
14 thoughts on “Hidden Luminosity Mask trick in Photoshop”
Leave a Reply

How to Retouch a face in Photoshop. In this High End Retouching tutorial You will learn how to tone a...
Making waves: I have been asked many times how I made the wavey Grid in my Sig. So here it...

How to make a sticker in Photoshop. Add a posterized look to a photo and export picture from Photoshop with...


Awesome Colin!
What an interesting way of adjusting color and luminosity, thanks Colin! You are always thinking outside the box!!!
Very useful tutorial thank you
Very useful tutorial, I hade one photo that my friend hade wondering if I culd fix. It was an underwater photo of a lobster, their the lighting came loose, so part of the lobster get dark. I have try to fix it with diffrent program and settings for nearly 17 year, and to day with your tutorial I fixed the photo.
I often use Nik Silver Efex in Luminosity Blend in colour images but it had not dawned on me to do this. Thank you Colin.
Thank you Colin. Have used this feature for color to bw conversions. Never considered it to fix color. Creative
HAPPY BIRTHDAY!!!!!
Thank you
What a simple but highly efective technique! Thank you.
Happy Birthday. I have adjusted in B&W but never in reverse. Great and very useful trick. Many thanks.
As always so practical, gives a great choice for effects. Thanks
Excellent! I love discovering new ways of taking care of moves that need to be made like this.
All of your tutorials are excellent! I look forward to each one. Thank you so much!
Thanks!