Plastic Engraved type in Photoshop Photoshop Tutorial

How to make 3d Plastic engraved text effect in Photoshop
Step 1
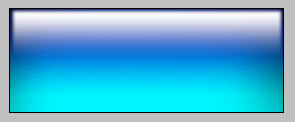
Start with the background. This is one I made using a couple of gradients.
Step 2
Add a new layer with your type on it.

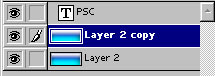
Step 3
Duplicate your background layer. Press Ctrl/Cmd+J
Ctrl/Cmd click on your type layer to start the “marching ants”
Make sure your top background layer is active.
Press delete, you won’t see any difference, but you just cut a hole in your layer.
Click the eye icon next to the type layer to hide it.
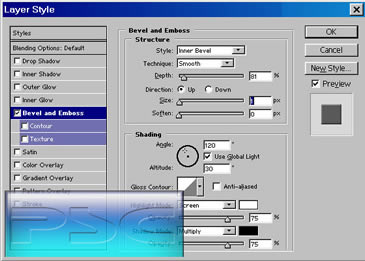
Step 4
click the “f” at the bottom od the layers panel to add a layer style.
Go to bevel and emboss and fool around until you get a similar result. See your type appear just like magic.
Keep the layer style box open.
Step 5
Now go to drop shadow and add a similar setting.
Click ok to apply your effect.
Step 6
Now lets darken the background a bit for some added realism.
Select the bottom background layer.
Press Ctrl/Cmd+L to open the levels box
Drag the left most slider in a bit and the middle one to the right a bit to darken things up a tad.
Step 7

Here is the result!
PS Don’t forget to follow us on Social Media for more tips.. (I've been posting some fun Instagram and Facebook Stories lately)
You can get my free Layer Blending modes ebook along with dozens of exclusive Photoshop Goodies here

Hidden button to instantly fix color of photo in photoshop I’m going to show you a button that most people...

Lightroom Classic how to load color profiles into Lightroom and Camera RAW. Get a free Lightroom Profile Pack.
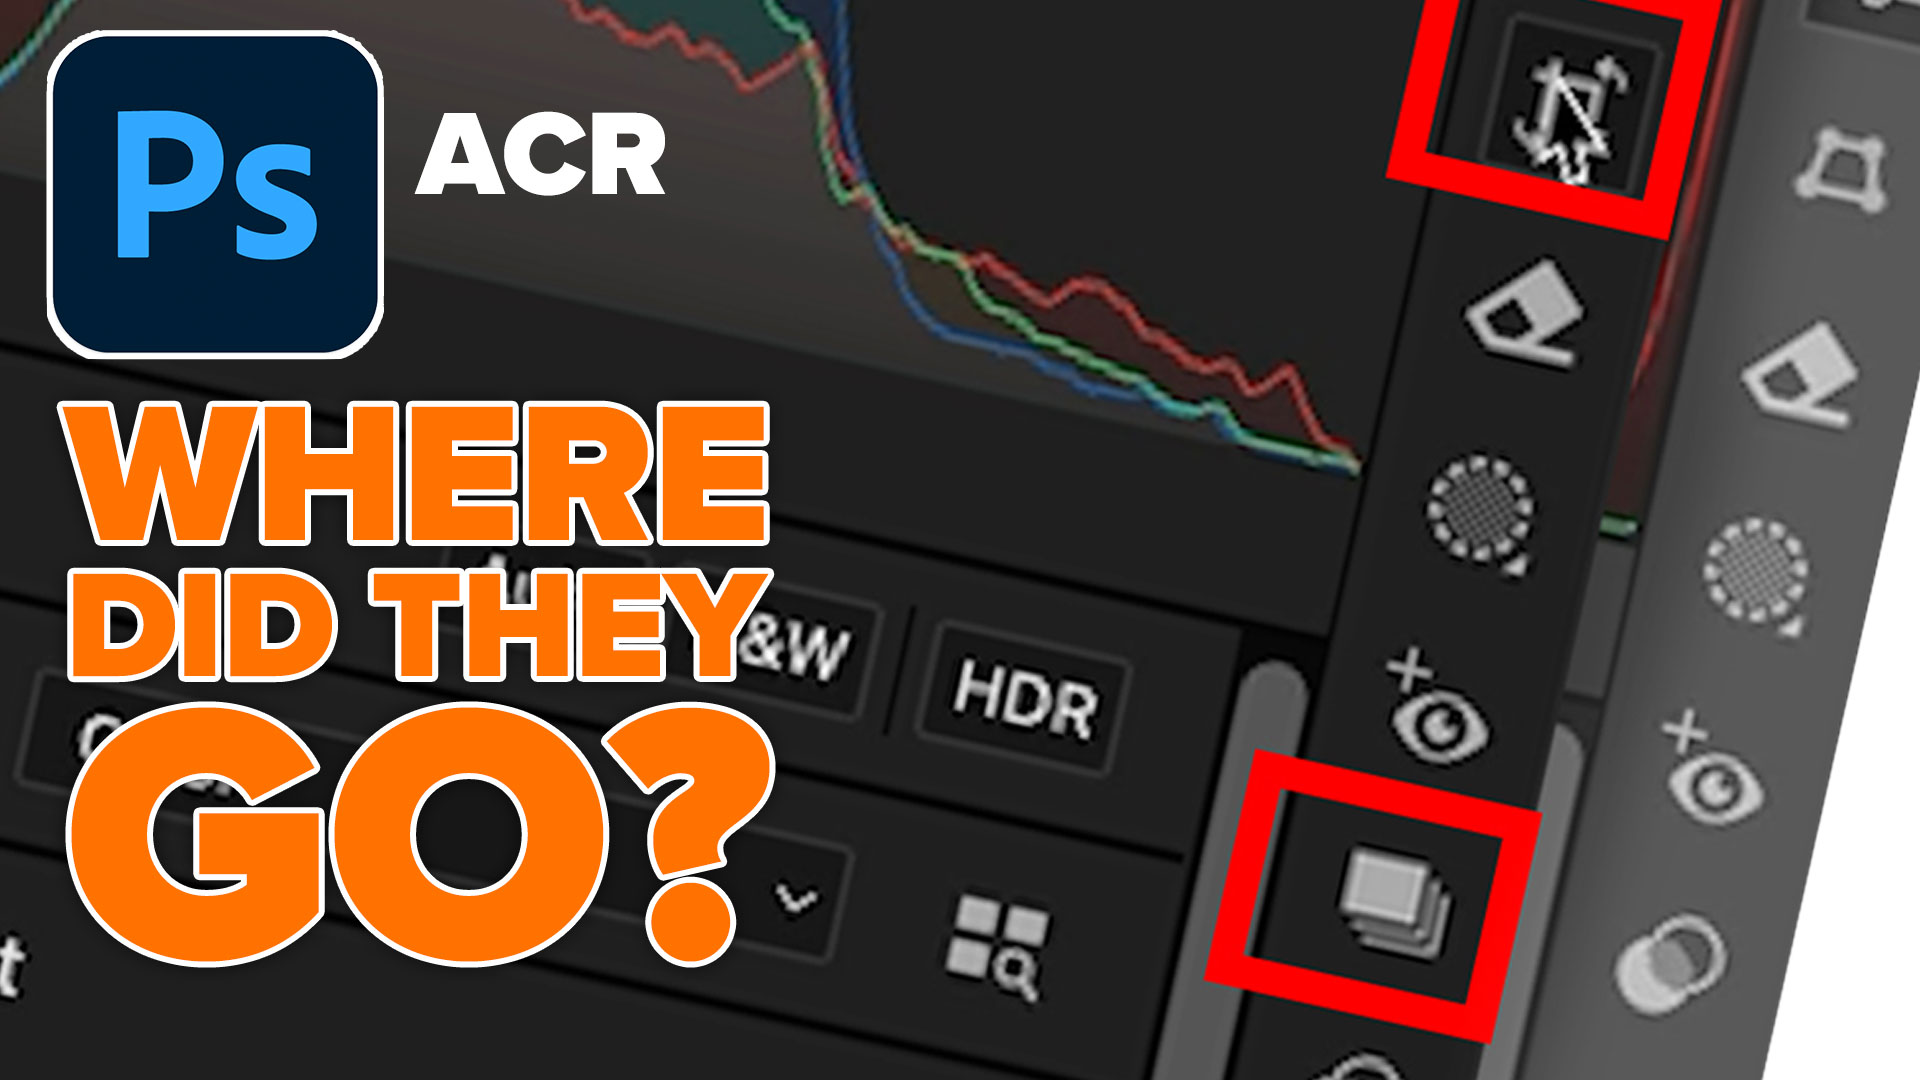
Finding the missing tools in Camera Raw. Why do tools sometimes vanish in ACR? Colin Smith explains ACR as a...