
Copy the color grade from any movie and add it to your photos in Photoshop
How to copy the color grade from a movie and instantly apply it to your photos in Photoshop
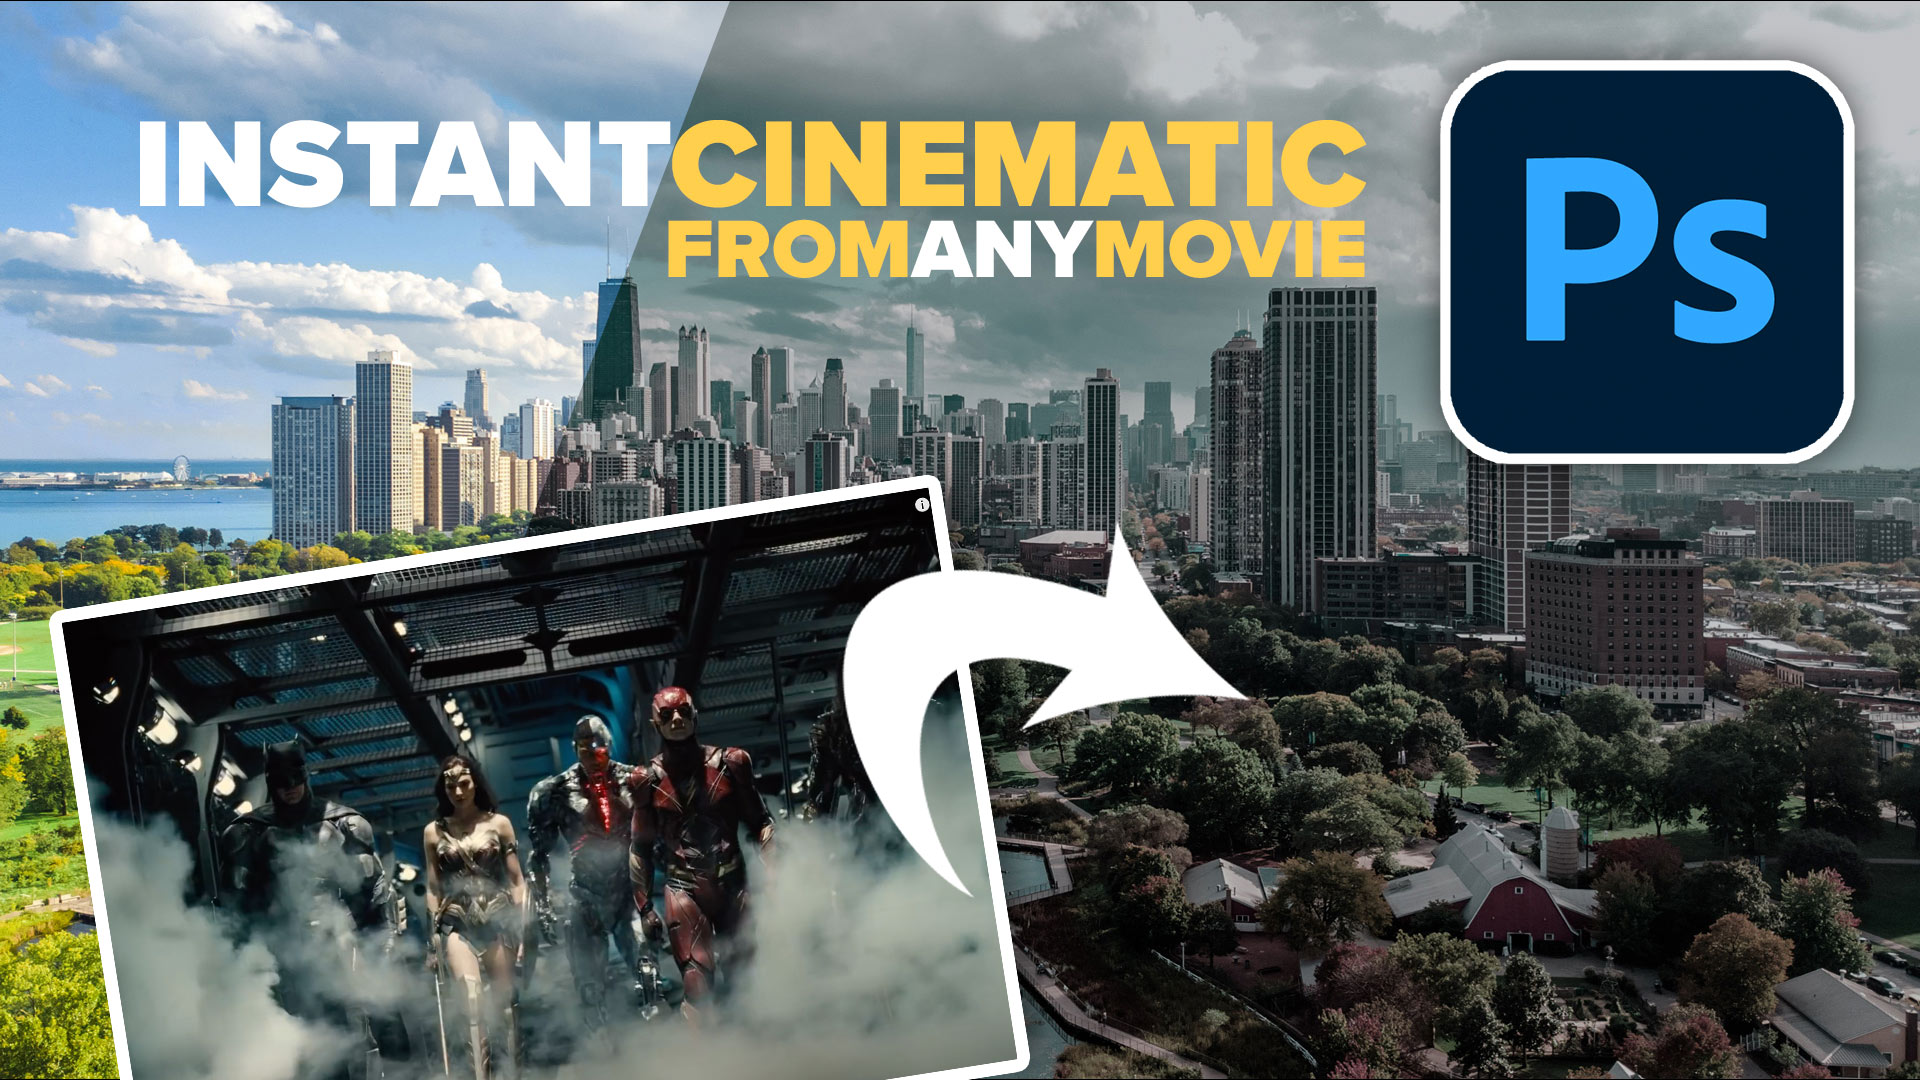
How to copy a movie color grade and apply it to any photo. Create the Zach Snyder Justice League and 300 look in Photoshop. Colin Smith shows you how to steal the color grade from any move and add it to your photos. The proper way to do cinematic color grading made really easy. and quick.
0:00 Intro, the setup
0:34 Finding the source images, how to make screen captures
1:36 5 things that make the Zach Snyder look
3:10 Project 1, the basics of copying a color grade (city)
4:46 color grade a portrait (project 2)
5:50 Advanced Color grading a scene
7:20 Additional tricks in Photoshop for a color grade
PS Don’t forget to follow us on Social Media for more tips.. (I've been posting some fun Instagram and Facebook Stories lately)
You can get my free Layer Blending modes ebook along with dozens of exclusive Photoshop Goodies here

16 thoughts on “Copy the color grade from any movie and add it to your photos in Photoshop”
Leave a Reply

What's new in Photoshop 25.5.1 March 2024 update. How to update Photoshop

in this free Lightroom tutorial learn how to make an HDR image in Lightroom 6 / Lightroom CC. Shoot bracketed...
How to use Adobe Lightroom Mobile on the Apple iPad Pro 2. Retouching with the apple pencil, edit your photos...


As usual, you taught me something today that I never knew about. Thanks.
You are VERY generous with your expansive knowledge & experience.
Always so clear & precise. Inspiring.
Thank you.
See you at LFL!
LOVE this tutorial Colin!! Thank you for sharing it. I’ve wanted to do this kind of photography for YEAAAAARS, but never really played around with it because it seemed overwhelming. This is incredible and I can’t wait to do some shots with it!! Thank you
PS….300 is my favorite movie BECAUSE of the *look* of it. I literally cried the first time I saw it on the big screen because of how BEAUTIFUL it was. And then I went and saw it 3 more times on the big screen!!! Everyone thinks it’s cuz of the 1/2 naked men and I’m all nerd when I talk about it “NOOOOO…it’s the cinematography after effects they did on it in addition to a great story…..men….what men?” LOL
Very cool tip. Thanks!
This was great! After getting a look to simulate a cinematic style then I’d like to create a LUT that can be used over again…. I assume there’s a way to do that. But I’m not sure what it is.
Can’t get the printscreen; file capture to work on Win 10.
Found the trailers on Youtube but nothing else works for me.
Like the video, however.
Another tip-top tip!
Thanks, Colin. This was good and really easy. I haven’t used Color Match much, it opens a new world of possibilities.
This is again very instructive, thanks Colin
Very interesting tutorial. Thanks for creating.
Many Thanks! So much appreciate your efforts and your non-selfish sharing–Blessings to you.
Yesss. You’re good 🙂
I have been trying this but it doesn’t work for me. I capture the image, go into PS/file new/paste and save. Then when I go into match color and select it, it is washed out completely. It’s the same every image no matter what I capture. I’ve used printscreen and windows key+shift+s but no luck. When saved the image looks fine but not when I select it. Any suggestions?
This was excellent and exactly what I was looking for.
Thanks; I never considered that such ‘borrows’ are possible.