Infra-Red effect in Photoshop Photoshop Tutorial
Step 1
Have you ever seen the movie Predator? There is a part when you look through his eyes and everything is infra-red looking. While I am on the science type effects, I decided to show you how to take an image and produce an infra-red type effect.
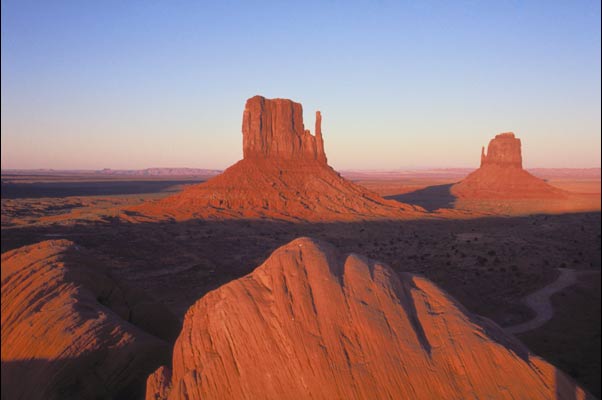
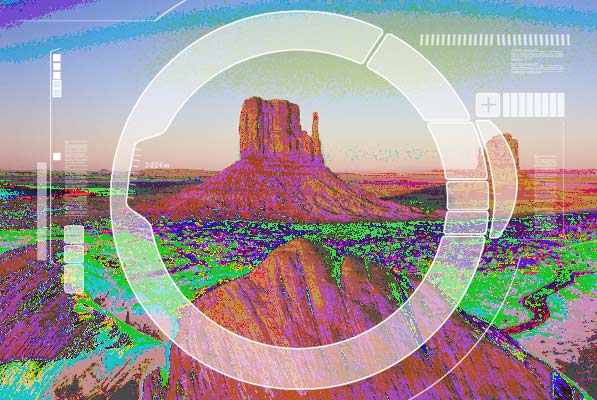
Start with an image.

Step 2
Open the curves dialog box.
Image>adjust>curves Or press Ctrl/Cmd+M
Choose the pencil tool and make short dashes across the window as shown.
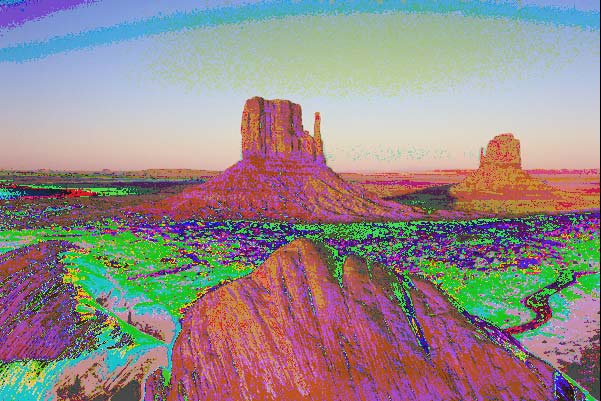
Step 3
Click ok and you basically have the effect. Simple huh? The base colors even remain the same. What we have done, is inverted tiny segments of the image. You can make this as detailed as you wish, just by adding more dashes.
Step 4
Here I applied a display that I drew to make it look like you are looking through an infra-red scope. The scope was drawn using fills, strokes and the line tool.
Step 5
I removed all the different colors by using a Hue Saturation adjustment layer and choosing the colorize option. I added a second adjustment for the sky color and then blended them together using Layer masks.
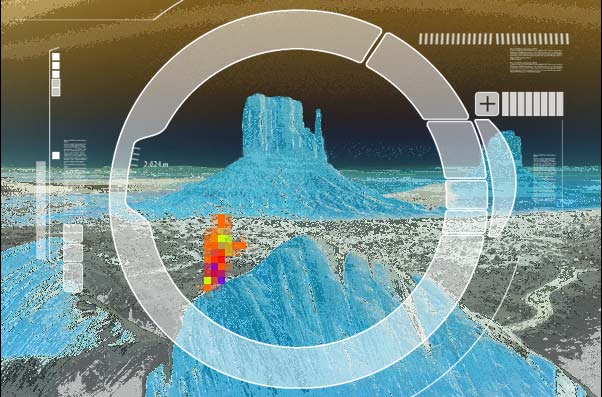
Step 6
Happy hunting!
Get in-the-know!
Photoshop VAULT
Access valuable Photoshop extras and goodies for free and much more a

Making waves: I have been asked many times how I made the wavey Grid in my Sig. So here it...

How to turn day into night using Camera Raw or Lightroom . This Photoshop tutorial shows how to quickly turn...

This tutorial came out of a request from the forum. I was asked if I could make a realistic rope..