
Curves in Photoshop explained Photoshop Tutorial
Many people shake with fear at the very mention of Curves. You don’t need to fear anymore, because this helpful video will take the pain out of it. Watch as I explain in plain English how to use curves and bend them to your advantage. (pun intended).
Tips on curves
Use Adjustment Layers whenever possible, because they are non-destructive. (Can be changed later).
Click the little finger icon to drag and adjust directly on the screen.
(With the Curves Modal Dialog only Ctrl+M/Cmd+M – Non Adjustment layers)
Hold down the Ctrl/Cmd key and click on a portion of an image to add a targeted point to the curve.
Hold Down Ctrl+Shift/Cmd+Shift to add points to the color channels of a curve.
PS Don’t forget to follow us on Social Media for more tips.. (I've been posting some fun Instagram and Facebook Stories lately)
You can get my free Layer Blending modes ebook along with dozens of exclusive Photoshop Goodies here


2 thoughts on “Curves in Photoshop explained Photoshop Tutorial”
Leave a Reply
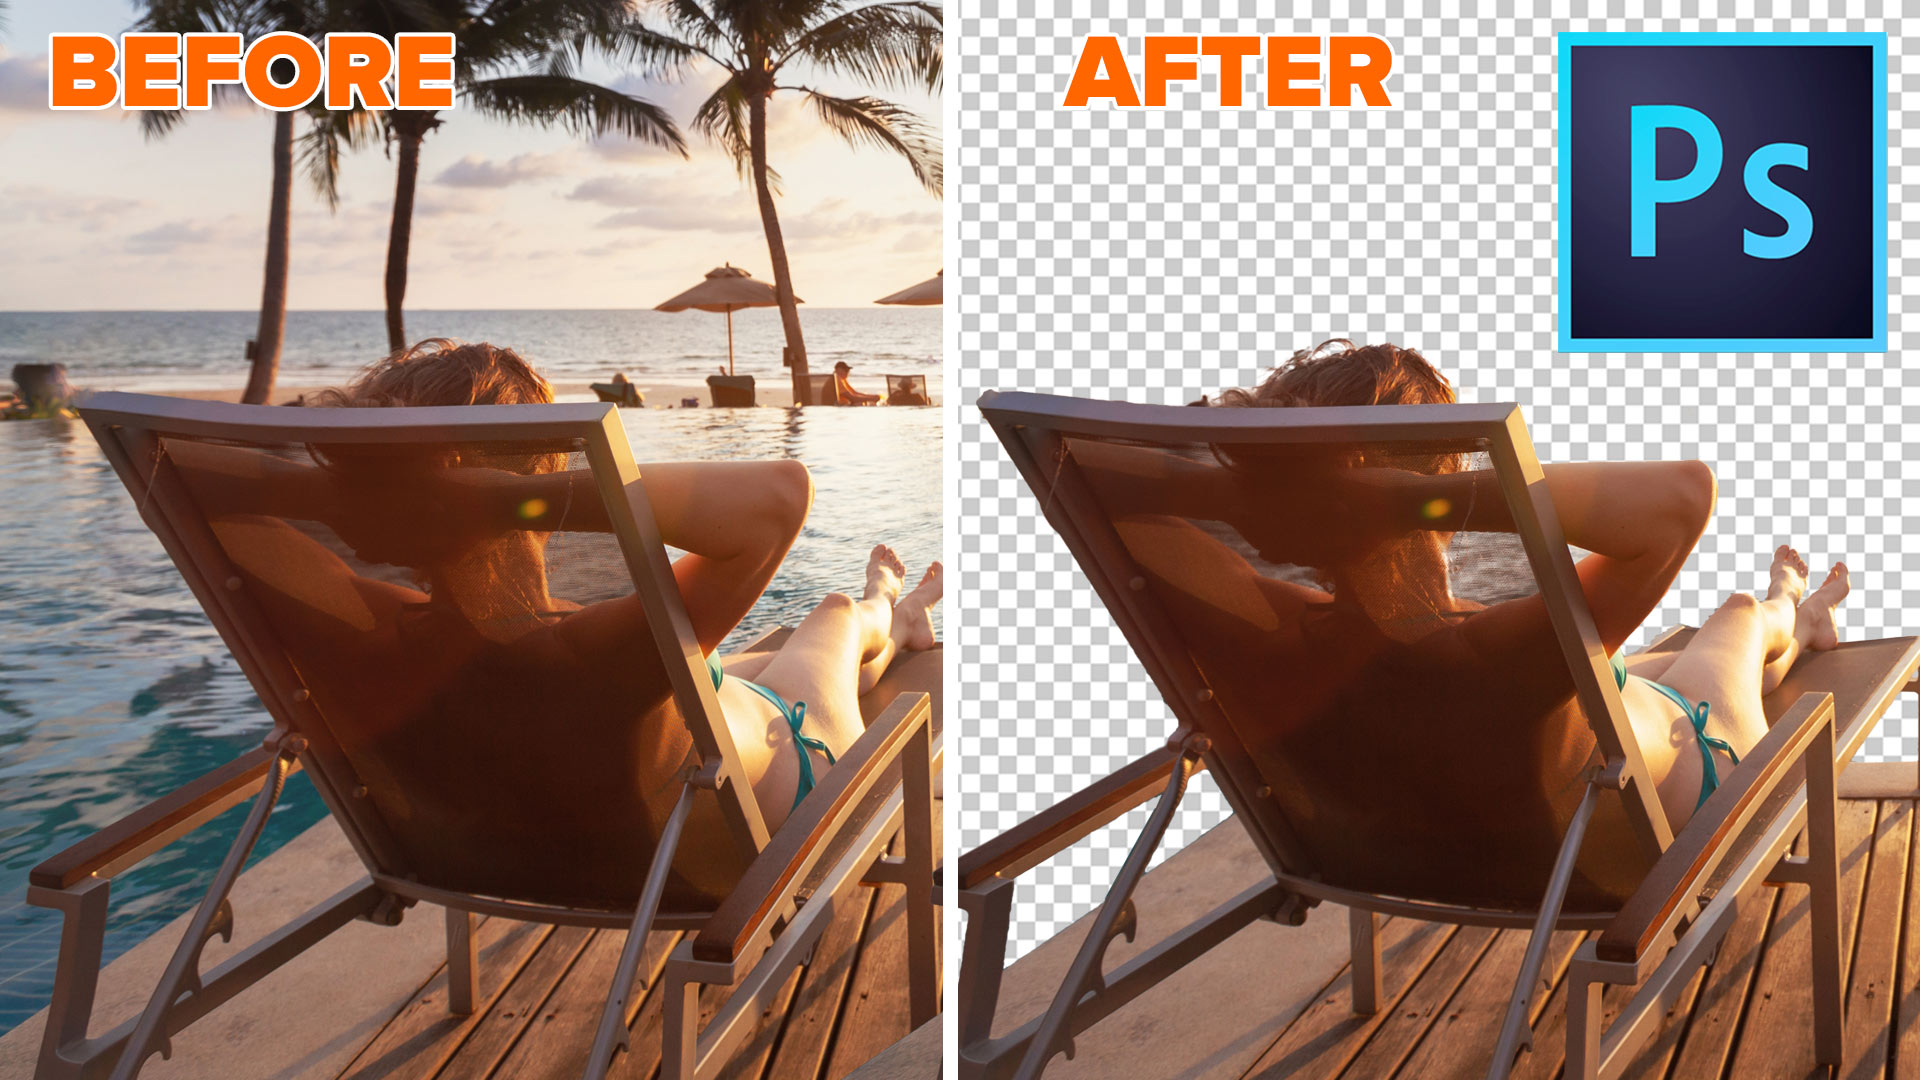
This Photoshop tutorial will teach you some of the detailed steps to remove a background in Photoshop with high resolution...
Bend anything In Photoshop easily, using the puppet Warp tool. Photoshop puppet warp tutorial.

How to Work with Lightroom adjustments inside Photoshop using Smart Objects as Layers


nice tutorial very helpfull to me
Great tutorial and nice content. Thanks for shairng.