
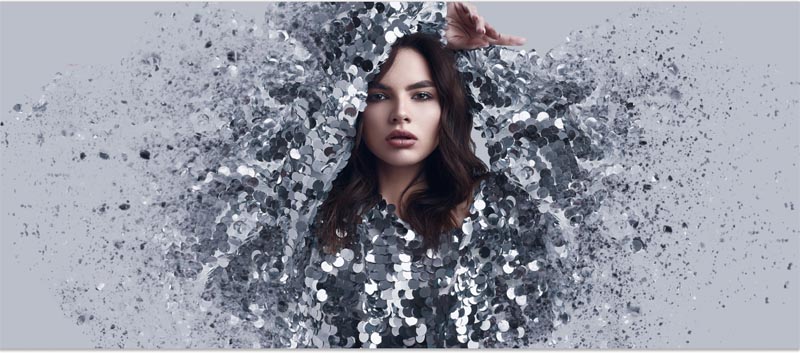
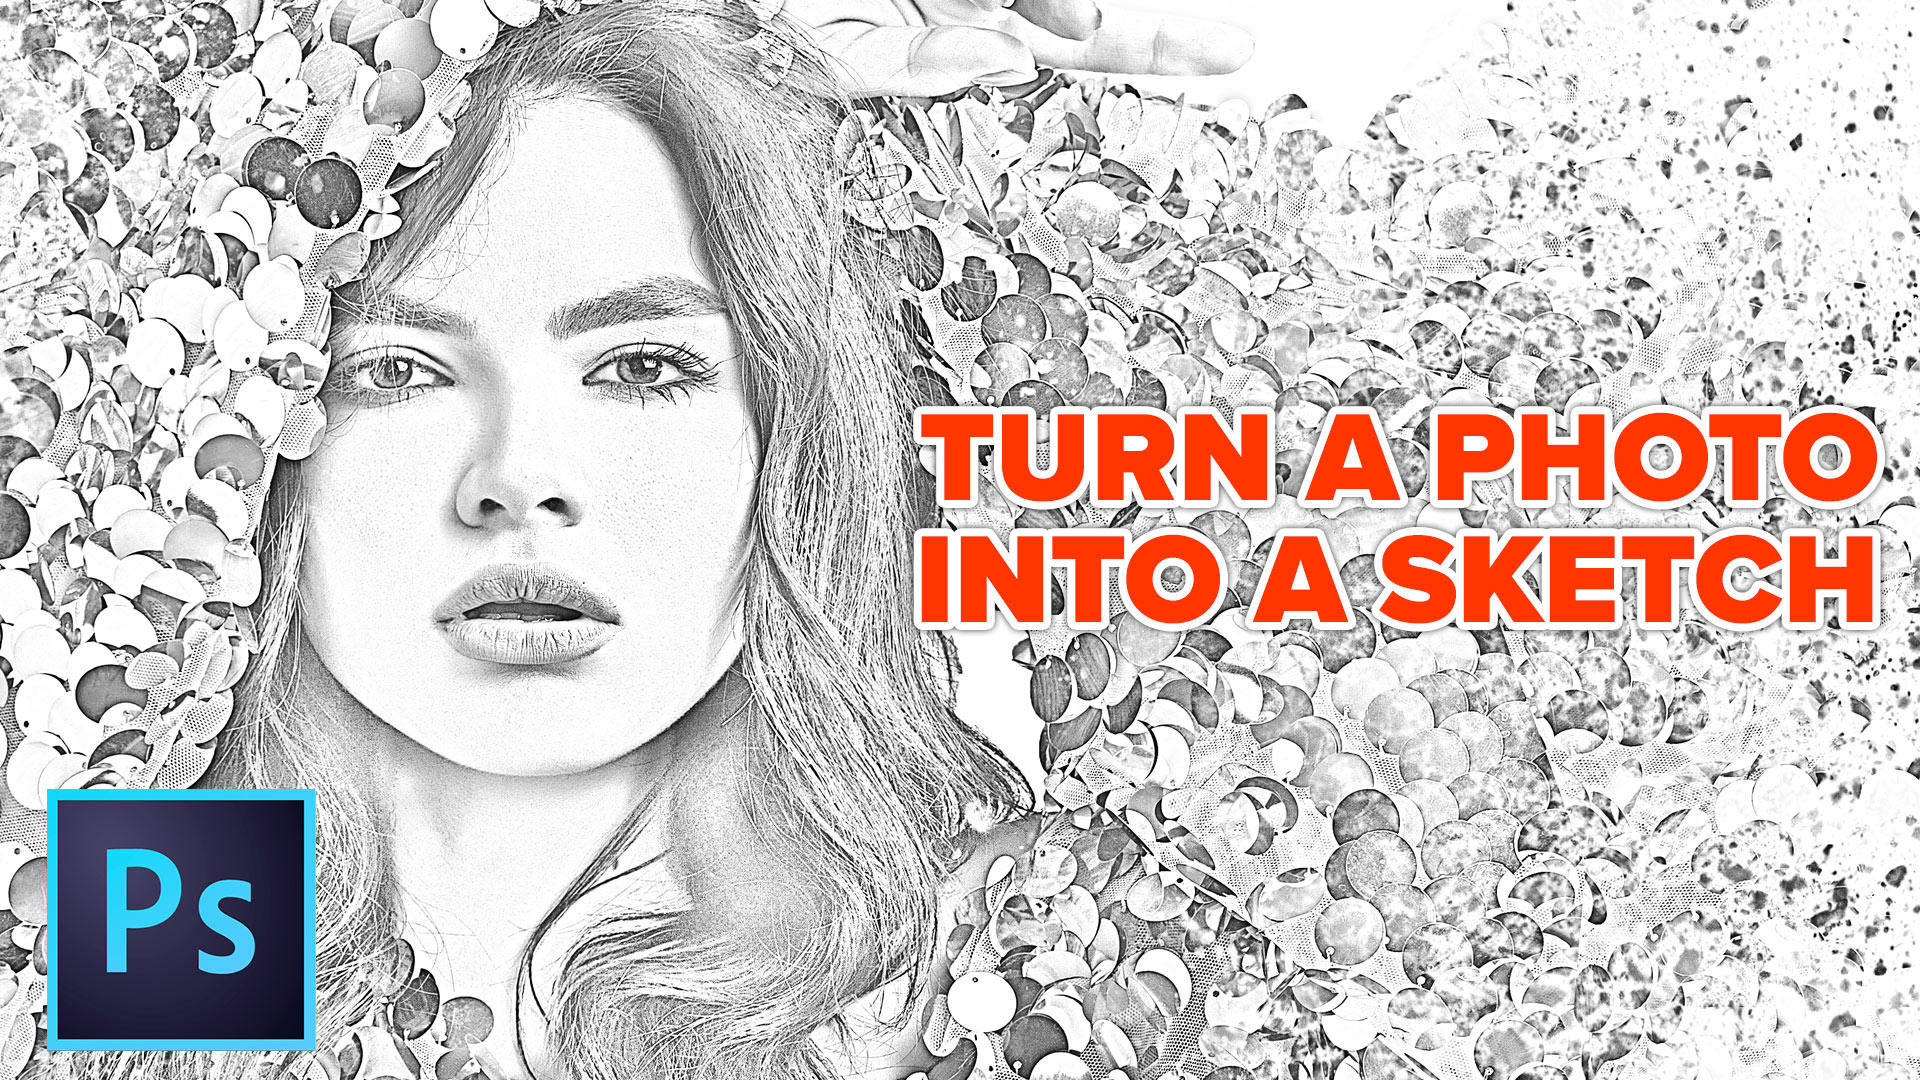
How to Turn a Photo into a Pencil Drawing in Photoshop, the new and improved Sketch effect
In the past I have made a photoshop tutorial on turning a photo into a sketch. But after many years, I have a much better way of doing it, check out the photo to Pencil Drawing tutorial here.
We are going to create the fine lines of the outline as well as the smoother shading that is characteristic of a pencil drawing. I suggest watching the video first, then use the written steps as easy reference so you don’t have to remember everything.
Here are the promised resources
- Link to the photo I used, (you can use the watermarked version free)
- Link to grab the free Layer Blending mode ebook
How to turn your photo into a pencil drawing in Photoshop, step by step instructions.
This works in all Photoshop versions.
Step 1
Duplicate the Layer (Ctrl/Cmd+J)

Step 2
Convert the new layer to Black and White (Ctl/Cmd+Shift+U)
Step 3
Duplicate the black and white layer (Ctrl/Cmd+J)
We now have 2 black and white layers
Step 4
Invert the top Black and white layer (Ctrl/Cmd+I)
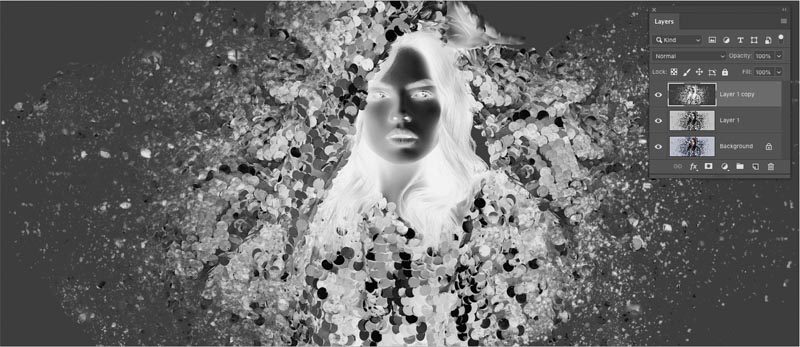
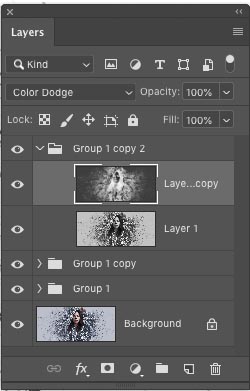
Step 5
Change the Blending mode to Color Dodge (Click on Normal in the Layers panel)
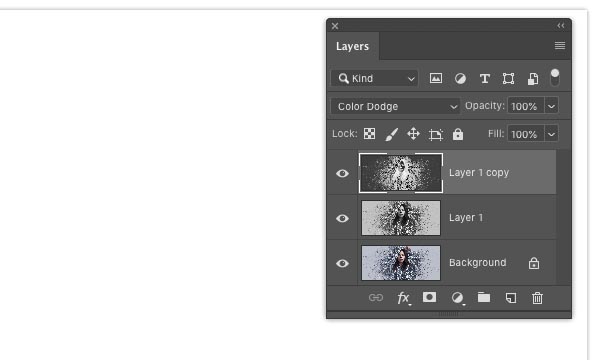
The image is all white, this is normal and expected.
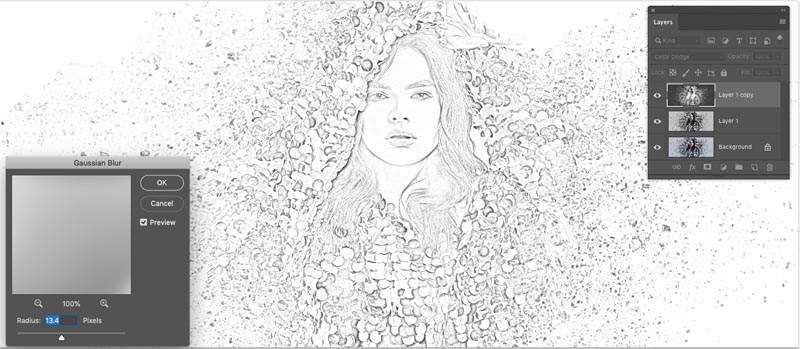
Step 6
Filter>Blur>Gaussian Blur
Move the amount slider just enough so that we get a nice thin, but clear outline around everything.
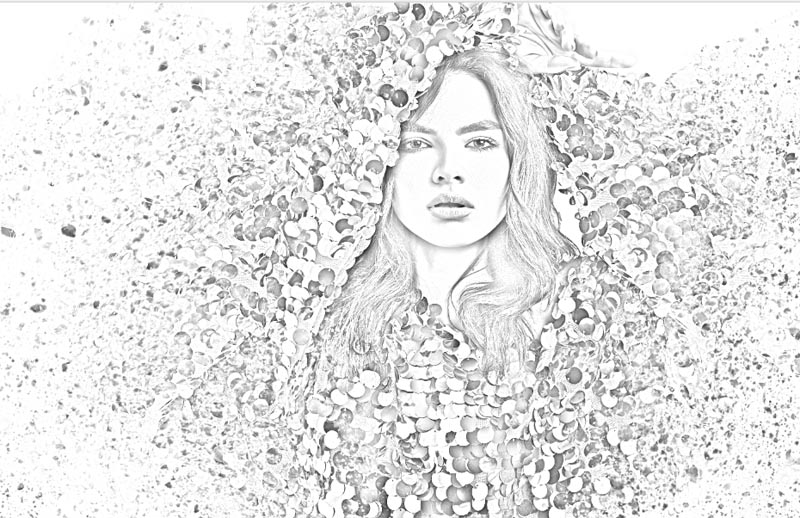
We now have an etched effect
Step 7. Adding the shading
We now have a nice outline, but we want to add smooth shading, (this is where other tutorials usually stop).
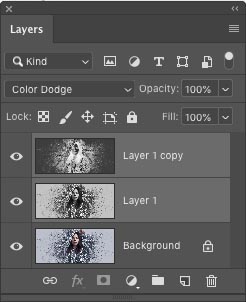
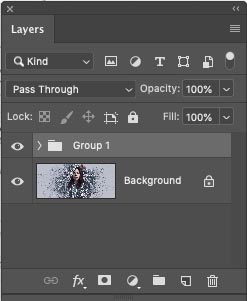
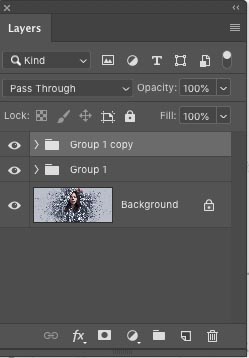
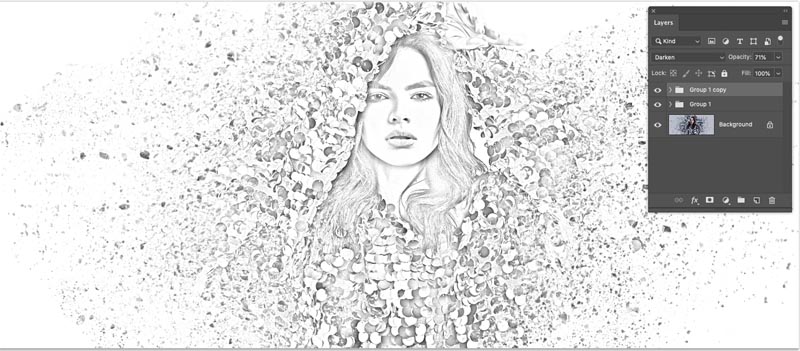
Select both black and white layers and press Ctrl/Cmd+G to place into a layer group.
Step 8
Duplicate the group. Click on the group in the Layers panel and press Ctrl/Cmd+J.
Step 9
Choose the top layer in the top group
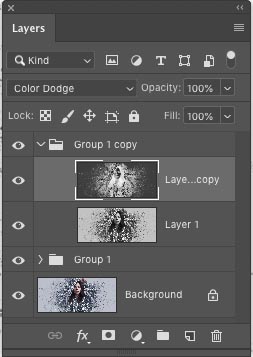
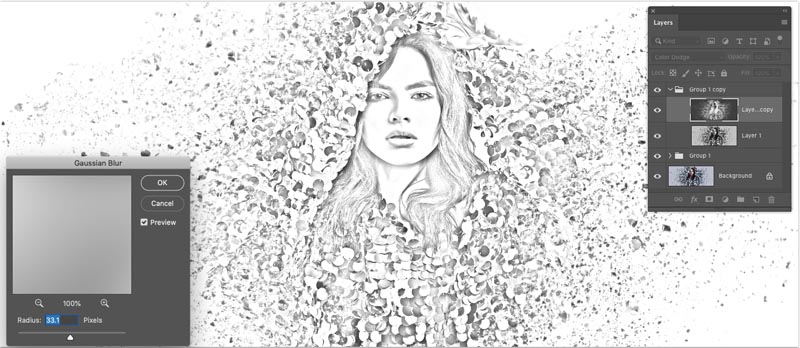
Filter>Blur>Gaussian Blur
Move the slider until you see some gentle shading
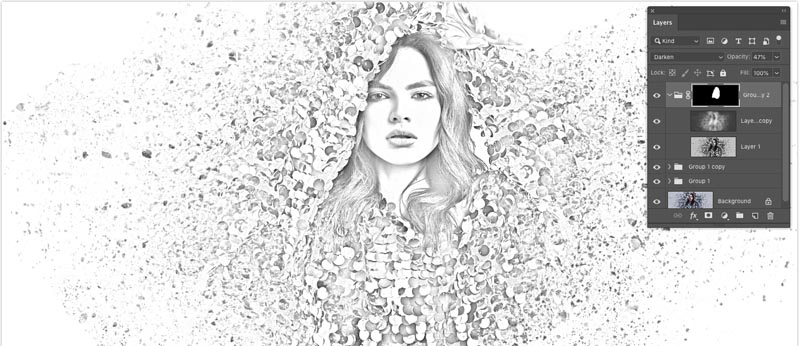
Step 10. Blending the 2 Layer Groups together.
Choose the top Group (not the pixel layer, but the group).

Change the Blending mode to Darken, You can apply blending modes to groups as well as individual layers.
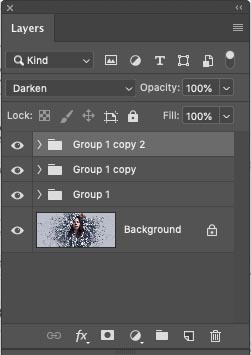
Adjust the opacity for a nice match.
Step 11
Duplicate the Top layer blending mode once again for a 3rd group. (Ctrl/Cmd+J)
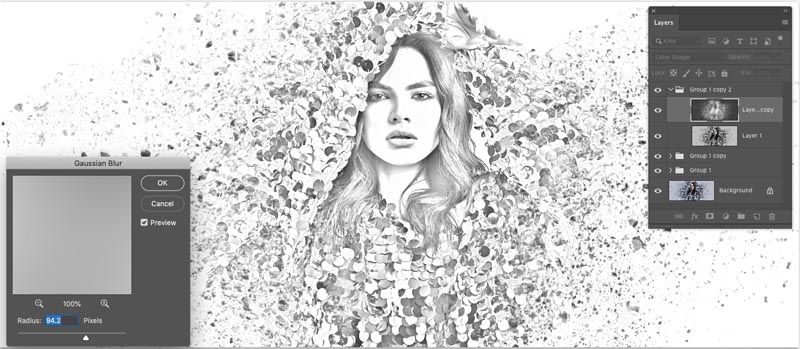
Step 12
Choose the top layer in the top group
Filter>Blur>Gaussian Blur
Move the slider until you see the final shading.
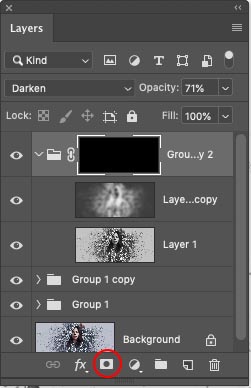
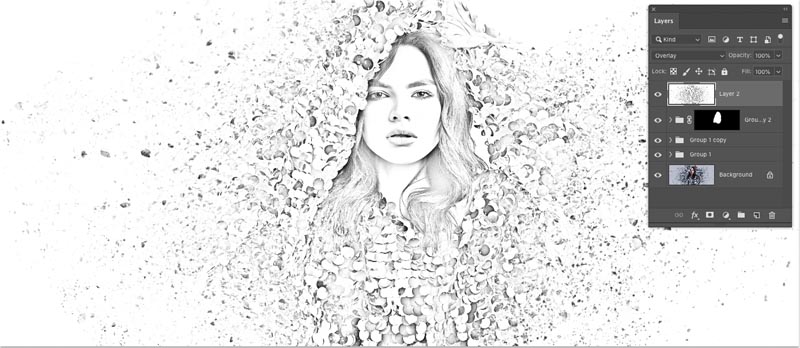
Step 13. Masking the effect
Let’s target where this effect should go with a layer mask.
Select the top layer group and add a Layer Mask, but wait. We want an inverted mask (Hides everything)
Hold down Alt/Option as you click the new layer mask icon in the layers panel. You will now have a black mask.

Step 14
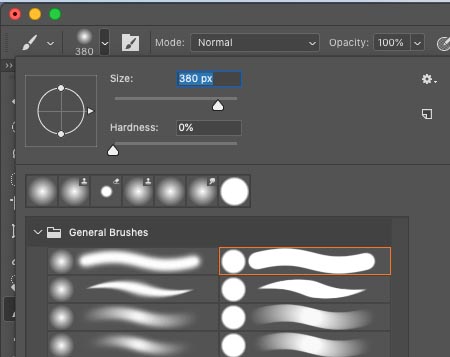
Choose a soft edged brush (B key)
Select white as the foreground color
Change the brush opacity to 30% in the top tool options.
Step 15
With the mask selected, paint on the image and add the shading where you need it. It’s fun painting in the shading.
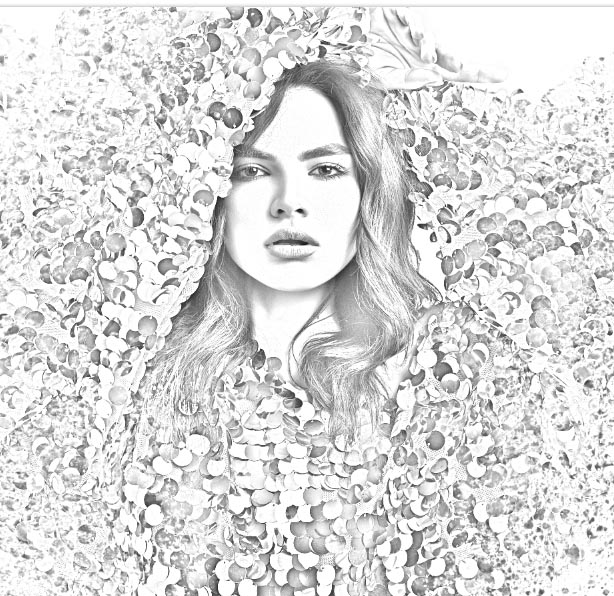
This completes the basic effect. Lets enhance it
Xtra Credit. Adding edge sharpening.
a/ Select all the layers and Press Ctrl+Alt+Shift+E (Windows) Cmd+Option+Shift+E (Mac) to create a new composite layer on top

b/ Change the Layer Blending mode to overlay on the top layer
c/ Choose Filter>Other>High Pass
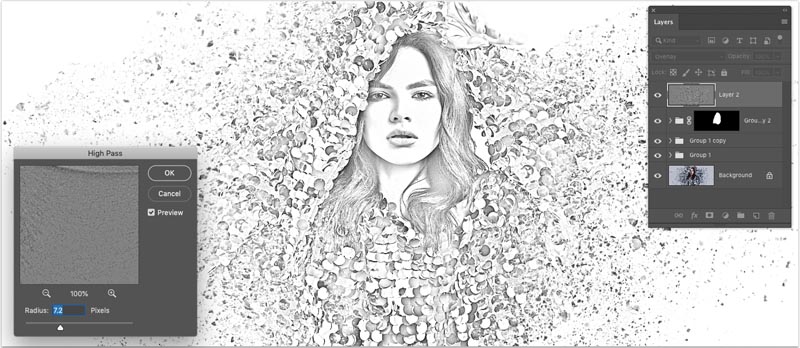
d/ Adjust the amount until you are happy with the nice sharp Edges.
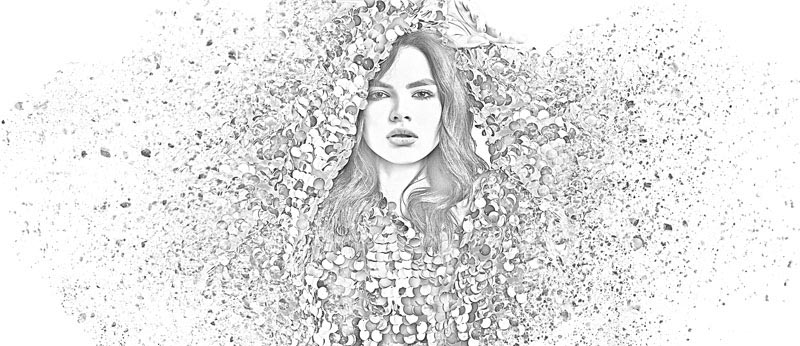
That’s it! Congratulations if you have completed this Photoshop Pencil Drawing tutorial! Nice job 🙂
Don’t forget to check out our other tutorials here at PhotoshopCAFE (Use the search bar at the top, or browse through the categories)
Thanks for checking out this weeks tutorial and see you all next week.
Great to see you here at the CAFE
Colin
PS Don’t forget to follow us on Social Media for more tips.. (I've been posting some fun Instagram and Facebook Stories lately)
You can get my free Layer Blending modes ebook along with dozens of exclusive Photoshop Goodies here

62 thoughts on “How to Turn a Photo into a Pencil Drawing in Photoshop, the new and improved Sketch effect”
Leave a Reply

In this Photoshop tutorial, I’ll show you 2 ways to combine images and 4 ways to seamlessly blend them together....

How to make a two faced optical illusion effect with a front and a profile photo at the same time....
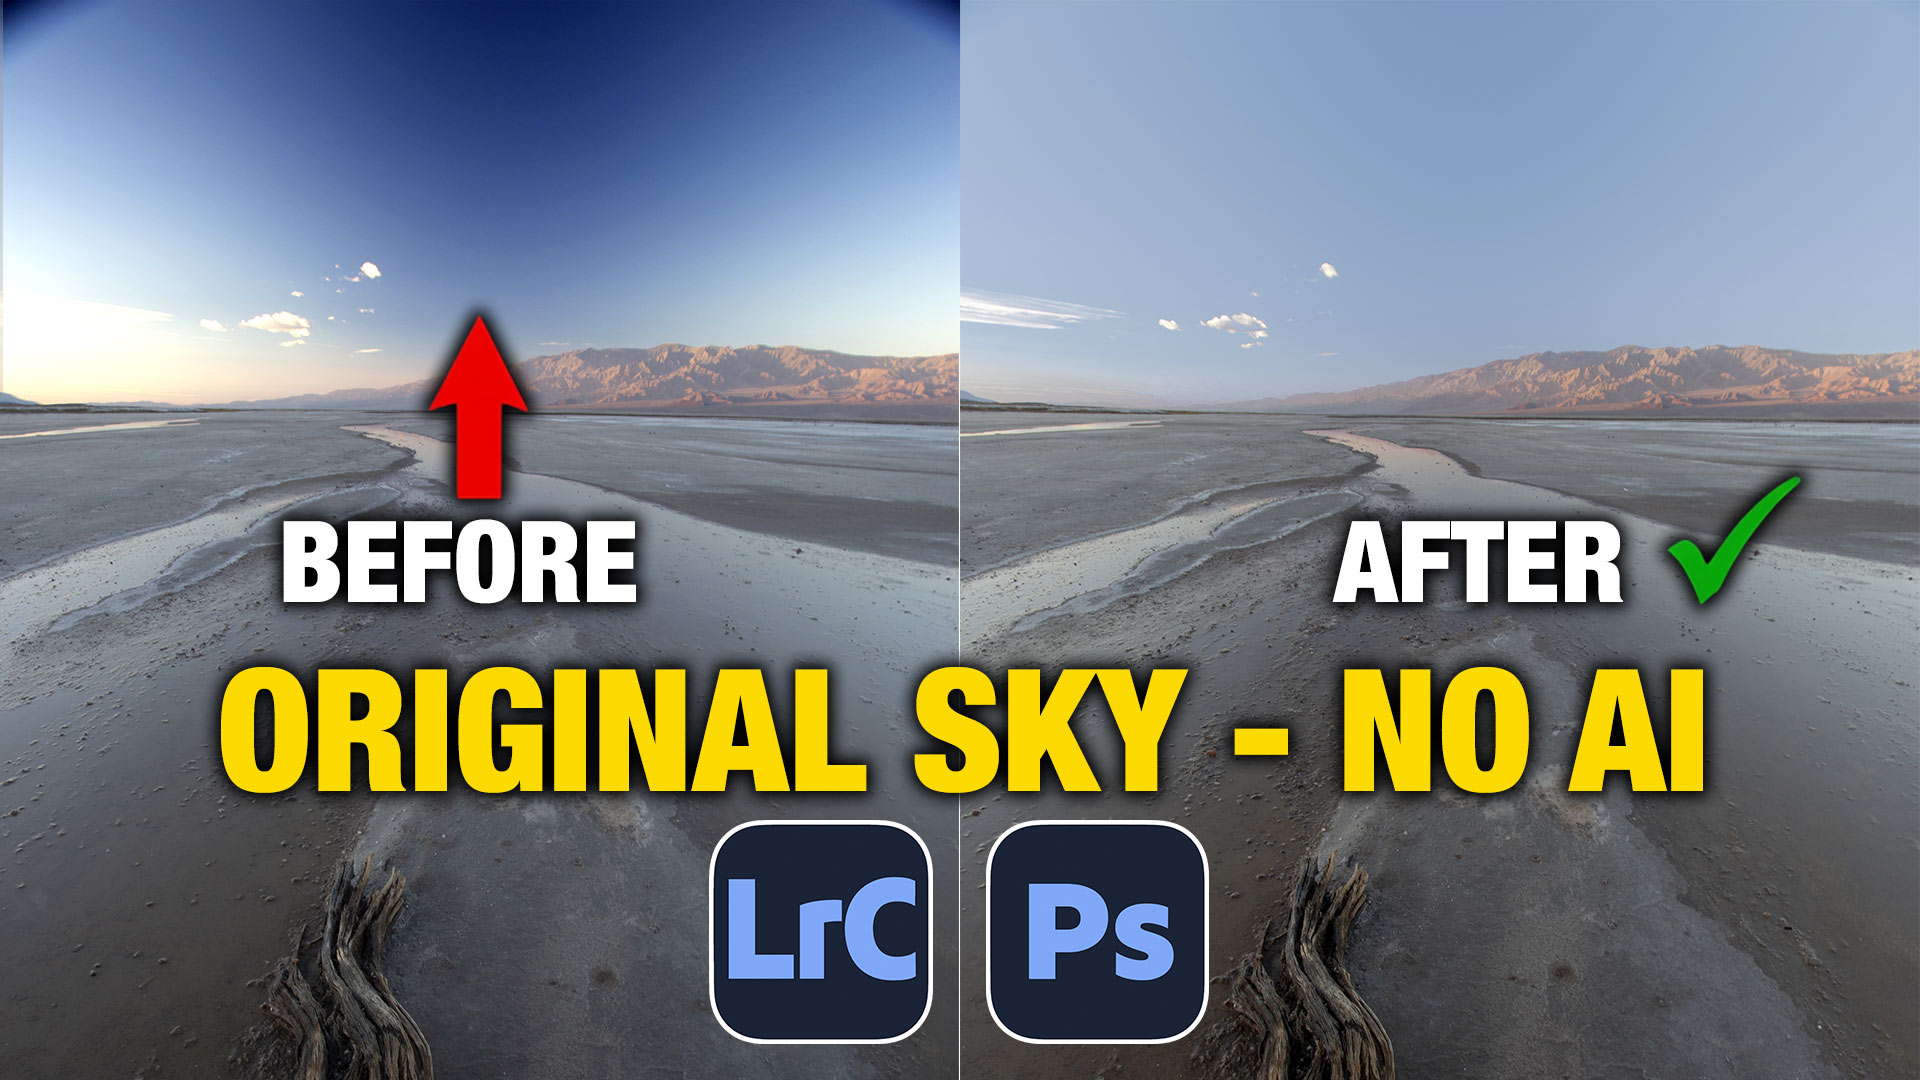
Learn how to fix uneven blue skies in Lightroom or Camera Raw without replacing the sky


Keep up the great work Colin – very many thanks. Do you remember the Extract filter in Photoshop 7? Now we have got the new Select features – wow!
What an EXCELLENT tutorial! Great Photoshop techniques! Thank you very much for sharing it!
I am following all tutorials from Belgium
The link to your free eBook doesn’t seem to be working. Watching from NJ.
Ill check on it
This, and your Comic Book Effect are top notch!
I’m watching your tutorials from Newmarket ,Ontario,Canada.
As always , I find your tutorials very interesting.
Great stuff! Thanks a lot, from Japan
Watching from Sao Paulo, Brazil
Wonderful tutorial Colin. Can’t wait to try it. Greetings from Australia! 😊
Great tutorials!! Thanks so much! Following you from Denmark!
Watching from Texas, a few miles from the Rio Grande river and the Mexican border.
Katy, TX
Great tutorial. A very useful effect. Thank You
Thank you Colin, always enjoy and learn from your tutorials. Joined when I lived in Seattle, WA, USA and continue to subscribe while now living in Toronto, ON, Canada.
Great technique. From London UK.
Geat technique. From London, UK.
Interesting and simple way to create a sketch, thanks for the tutorial. Brooklyn NY USA.
Love your tutorials with video AND (just as important) written tutorial which allows one to really concentrate on what you’re doing in the video without being distracted by taking notes, and having that reference to try it out later. You make things easy to follow with your very concise explanations. Thank you so much for sharing!
Northern California. Love your tutorials. One of these days I will implement some of them! Thanks so much.
GREAT! Thanks for sharing the tricks and tips with us. Greatings from Belgium
Thank you , Do you have anything on How to watermark in Lightroom?
I don’t, but that’s a good suggestion
AWESOME!!!!!
Following from Ottawa, Ontario. Great tutorials as usual. thanks!
Rural SW Minnesota, USA. What a great tutorial! Not sure that I quite have the artistic eye to understand the subtle details. I could stop at the first blending. However, I will play with this technique with an upcoming project and see if I can upgrade my artistic sensibilities! Thank you for the tutorial.
The additional gives you the subtle shading. You absolutely can stop after the first round too 🙂
Terrific technique Colin will try this on my next project. Greetings from Canada.
Great Tutorial, Colin!
An avid follower from India!
Fabulous Tutorial, Colin!!!!! You really do your homework and I really appreciate your Geat work. I’m sure the all the people watching every week, never get bored and always learn something great. Thanks!!
Hi from Australia loved your tutorial. Thanks Belinda
Great tutorials . Im working on Photoshop cc19 and attempted to follow the latest tutorial on converting photos to pencil drawing ,but I’m having a problem Selecting both layers at once, I know its easy but not sure how to do it. Advise please
Great Tutorial. I worked along with you. Your instructions are very easy to follow and execute. Thank you!!
Love it – love my weekly tutorials!
Hi Colin, really enjoy your tut’s, well explained and documented. Look 4ward to receiving them each week. South Aust, Australia
Hi Colin,
Thank you for your weekly tutorials, I find them very informative and more importantly, very easy to follow for a novice like me. I reside in the UK and use CS6 version of PS. Keep up the good work!!!!
Pittsburgh, PA USA
Fun to watch, and easy to follow, thank you.
I watch from Mesquite, NV USA
That last step was great! What I am learning IS it is important to start with good photographs!
From Vancouver Canada. I don’t have a TV home and my best home entertainment is Photoshopcafe or working with something on PS.
Thanks so much, made my day 🙂
Thanks Colin from Brisbane Australia. Thanks to you and your fantastic tutorials I have gotten a reasonable and improving grasp on utilising Photoshop. Also you enthused me to buy a drone, DJI Spark, I really like to do panorama landscape images. Keep up the great work.
Ur Rocking Mr. Colin Smith
Perfect timing of this video. I have just been asked by friends to create some sketch drawings from my images to hang in their new home. All the way from The Central Coast, NSW Australia.
Am in Dallas, TX… a 25-year traditional-media artist who started using Photoshop(4) 20+ years ago, and have now become all-digital. I enjoy your tutorials!
Phnom Penh, Cambodia. Great little tute!
I am following your tutorials from Madrid, Spain. Thank you for sharing your wisdom.
I follow you from Belgium. Amazing tuts you have.
Ik volg je vanuit Holland
Great, Thank you, I have so many things to learn and you are generous to show us your experience & skills.
Love this tutorial. I do have a problem when I try to use the brush tool and try to add the shading. Nothing seems to happen. Not sure what I am doing wrong. It looks good, but would look great if I could get the shading to work. Thanks!
Please go over the steps again carefully, also see my tutorial on layer mask, that may help you too.
Following from Switzerland. Good stuff. I like the fact you have the text too.
Learning from Montana
Thanks for the great tutorial – just one query – when I finish and save the PSD file and go back into LR, the pencil drawing effect gets lost. If I flatten the image or save as a JPEG, the same thing happens. I noticed this a while go with an image with one layer where I was using the Dissolve blending mode – the effect is visible in PS but not in the JPEG or in the PSD as seen in LR. Any ideas on how to fix?
Working on a PC with PS CC 2019.
Ive seen that with dissolve. Have you tried merging layers one at a time?
Colin, following from California. There are tons of pencil sketch portrait effects all over the web, but none specifically for a landscape photo.
Love your tutorials . This makes a lovely sketch for us non- drawers. Thank you.
Straight forward and simple to understand for inexperienced Photoshoppers. Many Thanks, Brian from The UK
thank you very much. watching you from Israel
good and interesting tutorial , I really enjoy watching your tutorials and I learn from them.
I am in Redruth cornwall uk
I have been teaching Photoshop since version 2 in the early 1990. Did beta testing for Adobe starting with Photoshop CS5. Am #87th member at NAPP. One of the very early birds. Teach Photoshop at the Colorado State University. Yet still learn from experts like you every day. Thanks for this wonderful and simple tutorial.
Thanks so much