
How to make Reflections in Photoshop
How to make reflections and puddles of water in Photoshop.
This Photoshop tutorial shows you how to make reflections and puddles of water in Photoshop. You will also learn some different ways to work with reflections. Making reflections is really quite simple and they can be used for effects or to simulate water or a shiny surface. Of course a true reflection will show a different viewpoint of the subject because of the angle. For example, you would see the underside of a car. This technique is good enough to get by and if you do the puddle technique, noone will know.
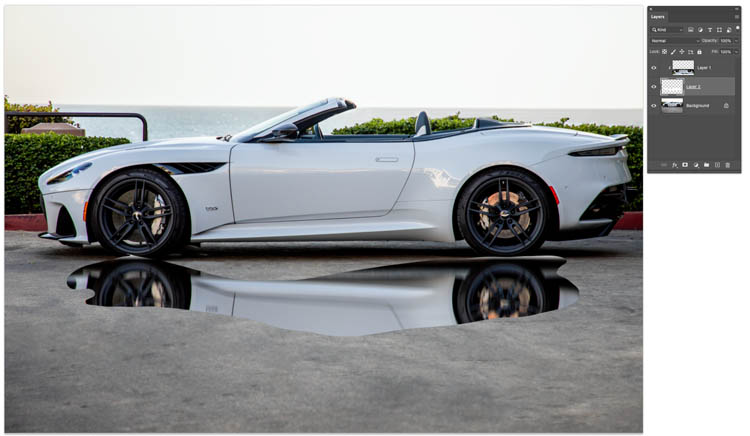
Here is the puddle result.

The steps are simple.
Step 1
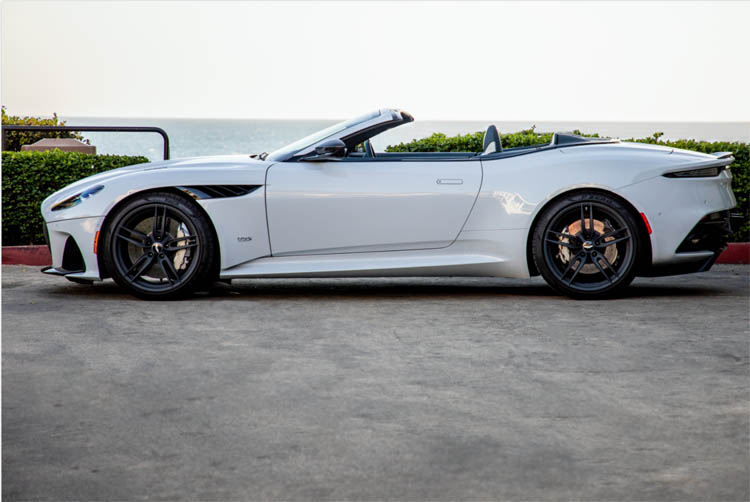
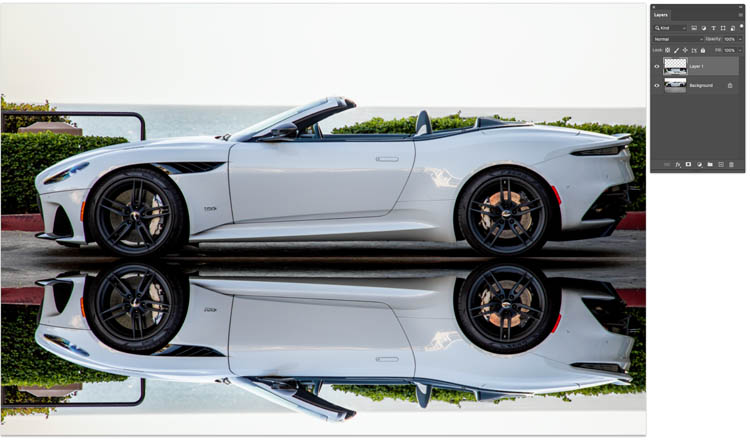
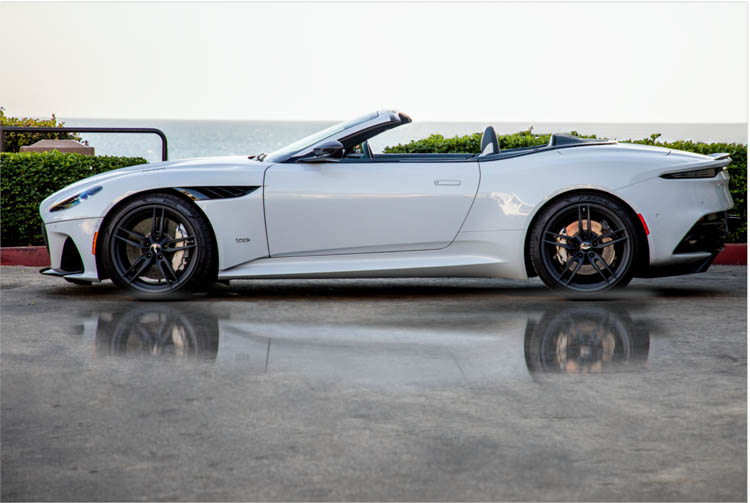
Start with our photo. I took this one down by the beach. (Thanks George for getting me access to this car).
Step 2
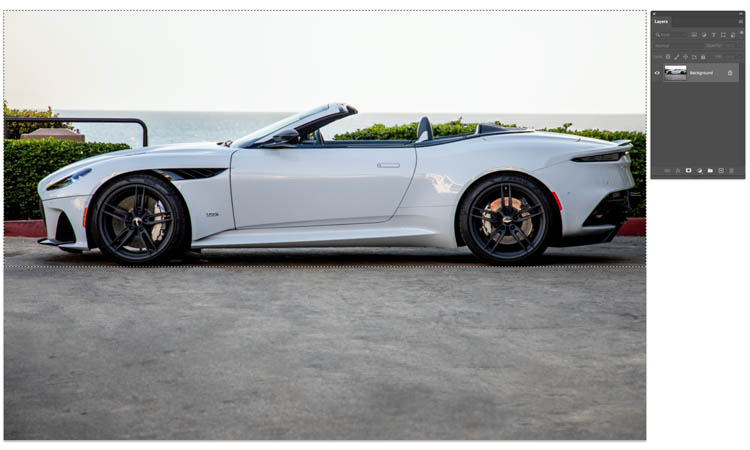
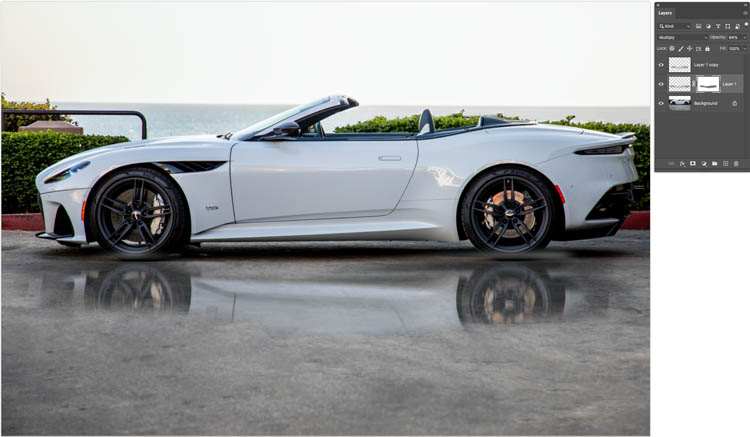
Using the rectangle marquee tool, make a selection around the top part of the image. Starting at the desired reflection point (bottom of the wheels)
Step 3
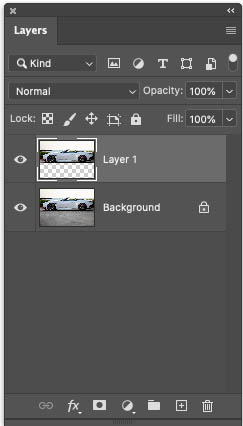
Press Ctrl/Cmd+J To copy the selection to a new layer
Step 4
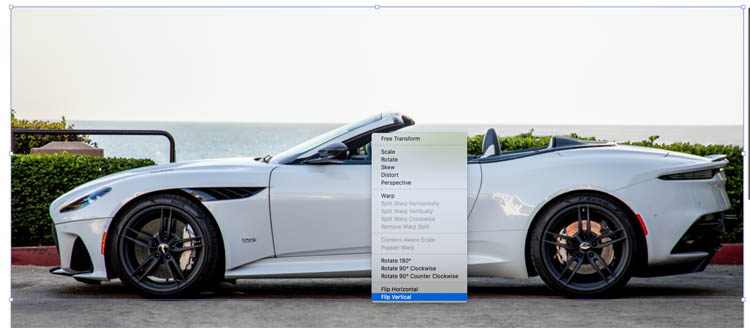
Press Ctrl/Cmd+T for free transform
Right click and choose Flip vertical.
Step 5
Drag the flipped layer into position so it looks like a mirror image.
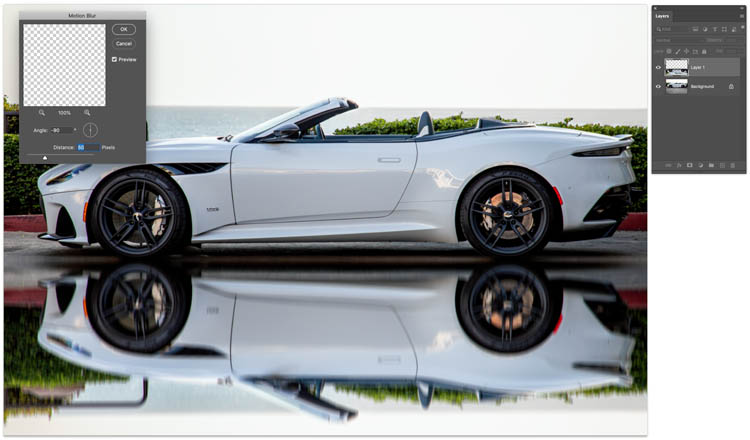
Step 6
Choose Filter>Blur>Motion blur
Set the angle to 90. This will give it that watery effect.
Thats the basic effect. To add a variation, let’s fade it.
Step 7 – variation 1, faded reflection
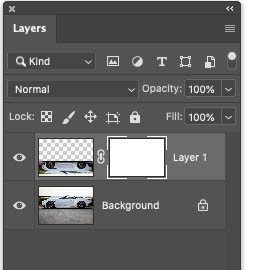
Add a layer mask by clicking the layer mask button in the layers panel. (the rectangle with the circle in it)
Step 8
Choose the gradient tool and set it to foreground to background and linear
![]()
Press the D key to reset colors.
Step 9
With the mask selected, drag the gradient to blend the reflection.

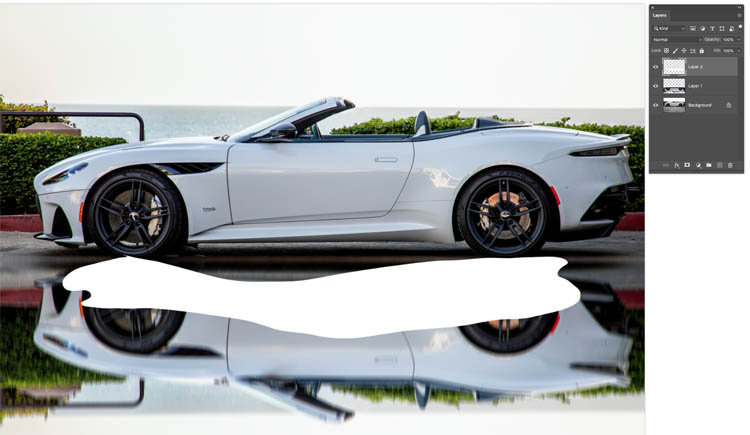
Step 10. Variation 2, puddle.
For the second variation, a puddle, pick back up at step #6.
With the lasso tool, make a selection in the shape of the puddle.

Step 11
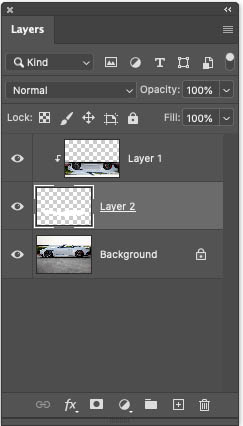
Make a new layer (+ button in the layers panel)
Fill with background color. Press Cmd+Delete on mac Ctrl+Backspace on Windows.
Step 12
Drag the puddle shape below the reflection layer in the layers panel.
Hold down alt/option and move the curser between the puddle and reflection layers in the layers panel. You will see the cursor turn into an arrow. Click
Now the reflection is inside the puddle. This is a clipping group.
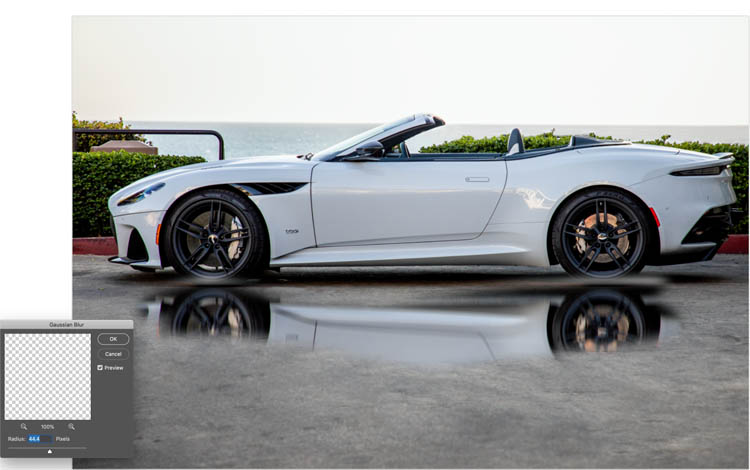
Step 13
Choose Filter Blur>Gaussian Blur on the puddle layer. This will soften the edges and blend in the puddle. The amount will depend on the resolution of your image. Choose the amount of blur that looks natural to you.
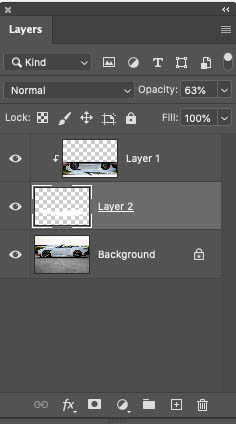
Step 14
Lower the opacity of the puddle layer to suit your tastes.
And the result.
For additional realism. Duplicate the puddle and enlarge it.
Darken the copy to make it look like a stain on the ground where the ground is damp around the puddle. (I also masked out the stain where the puddle is, so that the puddle itself doesn’t get darkened).
Don’t forget to mask out the bottom of the wheels if you get bleed-through.
I hope you enjoyed this weeks tutorial. If you did, tell all your friends and share on social media!
Great seeing you here at the CAFE
Colin
PS Don’t forget to follow us on Social Media for more tips.. (I've been posting some fun Instagram and Facebook Stories lately)
You can get my free Layer Blending modes ebook along with dozens of exclusive Photoshop Goodies here


10 thoughts on “How to make Reflections in Photoshop”
Leave a Reply

How to use new Content aware fill in Photoshop CC 2019. How to remove objects in Photos, new Content Aware...

How to fix missing tools and features, or missing updates in Photoshop and Photoshop Beta in 1 minute with Colin...

Generate Image is the newest Generative ai, text to image Firefly 3, inside of Photoshop. Generate all kinds of fun...


I very much enjoyed your tutorial. I’ve done much the same thing but using slightly different methods. Your method is quite straightforward and easy to understand. Your step-by-step presentations are very valuable, especially for newer users.
Thank you also for the reminder of Adobe Photoshop’s 30th birthday (and my own 30-plus years of using it). I began using Photoshop with version .97GM. We were magazine publishers in those days and used CMYK files for printing, which was not done very often in those days. One of the difficulties of CMYK Photoshop files with version 1 of the program was that you could not look at a composite of a CMYK image. You had to look at one or other of the four channels, usually the cyan channel since it was first alphabetically and since it was at the top of the Channels palette. It was only with version 2 of the program that a CMYK file could be seen as a composite of the four channels. Those were the days, also, before layers and the various ways of keeping segments of the image separate. You could use a selection, but once you dropped the selection, whatever had been within the selection became, irreversibly, part of the image. I used channels as a way of storing selections and generating selections so that, later, I could use the Paste Inside command to place new elements within the image. It was complicated but certainly possible. Using the modern version of Photoshop, especially with the vast power of Camera Raw, makes the program a delight to use.
Thank you for all that you do for Photoshop users everywhere!
I started Photoshop in 1990 ! Wow has it changed…
As you mentioned at the start of the article, the reflection is from a slightly different viewpoint. Therefore it is slightly more realistic if the shadow image is fore-shortened a little. After pasting and flipping the selection, transform the selection vertically a small amount, depending upon the position of your eyeline. This also works well for creating cloud reflections on surfaces of lakes or flat oceans.
Great short tutorial, as ever.
Good suggestion
This is my type of tutorial, great I could follow everything
First Version: Version 4 in 1997
Wish every tutorial came with simple written out step by step instructions like this! Thank you
Working on it. Most of our tuts do
I love your tutorials. They’re clear and easy to follow. I actually use many of them in my work!
Please explain how to duplicate the puddle, enlarge and darken it. For me as a new user it is not clear.
Thank you in advance.