Easy fast way to fix edges of masks in Lightroom and Camera RAW
This tutorial shows you the fastest, easiest way to fix edges on masks in Lightroom or Camera RAW, it’s easy and it really works!
Here is a simple way to get rid of edge halos on mask edges in Lightroom or Camera RAW. We are in the develop module of Lightroom Classic, but this tutorial will work exactly the same for Adobe Camera Raw.
Let’s lighten the foreground and gazebo without changing the sky and water.

Click the new mask button

Choose the ai Subject

A mask will automatically be added to the subject. Sometimes, it will get the whole thing and other times, it will get a partial selection as shown.
We need to add the grassy foreground

In the Masks panel, click Add

Choose Objects

You will see a brush and a selection option in the mask panel. Choose brush.
Paint over the area you want to select. It doesn’t have to be perfect, just enough to let Lightroom/ACR know what you want it to select.

The ai will do its thing and make the selection.

Adjust the Exposure and Shadows to brighten the foreground
Notice we have a light fringe on the transition between the ocean and the foliage. This is called a halo, and it’s common.
Lets fix it


Inside the mask, choose subtract

Choose Brush

Set the feather and flow to 100.
Turn on Auto Mask

If you look at the cursor, you will see a minus sign. This means the brush will remove.
The way auto mask works is to keep the center inside the areas you want to select. We will take the area between the 2 rings and use that to retouch our image. Watch the video at top to see it in action.

Begin to paint

Notice just the area between the 2 rings is going over our foliage, and it’s working nicely!

Here is the result. Some things can be really simple, but still effective.

I hope you enjoyed this tutorial and found it useful!
Thanks
Colin
This is just a little taste from my brand-new course on Masking in Lightroom and Camera RAW.
If you want to master these very important image editing tools, check out the course.
Masks in Lightroom and Camera RAW (in Photoshop)
This new 3+ hour set of 26 tutorials will help you master the use of the new Masks in Lightroom or /and Camera RAW. Get it here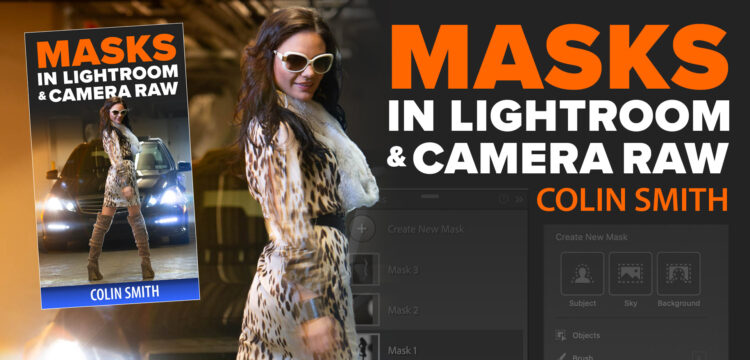
PS Don’t forget to follow us on Social Media for more tips.. (I've been posting some fun Instagram and Facebook Stories lately)
You can get my free Layer Blending modes ebook along with dozens of exclusive Photoshop Goodies here

24 thoughts on “Easy fast way to fix edges of masks in Lightroom and Camera RAW”
Leave a Reply
How to get the best Black and White conversion in Lightroom in 2 minutes Here is a quick tip for...
Create clean circular and arched text using Dynamic Text in Photoshop
This Photoshop tutorial shows you all the steps to make a watermark from a signature. How to make the signature...








Good info
I love simple brush fixes! Thanks.
A wonderful tip, Colin! Thanks for sharing. I so appreciate your generosity.
I wondered why you didn’t use select sky for the mask and then invert it. That always seems to work well.
Because I wanted to show the Object selection tool 🙂
I like how you break these tools down in little bits. It is much easier to absorb.
Please do another example. I did not see exactly how this works. Perhaps a written explanation would make it more clear.
great, but why did you pick up the golden color and use Auto Mask? You went quickly and I did not understand that.
why did you pick up the golden color and use Auto Mask? You went quickly and I did not understand that.
Great tutorial as always
Always makes it simple for us to use and understand.
Clever, as always.
This is an amazingly simple technique that I plan to use ! -Thank you.
Very valuable and easily understood.
Looks like a great way to fix the edges of masks in LRC without having to edit in PS. I am looking forward to giving it a try.
Thanks, I have had this problem and find your solution very easy to use (KISS).
Colin, great technique. I’ve often run into this issue. Question for you: As I understand it, automask samples from the center of the brush. When you were brushing where the center crossed the dark rock out in the sea, I didn’t see you making any effort to avoid it even though that rock was more like the dark vegetation in the foreground. Can you expand on what level of attention is required on the location of the sample point?
You can be pretty loose, just make sure you don’t cross into your main subject
Very nice , well done.
Thank You,
Joe W.
Very helpful stuff as usual! Thank you.
As always very helpful with all your tutorials.
Hi Colin,
If I had your PS skills I’d be driving a Ferrari. You’re a super teacher.
I wish I was driving a Ferrari 🙂
Your explanation was simple and effective. Thank you. Always learn something new with your ‘short hints’.
that was very interesting and definitely helpful