
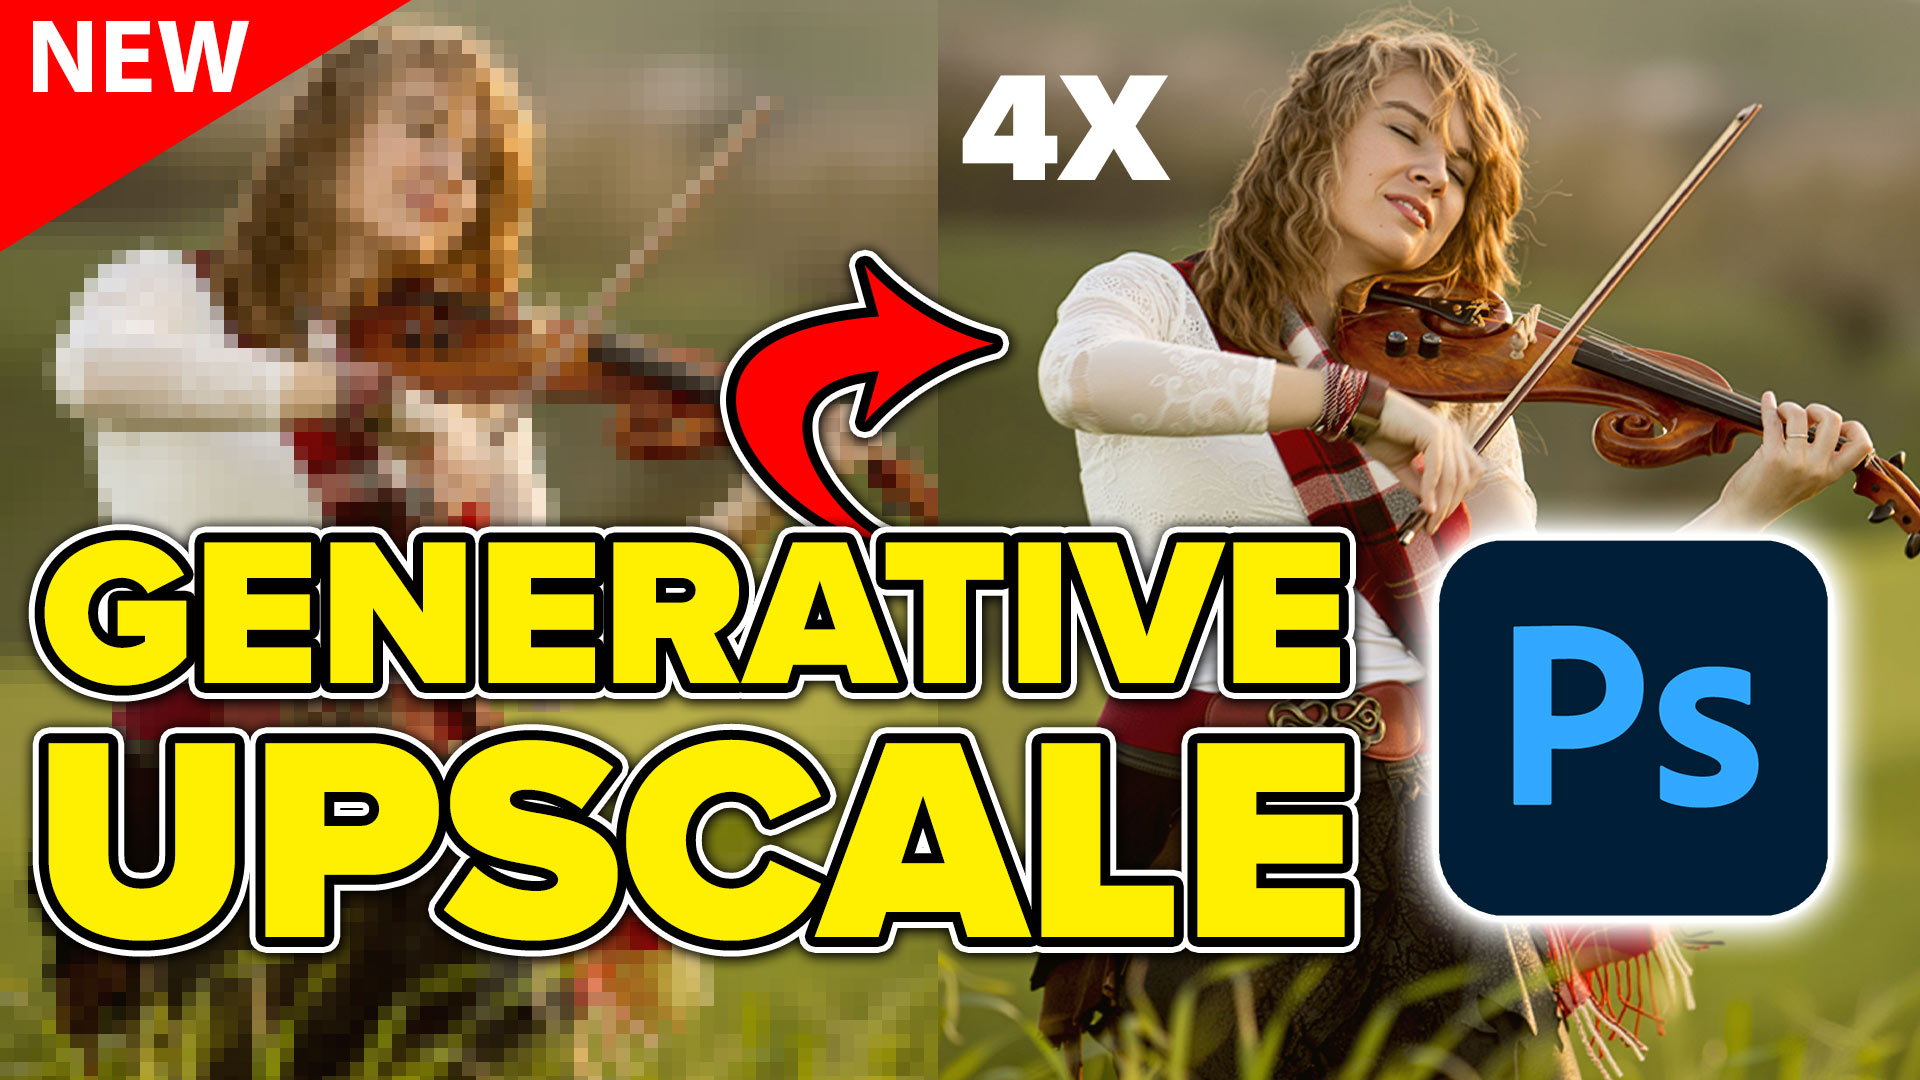
Generative Upscale in Photoshop, how does it compare?
Photoshop Beta Generative upscale, enlarging images in Photoshop
A new feature in Photoshop Beta, is Generative Upscale. It uses generative ai to enlarge an image and improve its quality. How to get Photoshop Beta.
Let’s look at how it works and compare it to 2 other ai upscales in Photoshop (yes, there are 3, 4 if you count Super resolution for Raw files in ACR).
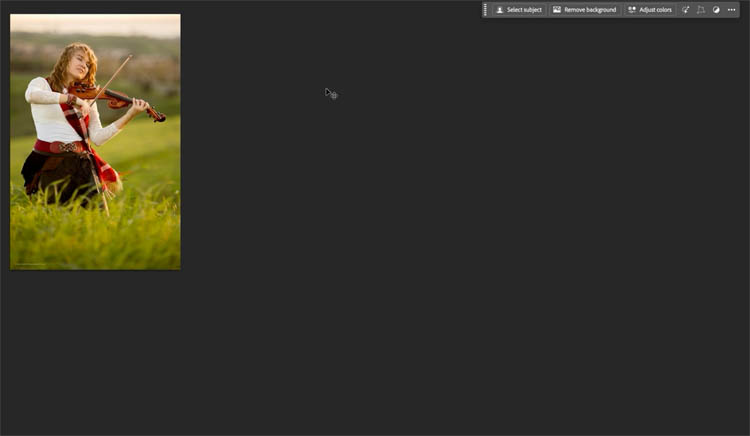
Here is an image at 100% size.
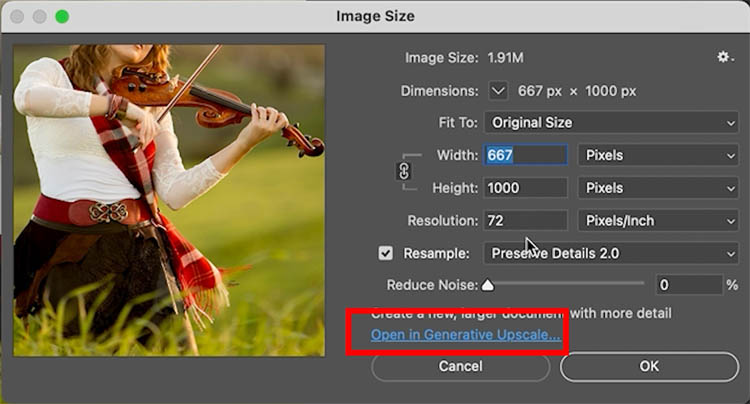
Choose Image>Size.
You can see its 667px x 1000px
Click on Open in Generative Upscale.
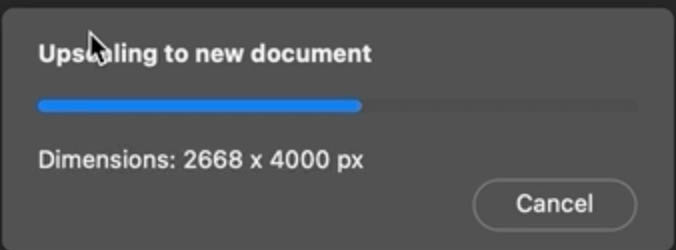
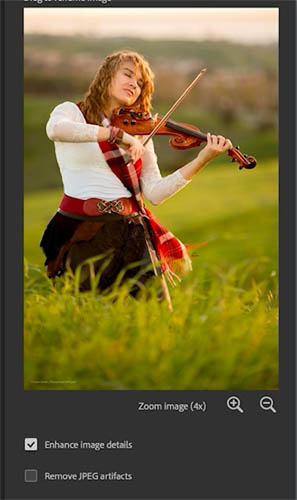
You will notice that there are 3 options, 2x, 3x and 4x. You will see a warning if the final image is to exceed 4096 px.
We are using 4X.
Press Upscale
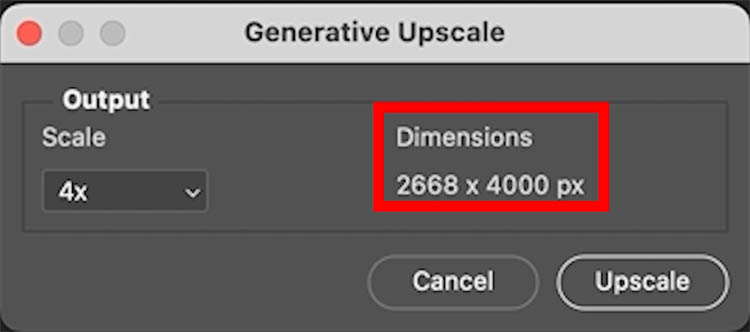
At the moment it only goes up to 4096px on the longest edge, which is plenty for many things. On the Adobe website, it implies that it might go larger when out of beta.

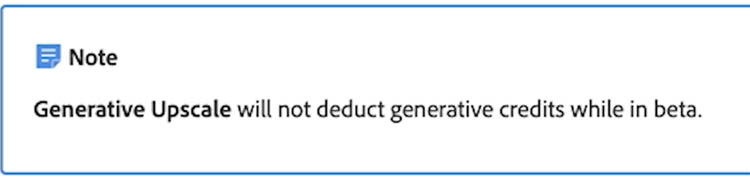
The Adobe website, also says it doesn’t use Generative credits while in beta, which also implies it will use them out of beta.
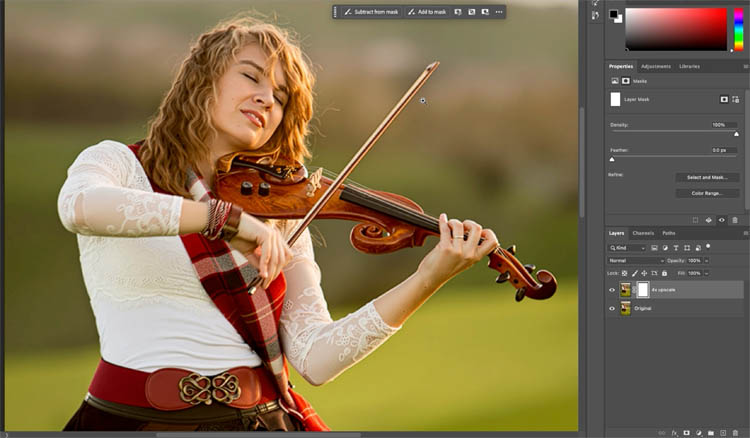
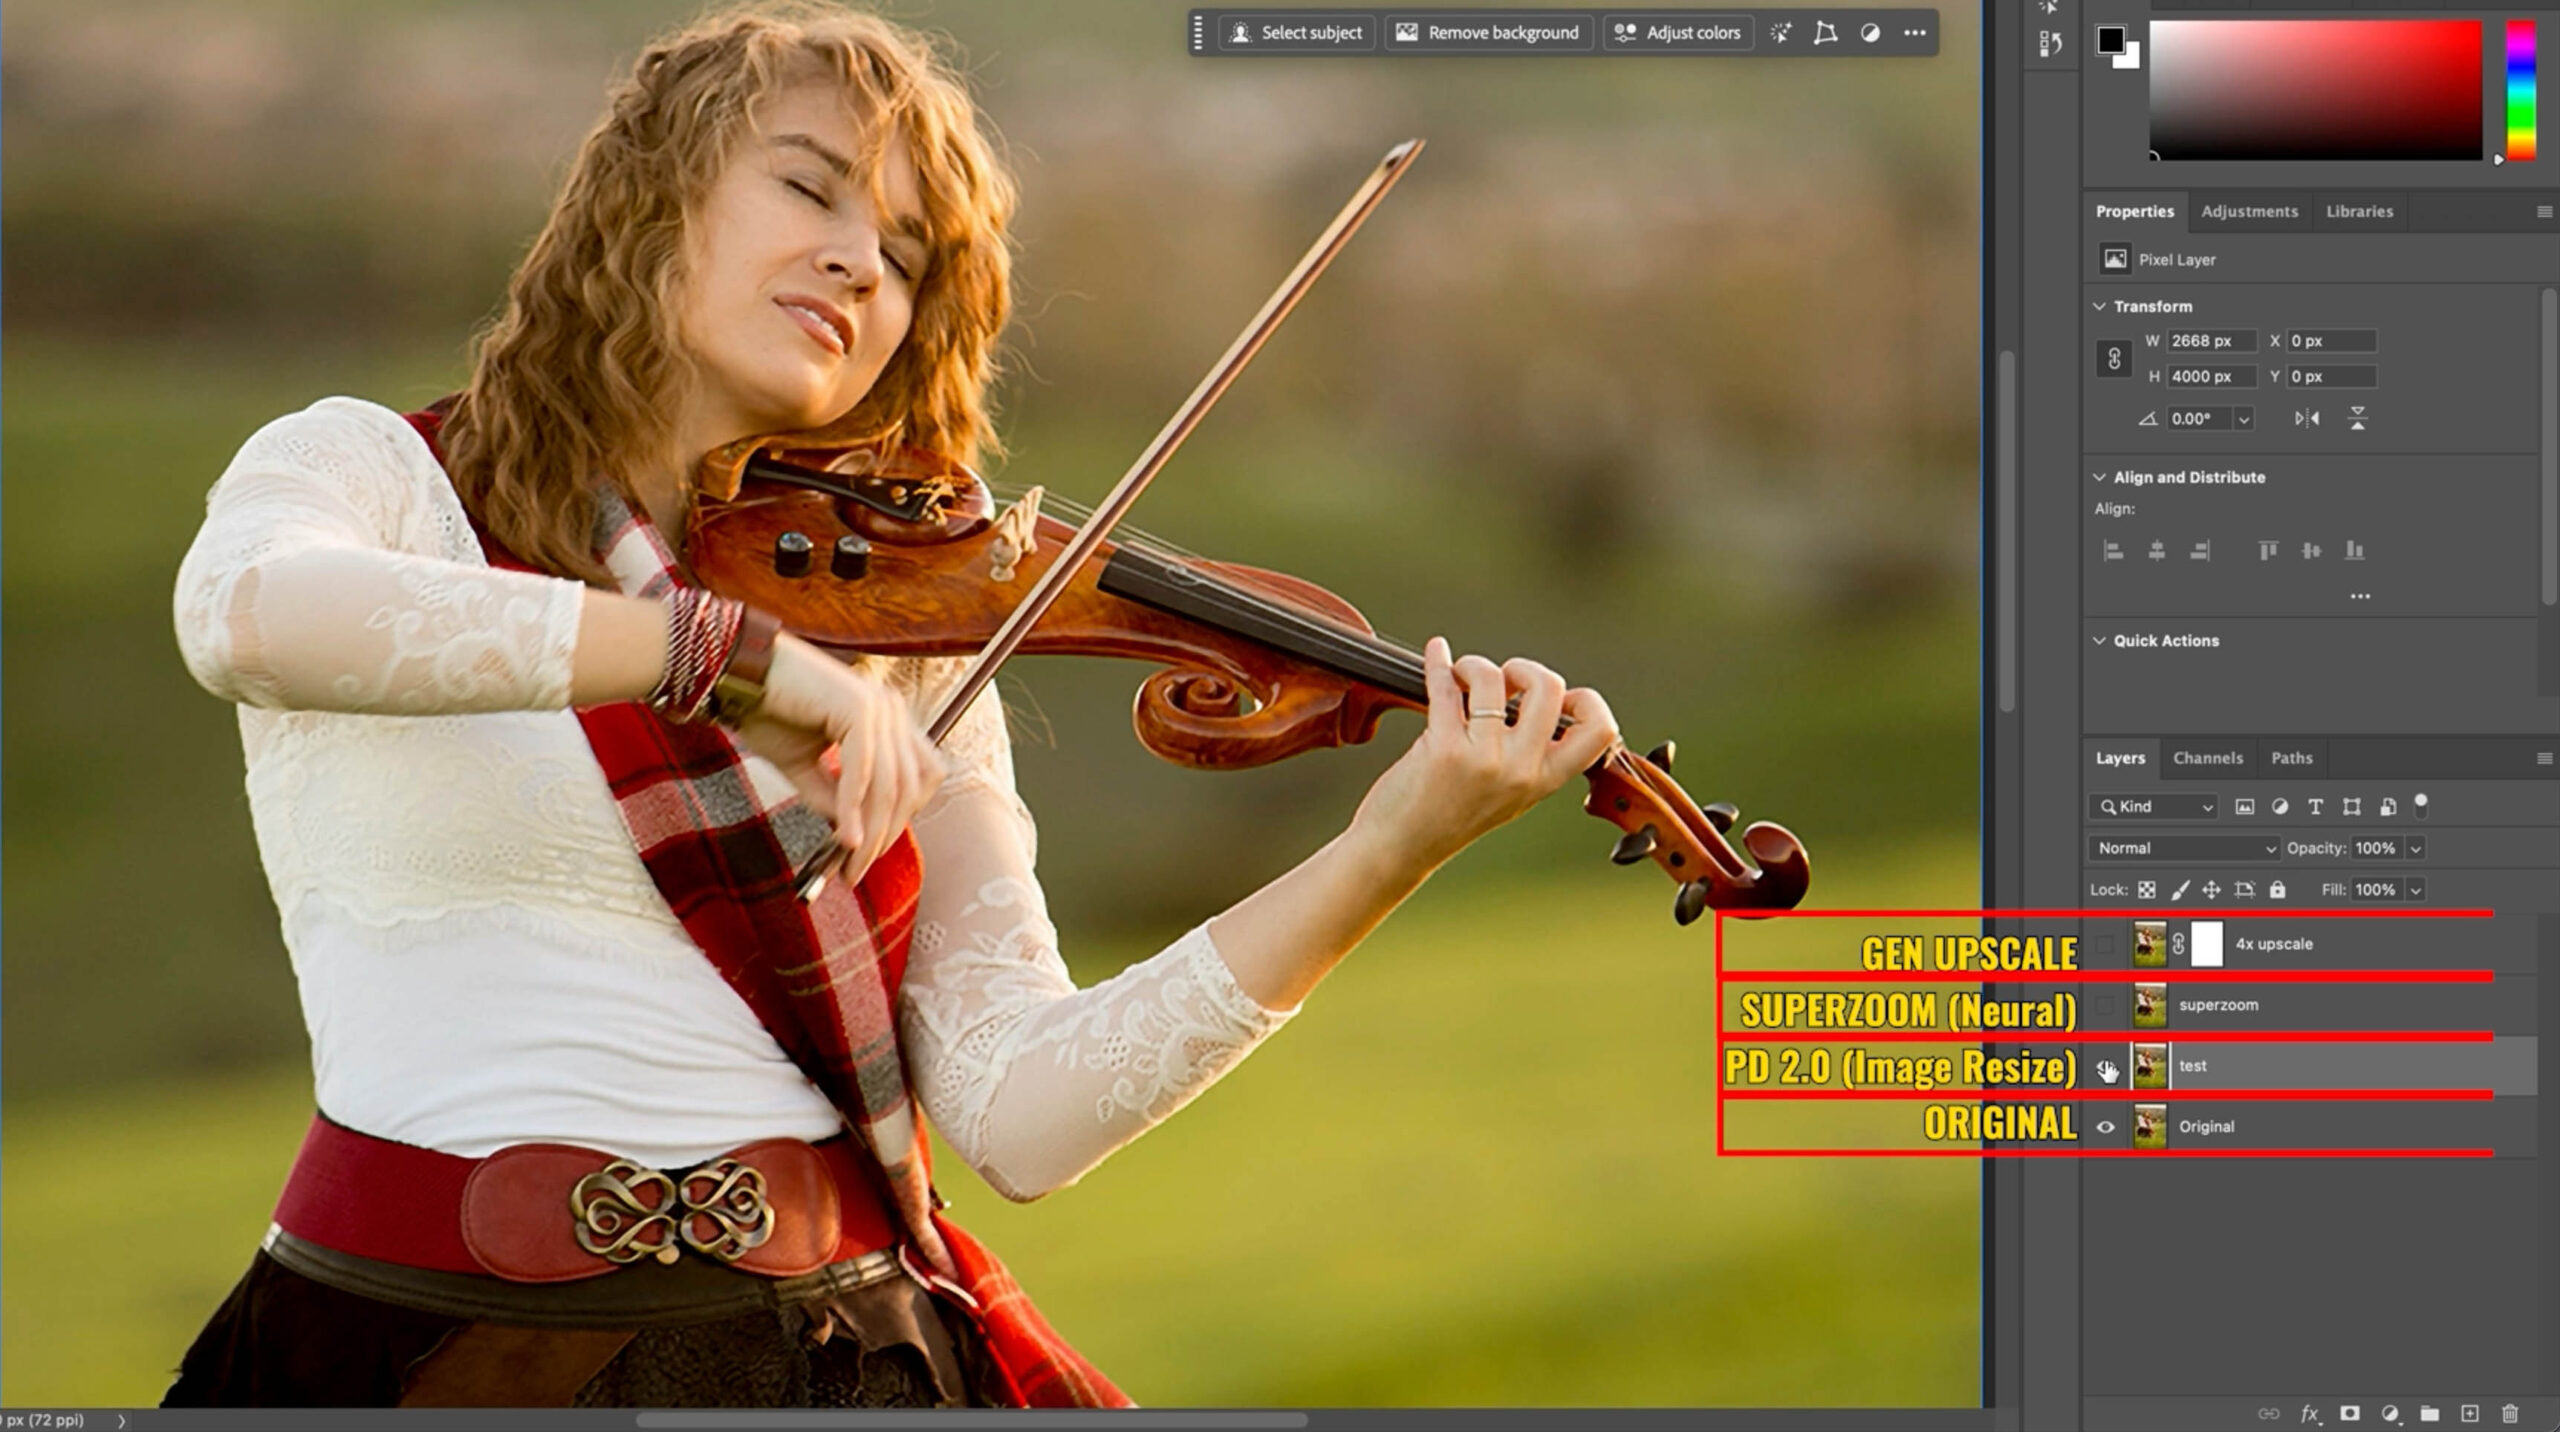
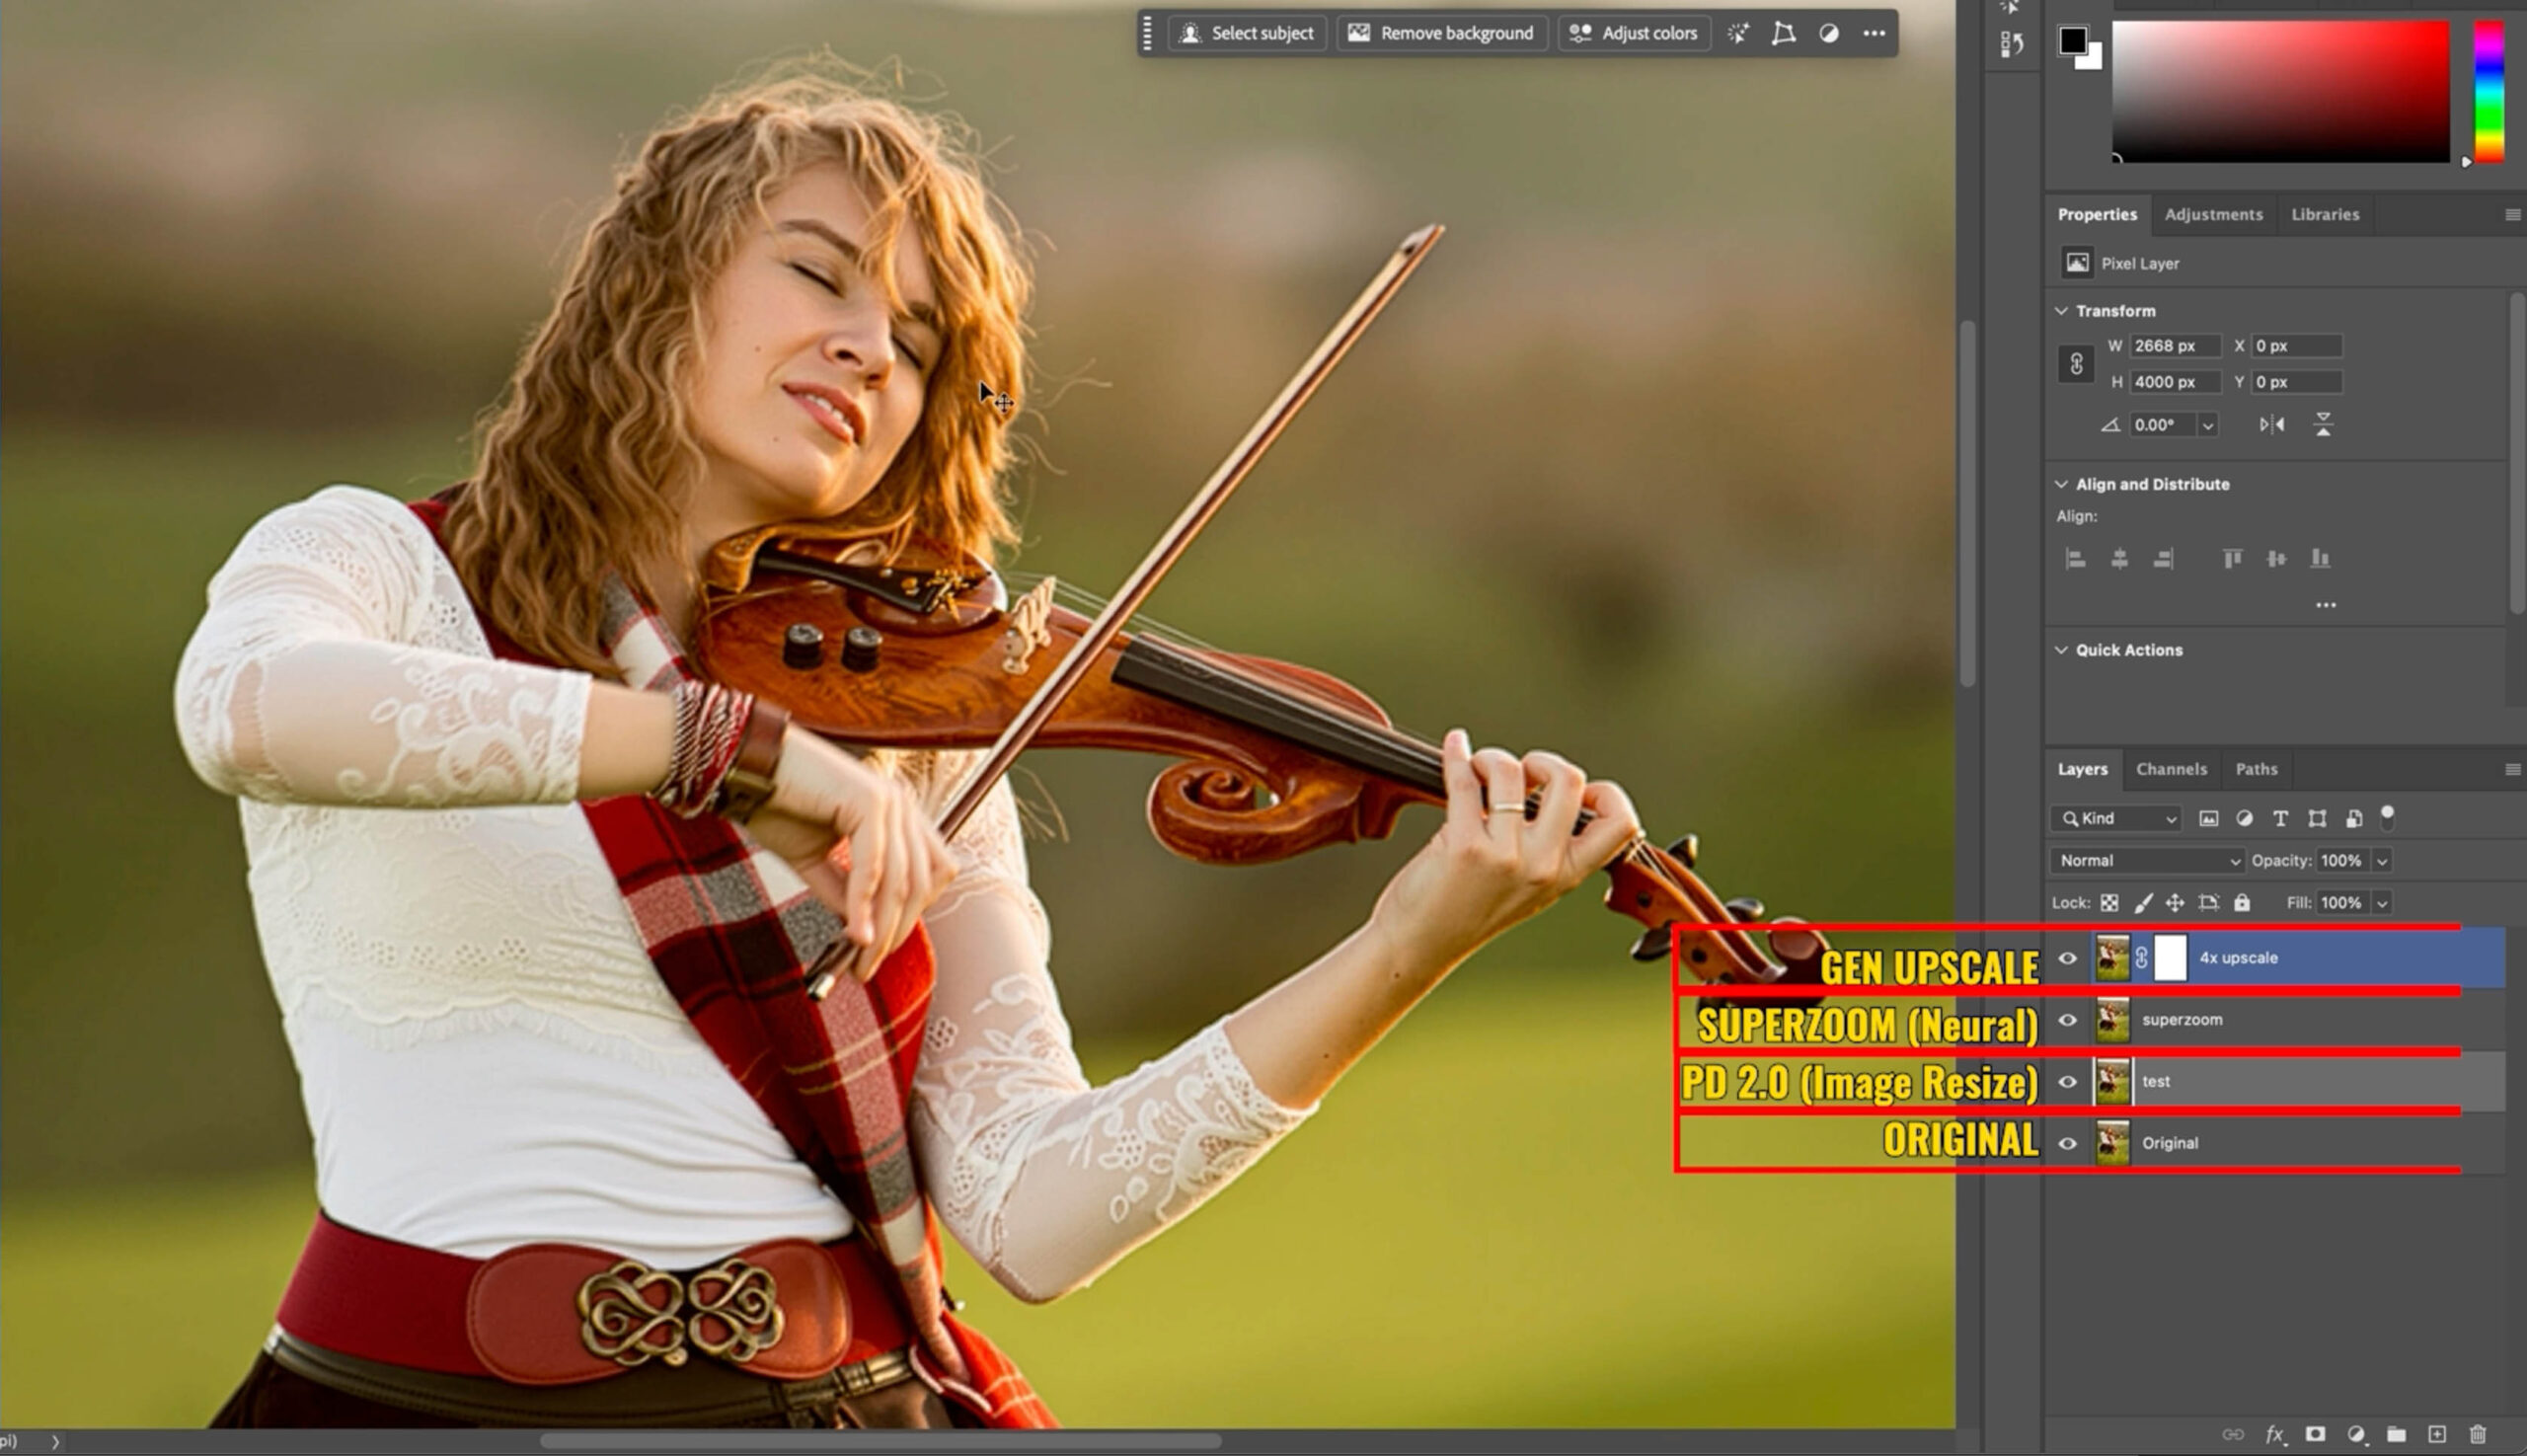
A new document is created and it looks smooth for something blown up so much. It’s not really blown up, it’s entirely regenerated with ai. Let examine closer.
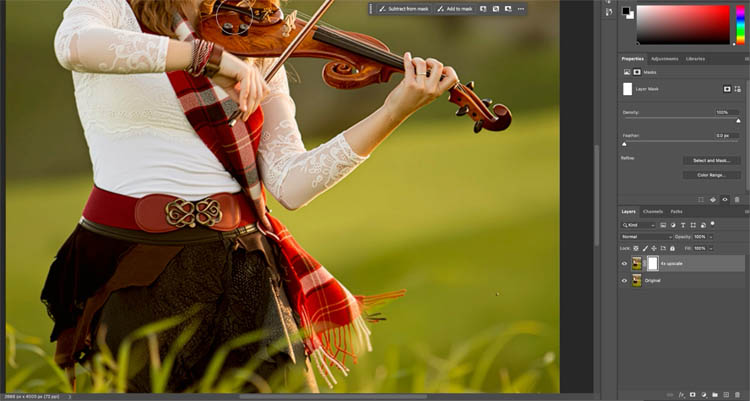
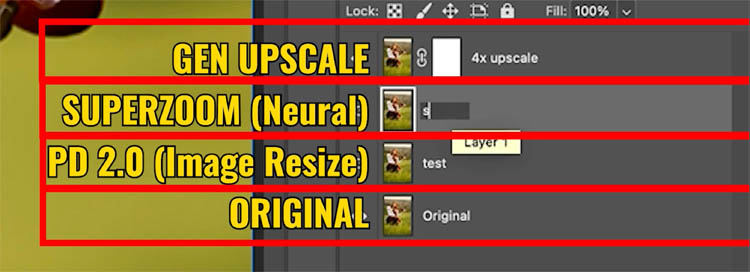
There are 2 layers. Upscale and original.
We are viewing the enhanced layer.
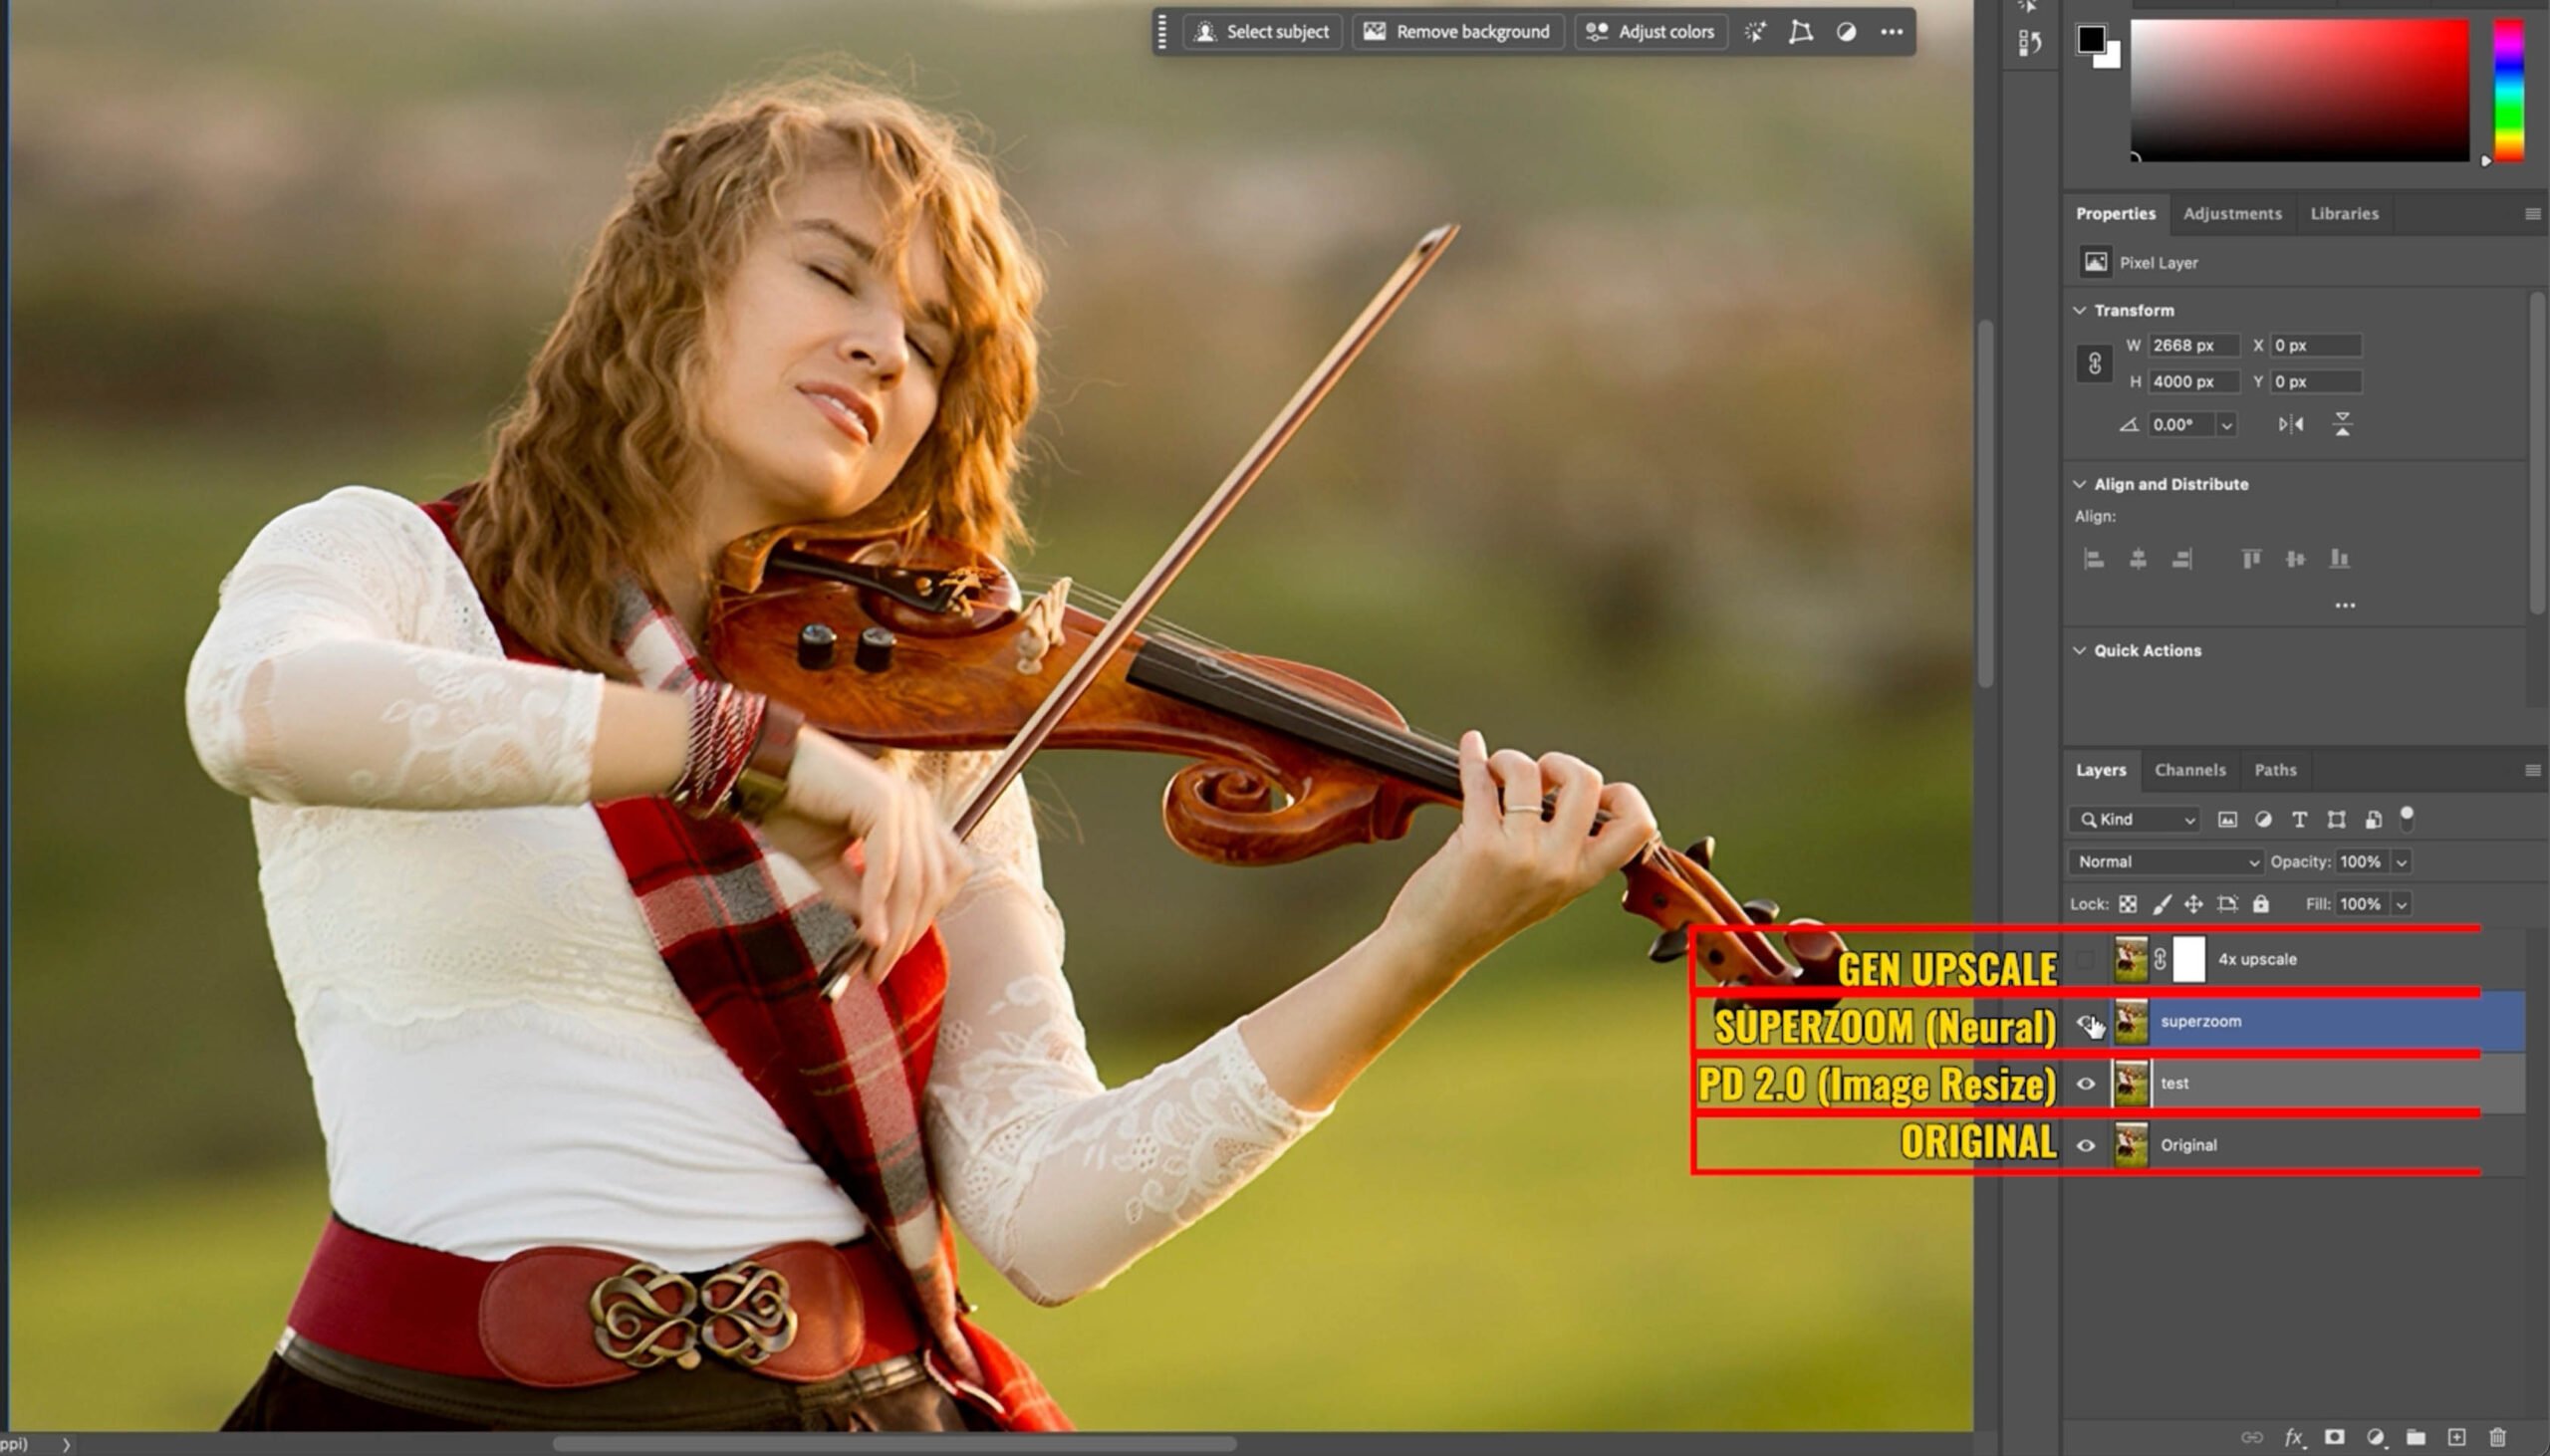
Here is the original layer, which would be like free transforming to the larger size.

The battle of Ai resizing in Photoshop. Generative Upscale, Vs Preserve Details 2.0 vs Super Zoom
As I mentioned before, this isn’t Adobes first ai resizer in Photoshop, but it is the first to use Firefly Generative ai. The older ones used Sensei.
Choose Image>Size, For resample, we are using Preserve Details 2.0 which is also ai.
Take it up to 4000 px.

Make another copy and choose Filter>Neural Filters.
Turn on Super Zoom.
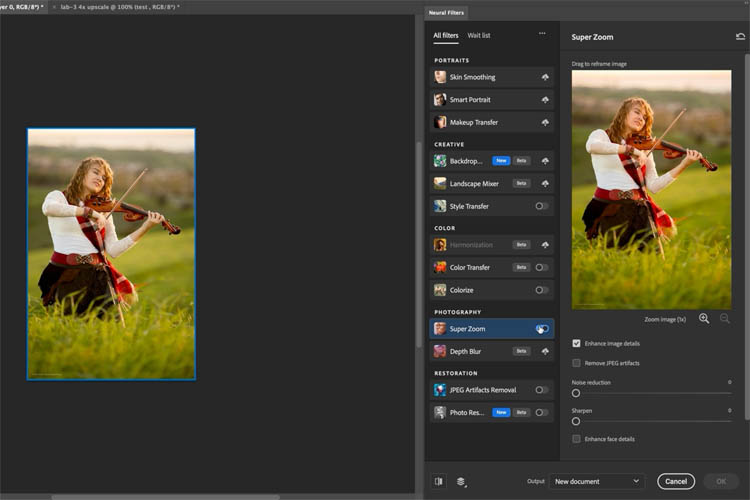
Make it 4x.
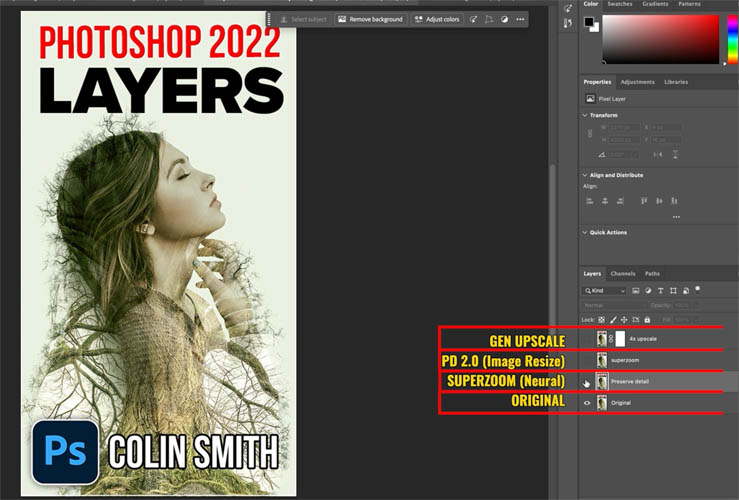
I dragged all the different results into separate layers to compare. The video shows the process.
This is easier to see on the video because its full size, but this is Preserve Details 2.0 (Image>Size).
Click on following 3 images to see larger
Photoshop resize, Preserve Details 2.0
Photoshop Neural Filter Super Zoom
Photoshop Generative Upscale
.
Generative Upscale for Graphic Design
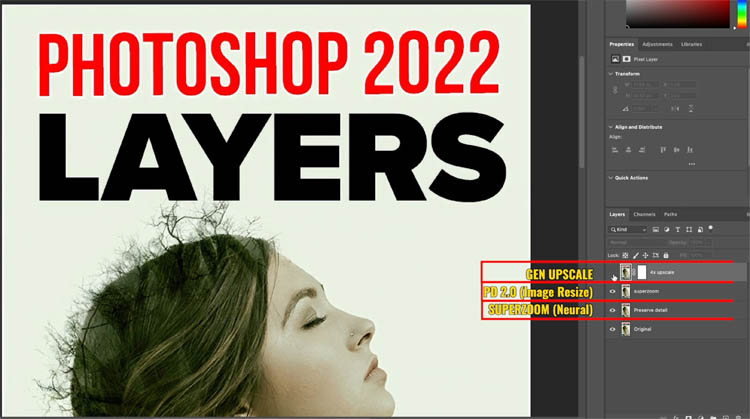
I also tried it with some designs using text.
It seemed that Generative upscale enlarged the face and photographic elements the best, but it did alter details.
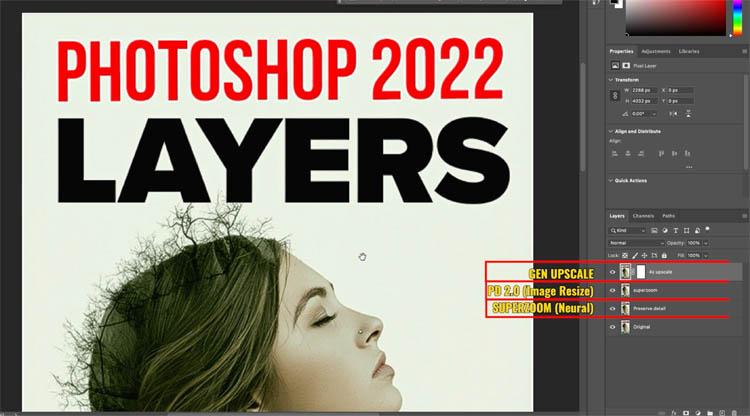
Preserve Details 2.0 seems to perform the best with text.
The solution is to make masks and combine the different layers for the best result. (On the video)
My verdict is that Generative Upscale does a very nice job, however, because it actually recreates the entire image with ai, it does smoothen things too much and its not really a photograph anymore, its technically a rendering. In some cases faces can look a bit cartoonish. This feature is still in Beta, so it shows a lot of promise.
Hopefully you found this tutorial useful.
Other new feature tutorials in this Photoshop update
- All the new features in this Photoshop release! (July 29 2025)
- Harmonize (and resolution hack)
- ai Dust removal
Great to see you at the CAFE
Colin
PS Don’t forget to follow us on Social Media for more tips..
(I've been posting some fun Instagram and Facebook Stories lately)
You can get my free Layer Blending modes ebook along with dozens of exclusive Photoshop Goodies here


How to fix GoPro lens distortion in Photoshop. Even though are using video in this tutorial, this works on any...
Guided upright helps you to fix perspective and crooked photos in Lightroom CC, this quick Lightroom tutorial shows you how...


