I first noticed this stunning effect a while back on a movie poster. Then I saw it again on the Orphan Black ads and decided it would be fun to try and make it in Photoshop, I figured it out pretty quickly and decided to turn it into a Photoshop tutorial. At first it just lookes normal, sort of, but the more you look at this picture, the more it confuses your mind. It’s an optical illusion. Enjoy this qucik and easy tutorial!
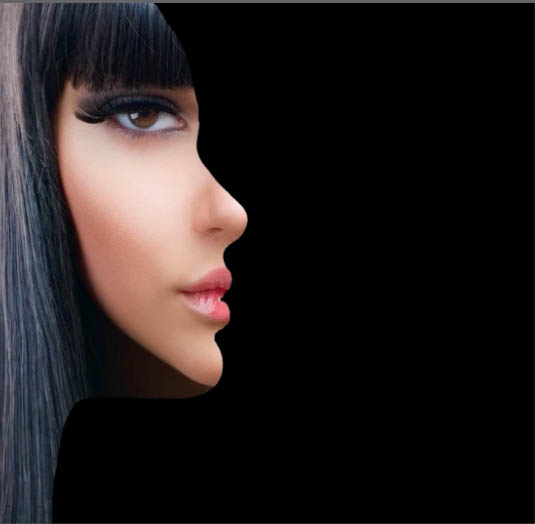
I’m going to show you how to create a two face effect by combining a front on photo with a profile to create this cool optical illusion. This is a cool effect which you might have seen in movie posters, book covers, different things like that.
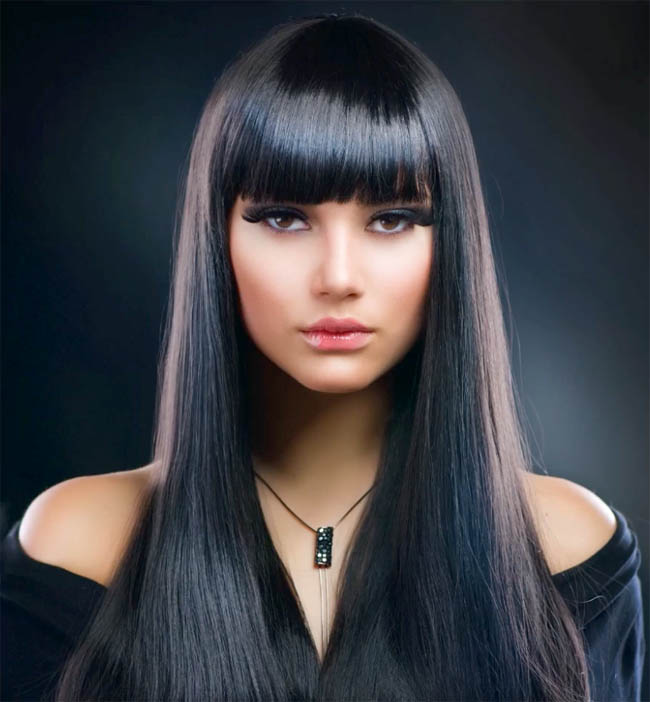
Start with a front picture and a profile picture. Take a couple of yourself, or find others. Preferably you want to have this of the same person, however, you can use different people if you want. In this case I am using the same woman from Adobe stock. You can grab the watermarked versions for free from here.
https://adobe.ly/2bTDLpg and https://adobe.ly/2c5GH4D (How to use Adobe Stock Tutorial here)
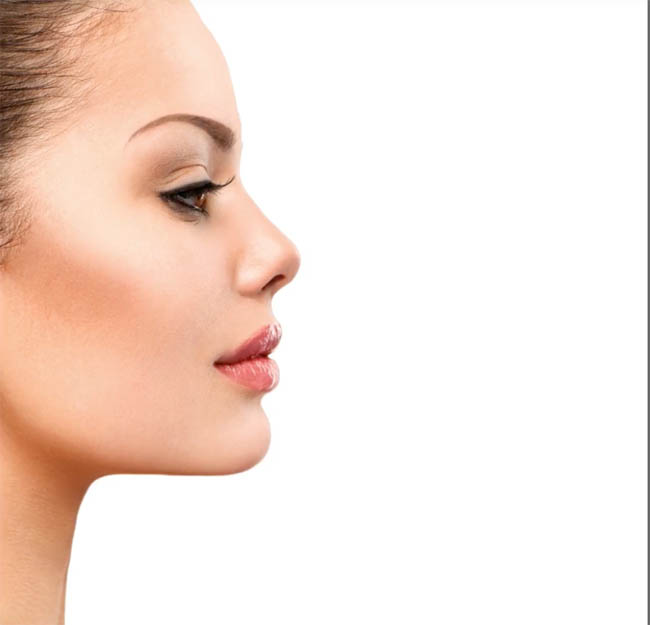
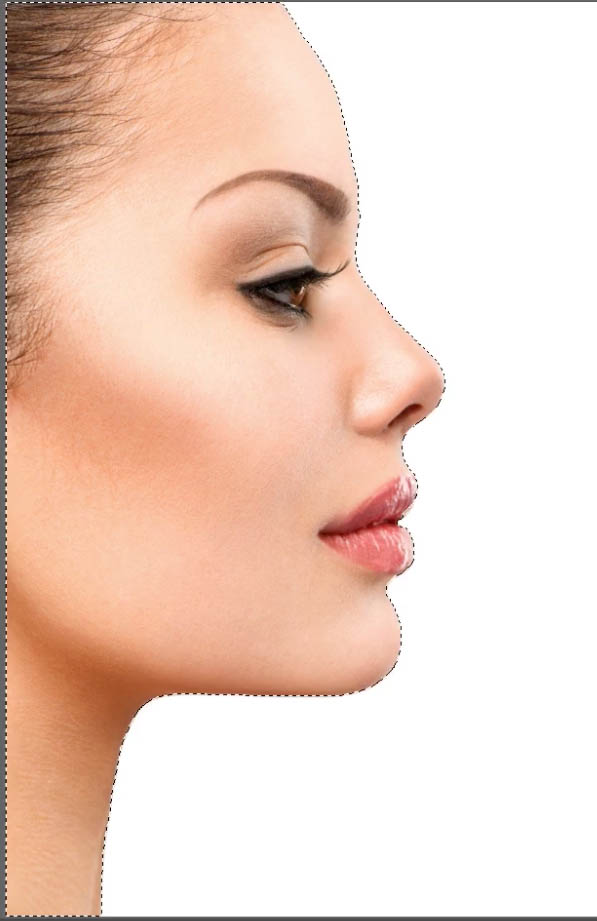
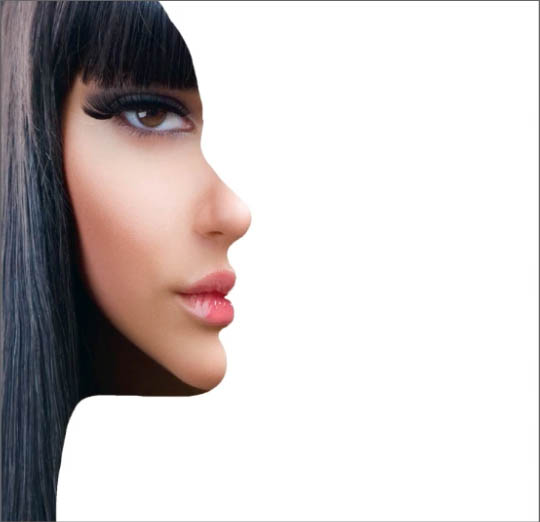
We are going to start with a profile.
Select the white area ,with the Quick Select Tool, or you could use the Magic Wand. 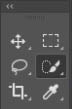
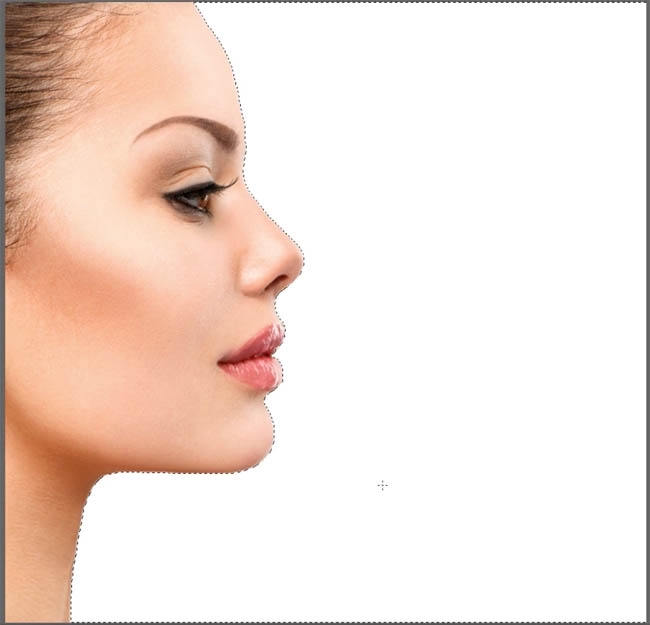
Inverse this selection, so only the person is being selected and not the white area. Ctrl+Shift+I or Command+Shift+I on Mac.
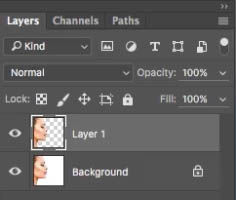
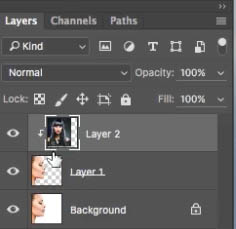
Copy this selection to the new layer by pressing Ctrl+J or Command +J on Mac.
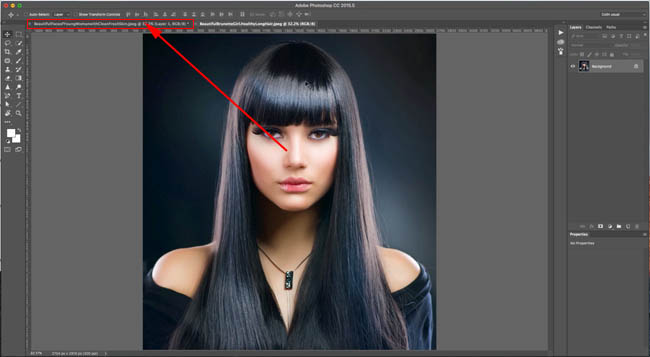
Grab the front on view, we’re going to drag it into the side view image to combine the 2 images into a single document.
With the move tool active (V) Click and hold on the front view photo.
Drag the photo to the tab of the other image at the top.
Still holding down your mouse button, wait for the window to pop open.
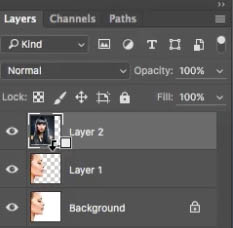
Drag and release your image into the 2nd image. The 2 photos will now be in layers in the same document window
Tip: One of the things I found for the profile, it’s good to kind of have the hair up, get it out of the way, so we can see the neck and everything, and get a clear silhouette. However, from the front on picture, having some hair helps because it will frame the image a little bit and you’ll see what I mean.
We’re going to use a clipping group to merge these 2 images together. Hold the Alt/Option key. Move your pointer between the 2 layers. You will see a little arrow appear. Clickand it applies the mask. The top layer is constrained to the transparence of the layer beneath.

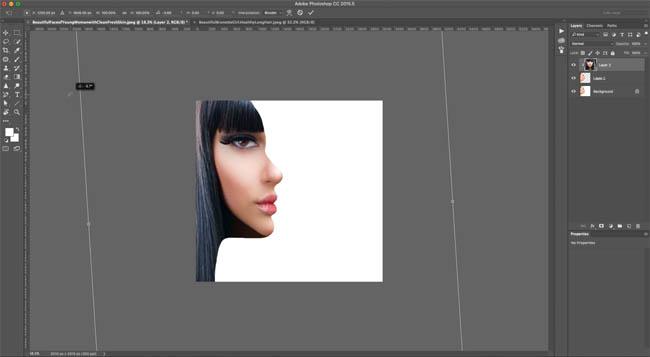
Now we need to move and scale the image to fit. We want the lips and the nose to fit in there. Making sure your top layer is still the active layer: Press Ctrl/Command + T for free transform.
Hold the Shift key to constrain the movement, and Alt/Option to scale it from the middle. (Option+Shift / Alt+Shift on Windows). Drag the corner point until the size is correct. Drag to move it into position.
You might need to rotate it to get it looking just right. To rotate, move you curser just outside a corner point until you see a curved arrow. Click and drag to rotate your layer.
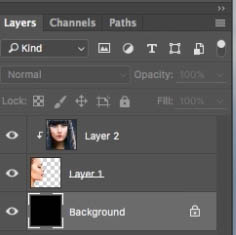
And you can see we start to get this cool optical illusion. Now I think I want to fill the background with black
Hit the D key to reset foreground and background colors.

Click on the background.
Press Option+Delete or Alt+Backspace on Windows to fill with the current foreground color (black).
And you can see right there, there’s our cool optical illusion. You can see at the bottom, it looks like a profile, but it also looks front on at the top, so it’s a really interesting effect.
Thanks so much for checking out this tutorial. The CAFE is so full of free resources, you should check them all out. I’m adding at least one new tutorial every week!
Great to see you here at the CAFE!
Leave a comment, say hi! (Join out mailing list and become part of the CAFE Crew and get a new tutorial every week)
Colin


This site uses Akismet to reduce spam. Learn how your comment data is processed.

In this weeks Live from Lockdown Colin Smith shows you how to cut out impossible images in Photoshop. See some...
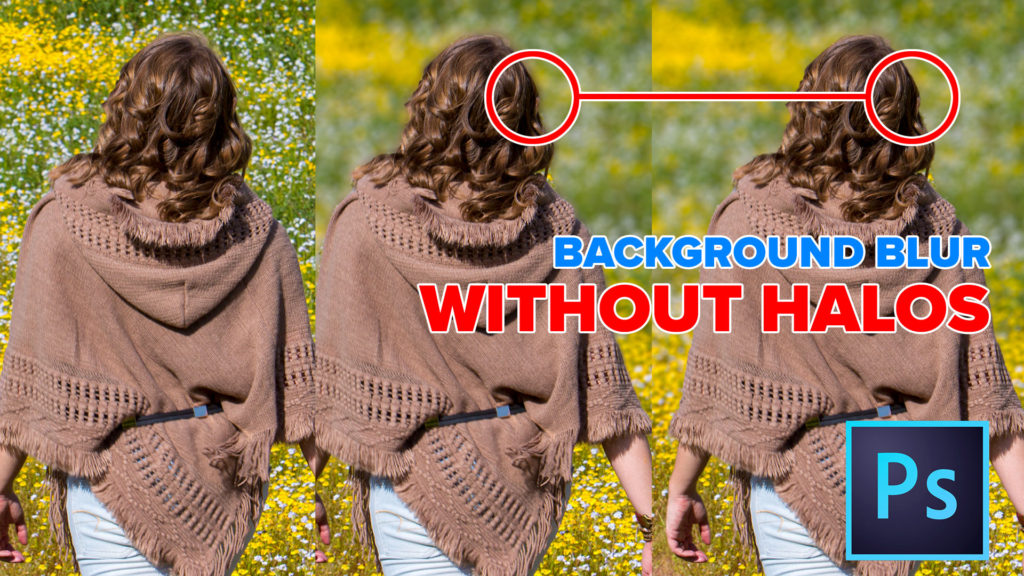
How to add a blended background blur to a photo in Photoshop and remove the fuzzy edge. This Photoshop tutorial...
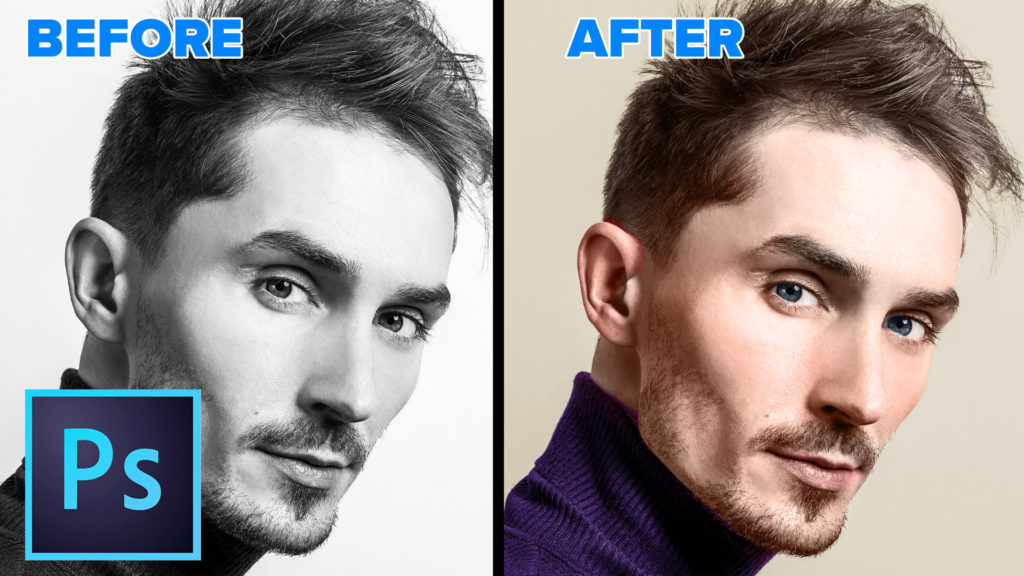
How to colorize a black and white photo in Photoshop. How to turn a black and white picture of a...


Great tutorial, great effect, very straightforward