(By Al Ward)
A couple of years ago, some Action enthusiast friends of mine expressed their concern that I was pursuing a vapor, a ghost, an insubstantial illusion in my quest to promote Actions in Photoshop on a global scale. In short, they told me I was nuts with a capitol CRAZY. We had met through the Action Xchange an excellent and still hopping online resource for 3rd party freeware actions. I have learned more about Photoshop studying those little .atn files than any other resource available, whether online or print.
Somewhere along the line it came to me that, though a few thousand people were getting into the script exchange, there remained a huge majority of designers that had yet to crack the Actions Code. I set out to change that, and am still working. I developed Action Fx as a place to share what I had learned and created and, thanks to Scott Kelby who has given me a forum in Photoshop User Magazine and the Planet Photoshop website to discuss Actions, a few more find these incredible scripts everyday. It has been a slow, steady process, but finally Actions are starting to receive the recognition they deserve.
Have you tried actions yet? Perhaps you still have some questions as to what the hype is about, or have no idea what I mean by ‘action’. Truth to tell, Adobe has not devoted much documentation to the subject.
Actions are simply a means to record all the commands used to generate an effect in Photoshop for re-application later.
I can hear the ‘Huh?’ already, so I’ll put it like this. Want your text to look like Melted Gold with a wood grain running along the border of the letter? Something like this might take awhile to work out in Photoshop, but if someone has already turned the process into an action, you can apply this effect to your text with ONE CLICK on the Actions Play Button. Photoshop then creates the effect automatically. Now imagine you have to create the headers for 30 different web pages using this same effect. Without actions you would have to walk through the process 30 times, taking hours or days to complete the task. If you had an Action script, you could be done in as little as 30 minutes, maybe sooner! Simply starting the action, typing your text, and hitting play again will create your effect.
Imagine pages of Flaming Fonts jumping off monitors all over the world… that is what actions can do, but this is only a small example. Photo editing, multiple file processing, hot key assignment for assorted Photoshop commands and a veritable potpourri of other tasks are ‘actionable’.
If you are still scratching your head, don’t fret. I’m going to walk through the process of loading and playing actions, and perhaps offer up a tutorial on creating actions on a later date.
To begin with, you will need an Action You may do a search of Photoshop Actions, which will offer up many sites with available downloads.
Don’t worry about hard drive space, as these action files, with the extension .atn, aren’t very large. Usually they range from 7 to 20 k. You may save them anywhere on your computer and load them from there, but it is best for organization purposes to create a sub directory within the Photoshop file tree. Again, this is not vitally important, but it will help you to keep your files in an easy-to-find area. When you have several thousand of these little scripts on your system as I have, it will be a lifesaver!
Once you have downloaded the actions, you will need to open the Actions Palette inside Photoshop. Hit the F9 key or go to Window>Show Actions to bring the palette forward.
In the upper right hand corner of the palette is a small arrow. Click this to open the Actions Menu. Scroll down until you see ‘Load Actions’, find your newly saved actions on your system and select them. Unfortunately you can only install one at a time, but you can load up the palette with numerous actions.
NOTE: Actions, or .atn files ARE CROSS PLATFORM COMPATIBLE. So both PC and Mac users can play together!
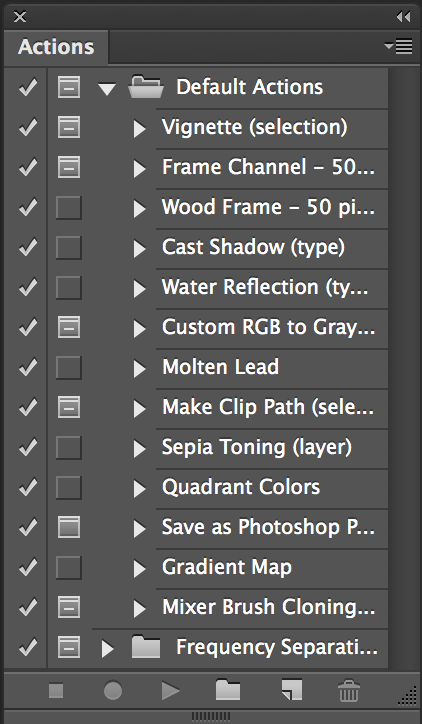
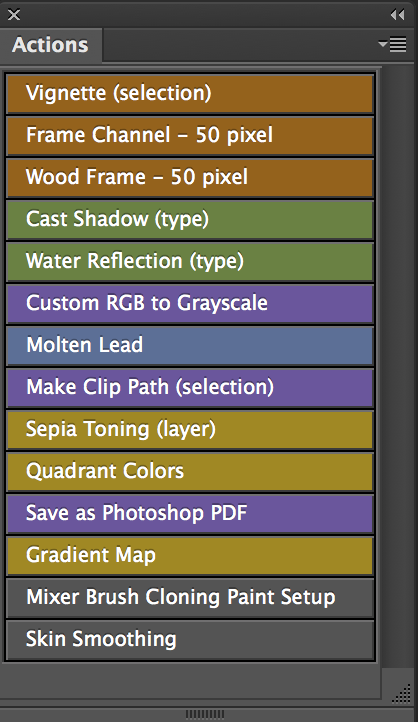
There are 2 modes of the Actions Palette: Button Mode and Edit Mode. We toggle between these two states of the palette from the afore mentioned Actions Menu. Button mode will place a button with the action name inside the palette… simply click on this to play the action, and follow any directions as they appear. Edit Mode displays a collapsible tree of all the commands within the action. Select this mode if you want to see what is happening, what filters and settings are being applied, etc. while the action is running. This is a great learning tool! You play the action in this mode by pressing the ‘play’ button along the bottom of the palette.
Here’s a look at the Actions Palette in the 2 modes:
To close, I’ll give you a quick example of what actions can do, using an action I created. With a click of the play button,
I can go from this:

to this:

I hope you have enjoyed this little intro to actions! Bye for now!
Access valuable Photoshop extras and goodies for free and much more a

This site uses Akismet to reduce spam. Learn how your comment data is processed.
What's new in Photoshop CC 2015.5, new features revealed in these free tutorial videos and review. ...
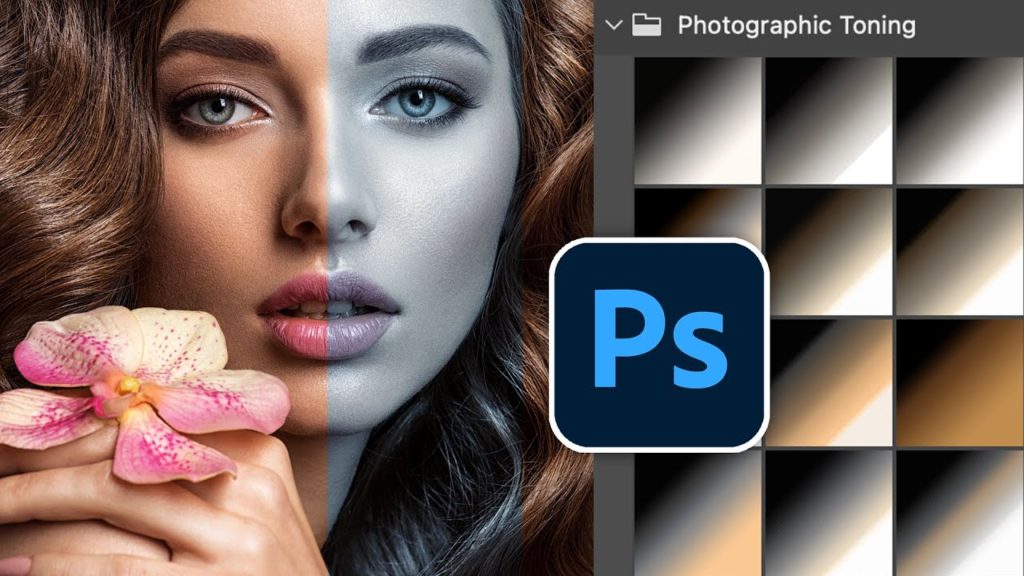
Use the hidden photographic toning presets in Photoshop, for pro color grading with gradient maps. ...

How to use Layer Masks in Photoshop. Layer Masks explained and 7 tips on Photoshop Masks. If you want to...


its really so useful tutorial thanks for sharing.
Does Action Xchange still exist. The (https://www.actionxchange.com) does not seem to exist.
Haven’t heard of that one in years, I think it was acquired by Adobe waaaaaaay back