Learn how to do lighting in Photoshop AFTER you have taken the photo.
This tutorial shows you how to turn day to night and add some nice floodlight effects on a brick wall. We add a person, just as a focal point to make the image more interesting and to add a bit of story.
I hope you enjoyed this tutorial. Don’t forget to check out all the other tutorials and resources here at photoshopCAFE! (bookmark and return often, I’m adding new tutorials every week)
Great to see you here at the CAFE!
Colin
Hey Cafe Crew, it’s Colin Smith here from PhotoshopCAFE. You can find me on Twitter, Instagram and Facebook at PhotoshopCAFE.
Today, I’m going to show you how to relight a scene inside of Photoshop. So we have this day time scene with this brick wall and then what I’ve done is I’ve just grabbed some lights here. So, I just grabbed one, cut it out, and then duplicate it twice, so we have three lights there now that we can use as our light source.
And then, also, I went into Adobe Stock and grabbed the picture and just kind of cut this out. I’ve got a ton more tutorials to share how to cut it out, but just to give us a foreground interest, you know, element.
All right, so let’s go ahead and do our lighting right now. We’re going to change this from day time to nighttime. So, what we’re going to do is we’re just going to duplicate this. Just hit Ctrl or Command J to duplicate the layer and we’re going to be working on a copy of that brick wall. All right, so let’s go.
All right, so let’s go, we’re going to choose a filter here. We’re going to go under the Render menu and everything in the Render menu will only work inside of RGB mode, so if you’re in CMYK mode, this will be grayed out. All right, so let’s go render it and we’re going to choose Lighting Effects.
This is a great filter that I’m really surprised I see so few people using it and it’s so useful. All right, so here we go. We basically got lights in here that we can choose different types of lights, you know, we got Spotlights, flood lights. Maybe I’ll do another tutorial where I go into all these settings or something at some other time. But, right now, I’m going to show you just what you need to know.
So, one of the things you can do is go into the Presets and we want three lights. So rather than having to create them, we just go under the Presets here and we can choose Three Down. So, let’s do that right now and that will start off with three lights. Notice you can select any of those lights for the one that we’re going to work on.
So let’s start with this one here and I’m just going to make it a little bit smaller. See that little– we can drag it around by these different points here, see that? And we can, also, as we move them up, we can drag this and we can scale them as well. So, if we want to make them smaller or whatever, we can do that.
So, let’s make this a little bit smaller, maybe about– just kind of move it around a little bit to about there. That’s nice and if you want to rotate, just drag outside and that will give us a kind of a lighting effect. Okay, that’s kind of the first one, so let’s just position these and size them first, and then we’ll get into, you know, all the other kind of stuff that we’re going to do, so let me do that right now.
All right, so we got three lights there. Okay, so let’s look at some of the settings here. We can change the intensity of these lights by clicking and dragging there. Notice that, that this one becomes a little bit brighter. And we can adjust the fall off–it’s this stuff in the middle there. We can do that by simply going down under the hotspot and we can reduce that. See that?
And that actually gives that light the fall off there. So let’s do that to about 79. Now, if you want to change between lights, we just click on each one. We’re going to drop that hot spot down a little bit and maybe make them just a little different on each one, just because it will give a bit more realism because these lights are probably not all the same. Some of these bulbs have been around a little bit longer.
So, let’s change the color of the light by clicking on Color and I’m just going to give it just a tiny little touch of yellow. Notice that? Not a lot. And let me do the same here. We’re going to give that one a little color there and finally that one. Yeah, maybe make it, you know, we can make it more orange. There we go.
So, we didn’t do a lot with that color, just a little bit, just to kind of offset it. But, notice, everything is pitch black around it, but the lights, themselves, are looking good. We want of kind of lighten up the background a bit more. We can do that to Ambiance. That would be like an ambient or an existing light, see that? Bring it up to there and it’s looking pretty good. All right, let’s click OK and now we’re just going to apply these light effects right now.
So, there’s a couple of things we need to do. One of them is, you noticed, we’ve got some in the sky there. The sky is not really going to show the light, so what we’re going to do is weíre going to grab our bottom layer and we just click the padlock to unlock it and we’re going to apply a LUT to this. So, we’re going to go under the LUT and we’re going to give it a Color Lookup.
And then, under Color Lookup, you’ll see the LUT there, click on there, and we’re going to choose Moonlight, and see that gives it a little bit of a night scene now, so we can drop the Opacity down just a little so it’s not so intense. And we just want to apply it at the top part there because what we want to do is just kind of have the sky, you know, because there’s light, but not be illuminating through the sky.
So, what we’re going to do is we’re going to go there, apply a layer mask on top, and now, we’re just going to make a selection around there, and what I’m going to do is I’m just going to fill that selection with black, which is going to be Ctrl Delete, Ctrl D, and now you can see, you know, maybe drop it down a little bit so we can get just a little kind of a blending of this effect here.
Let’s just play around with tint all the way up and let’s turn that LUT down a little bit, and that’s not bad. Okay, so one of the things that’s missing though is these lights are not lit up, but you can see that the light is now being cast on the wall and not on the sky, which would not be realistic. So, what we need to do to add a little realism though is light up these lights.
So, I’m just going to create a new layer and then I’m just going to grab a white brush. So let’s just grab the B for the Brush Tool, make sure we’ve got a very, very soft brush and turn our hardness all the way down. And let me make that a little bigger. I’m just hitting the right bracket key. So we go to about the size there and let’s just make sure that we choose white as our color.
So what I’m going to do is I’m just going to dab in there, just click once. I’m going to click once on there and once on there. And what that’s doing is it just kind of turning the light on. I might give it a little bit of a glow. So now, I’m going to increase that brush a little bit more and this time, I’m going to take the Opacity down to about 10%. And I can just hit the 1 key to set it to 10% and just click a couple of times. There we go.
You see, we just kind of giving that little bit of ambient glow there you might get from the light, so that we go just kind of doing that, maybe a little over here because this is kind of how a real light would work. There we go. And if you wanted, you could add a little color, so just hit Ctrl U if we want, and you know, if we wanted to give it a yellowish color, we’d just turn our saturation all the way up.
And let me just find the color we’re looking for and there we go, so just kind of play around about there. All right, so we kind of lit that up now and at this point here, you know, we can kind of turn on our foreground element and we can kind of have our person here just kind of going there.
And, you know, if we wanted to do lighting effects and paint some shadow or what not on her, we could also do that, but I’m just kind of doing that just to add a point of interest, not to get accurate lighting on there because, you know, she could be lit from a different light source, maybe in front, that we’re not necessarily seeing the light, you know, kind of close to where the camera is, and there we go. So, that’s essentially how you can relight a scene inside of Photoshop.
I hope you guys enjoyed this tutorial. If you did, don’t forget to hit that Subscribe button. Become part of the Cafe Crew. You’ll get a new tutorial at least once a week. Also, if you like this, smash that Like button into dust, add a comment, let’s get a discussion going, and until next time, guys, I’ll see you at the Cafe.

This site uses Akismet to reduce spam. Learn how your comment data is processed.
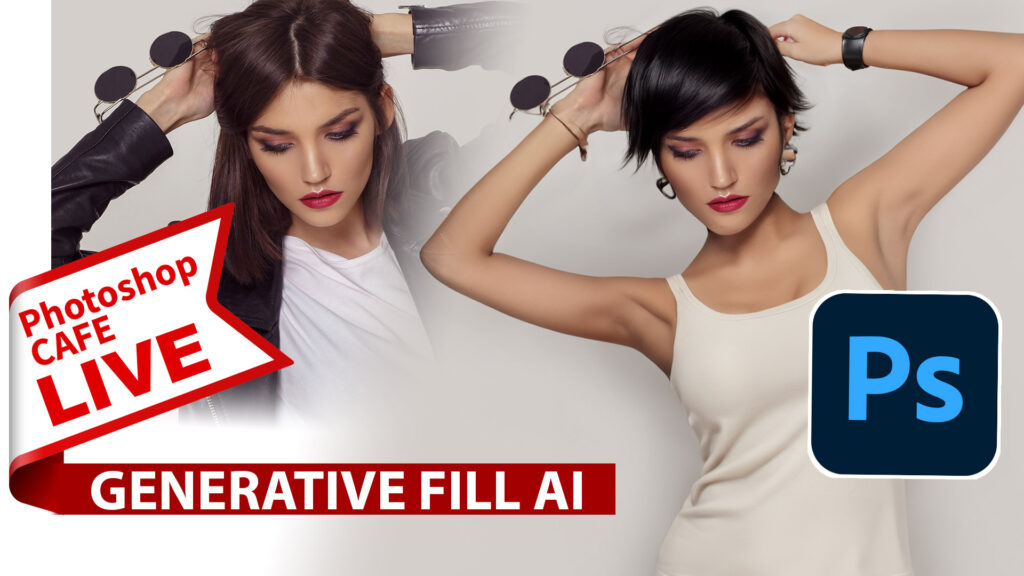
New Photoshop Generative Fill ai Colin Smith shows you how to use this powerful new feature in Photoshop. See all...
New Lightroom CC, project Nimbus is now CC 2018. New feature tour and tutorial on synching and using Lightroom CC...
how to create a hightech techno style composite / collage design in Photoshop...


As always, GREAT WORK Colin!!!!!!! Thanks for you input and ideas. Keep it up… 🙂