This tutorial shows you the fastest way to create digital art. You have seen stylized photos everywhere and maybe not realized how easy it is to do this for yourself
You can get 10 free images right now to try this out
This week, I’m going to show you how to jazz up photographs by using textures. Now, this is the fastest and the easiest way to make photos look like works of art. You’ve seen this everywhere and maybe you just didn’t realize how it was done or you didn’t realize how easy it is.
I’m going to show you three different looks by simply adding textures inside of Photoshop and also introduce different things with each example.
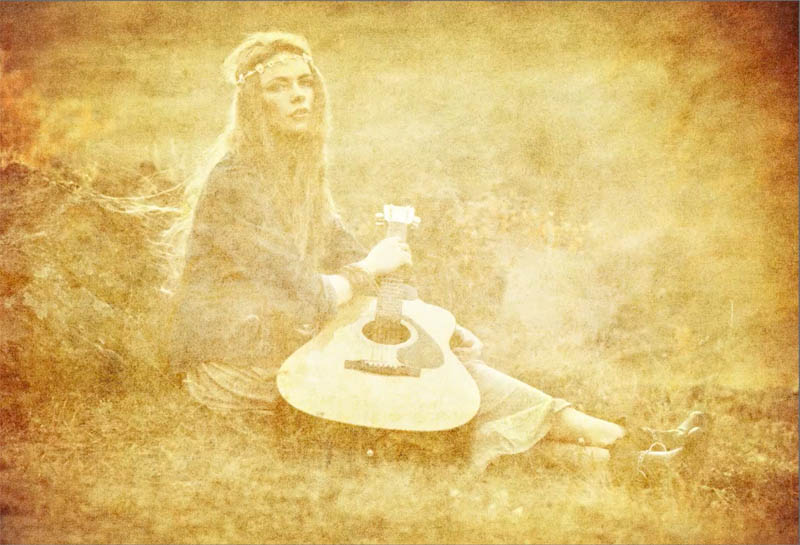
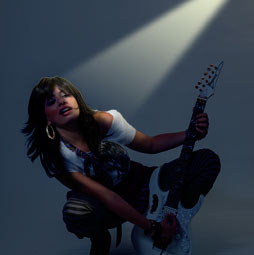
The first one we’re going to do here is with a hippie girl with a guitar. Let’s add a little bit of a mood and emotion.

Place the texture over the image. I’m dragging this texture from the Library panel to the document. (you could also open the texture as a new image and combine them as shown here. ) You can photograph your own textures, or download them from different places including Adobe Stock

Resize it to fit. Press Cmd/Ctrl+T for free transform, Hold down the Shift key and drag out from the corner.

Now, obviously, the texture is hiding the layer underneath. The way to apply these texture overlays is to simply use Blend Modes. There’s different types of Blend Modes here.

let’s try a Multiply Blend Mode. All I’ve done is apply this Blend Mode and it’s given us this grungy effect.


Try a Color Burn and you can see it gives us a different flavor


There are other Blend Modes that generally work, but the ones that work best are Multiply, Screen and Overlay. Those three are going to be your best friends.
Let’s have a look at Overlay. It creates a completely different effect.


Have a look at Screen. It is just going to kind of lighten it up a little bit. Sometimes, you play with the opacity and drop that down a little bit and it kind of gives us a bac- lit kind of a look there.


Tip: To cycle through blending modes: Choose the Move tool (V). Press Shift + or Shift –
Okay, so let’s have a look at other ones like Soft Light and Hard Light are also good ones to use. Once again, if we look at this before and after, see how just adding this one texture with the Blend Mode changes the entire feel of the image. The other one we could do is go down to Hard Light which looks a little bit like something used on a record cover. You can see this is very textured and you could apply other kind of textures and text and different things over the top of it.

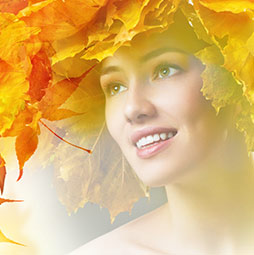
Let’s take a different picture and make a very popular snow texture. Why don’t we find a new texture?

Open up the Library panel and type in “snow texture.”


It’s actually going to go into Adobe Stock and show the result right within Photoshop. I’m just going to choose one and drag it directly into our image.


Change to Screen Mode and you can see, instantly, we get this nice snowy texture.


Notice that we’ve got a watermarked version. You can try as many different textures and files as you like from Adobe Stock without having to pay anything. (You can also use your own photos if you like).
And if you really like the result of a texture, you have the option to license it from Adobe Stock. This will remove the watermark and also replace the image with a nice, high resolution version. The image will also be in your Library for you to use again in the future.
Right click and choose “License Image.”


You can get 10 free images right now to try this out
Let’s try a third look with a bit more of a commercial look.

So let’s go and grab a bluish kind of a texture.

Choose Screen Blending Mode and we get a TV show kind of a look.

To customize this look we will use a layer mask. Click on New Layer mask in the Layers panel to add a mask to the texture layer.


Grab a large soft-edged brush and set opacity to 50%, Choose black as the foreground color. With the Layer mask selected, paint around the face a little bit to reduce the texture in that area.

You can see a text of a plain, boring background and adds a bit of visual interest to it.
One other thing we can do is combine textures.
Let’s go back to this one here where we used the snow.

We will load in 3 texture layers. Grab out our grunge texture, also this blue texture, and the snow one.

Let’s start with this blue one. Let’s just use this around the edges of the frame.
Add a layer mask

Using the Marquee Tool make a box around the edges

Fill this with black, (Option+Del(Alt+Backspace Windows))


Turn off this selection by hitting Ctrl D.
Let’s soften this rectangle. Open up the Properties panel.

Increase the feather to make the edges nice and soft. You can also change the blending mode to Multiply if you like.


So now we’ve got this kind of texture around the edges, but what about in the middle?
Turn on the layer visibility for the middle (browny-orange texture) layer. Position it.


Change this to Multiply. There we go


Now we’re combining the three textures. Let’s refine it a bit.
Move the the snow on top.

Now you can also play around with the opacity. I dropped the Blue edge to about 75%.

So thanks for checking it out. Until next week, great to see you at the CAFE.
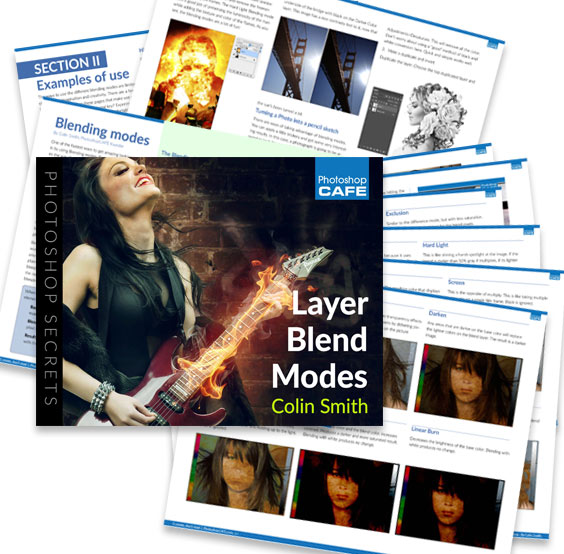
Don’t forget to grab my Layer Blending Modes, ebook (it’s free), no ads, all juicy content 🙂
Colin
As you can see, Layer blending modes play a big part in this kind of thing. Grab your free PDF ebook right now. We were going to sell this for $9.99, but figured we would give it away instead and see what happens 🙂

This site uses Akismet to reduce spam. Learn how your comment data is processed.
How to make something fly in Photoshop. This trick photography / photoshop composite is fun and easy to do. Free...
Collaging - Merging 2 images with a layer mask. This is a very requested technique and will be the first...
Photoshop hacks that show you better ways for blurring the background of a photo, combining images, using the healing brush...


While I kinda know this, I must still tell you Thank you! You did this for those who wish to learn from a pro! It is very much appreciated!
Su
Thanks
Colin, thank you for this tutorial! I have a question about sky overlays. Suppose you want to change the sky in a photo and want to use an overlay to do that. Do you have to brush out a portion of the overlay with a mask to get it to fit in realistically? What about those photos that have trees and other complicated objects? How would you go about getting the overlay to mesh realistically with them? Again, thank you and keep up the great work!
I have a tutorial on sky replacement here https://photoshopcafe.com/tutorials/sky-replacement-and-adding-clouds-to-a-photo-in-photoshop-tutorial/
Thank you very much, Colin!
Another spectacular tutorial full of artistic challenges which I have really not touched on in my Photoshop experience to-date. I have CS6, so cannot exactly mirror your tutorial. What I did do, using a right-click download of the girl with a guitar is: 1) Huesat adj-layer boosting colors by +15; 2) add a blank layer and Edit/Fill with a Fine-grain texture; 3) add a color-fill layer with a celery green solid-fill dropped to 22pct opacity; 4) add a slight Curves S-curve adj layer for a little more punch.
The result was a nice picture of the Hippie Girl with a ‘dappled’ effect – not fooling anyone that it is a painting, but producing an image that, although very good to start with, now has more of an interest, drawing the viewer in.
I’ve come across many of your techniques in other Photoshop tutorials – but your tutorials open up endless possibilities that simply understanding the basic tools themselves doesn’t touch on.
Like many – I do appreciate your great tutorials and ‘challenges’ to up my game with Photoshop.
Colin – how can you place, say, a Viking helmet onto a football supporter whose team has just scored? The image I have is him celebrating a goal with one crazy expression on his face! I don’t mean every step you’d take: just the Adobe App I’d need to do it. I’m an amateur Lr/Ps user here in England.
Use Photoshop and a layer mask
Hey! My name is Cameron and I could really use your help. There is this effect that I’ve been seeing people use that makes their photos look like vintage vinyl records or something like that. I was wondering if you knew how they were doing this. I’ll send an example photo for you.
I look forward to seeing your example
Hi Colin, another fine tutorial! Helped me understand how a lot of digital art used on oracle decks were created. So much fun! Those background textures are endlessly wonderful to find! Thanks for showing me how to use them.