This Photoshop tutorial shows you how to make the cool looking color splash effect, also called partial color, spot color color and black and white. Whatever you want to call it, it’s a fun effect to use from time to time and even if you dont need the effect, you will learn a lot about adjustment layers by watching this very quick tutorial.
Start with 2 images that I grabbed from Adobe stock.


I cut out the woman and flipped her, here is a tutorial on how to combine images and cut out a person if you need that step.

First thing we want to do is make the foreground photo match background a bit more. Select the top layer.

Grab an adjustment layer. Select Black And White.


This is going to create a black and white adjustment layer.

Now you open properties panel by double-clicking on the Black & White Layer if it isn’t visible
If you make any adjustments, it will affect all layers.

We want to affect the top layer only.
In the properties panel, click the little square icon. Now the adjustment will only affect the layer directly beneath (our woman layer).

Tip: You can do the same thing (clipping group) in the layers panel. Hold down the Alt/Option key and notice when you put your mouse pointer in the Layers Panel between the two, you see that little arrow.
Click.
![]()
![]()
Adjust the different color sliders until the luminosity (blank and white tones) matches the best you can between the layers.

By now the luminosity matches, but not the color, the background has a slight blue tint, lets grab it!
in black and white Properties, Select Tint.
Under Tint click on the tiny swatch

You now want to sample the color to use on the foreground image.

Place the eyedropper (cursor) on an area close to 50% on the background to sample the color.
Now we need to match the contrast
Create a new Curves adjustment layer

Click on the clipping icon to only affect the top layer ![]()
![]()

You pull the line and adjust the curves, now affecting only the foreground image.
Here I have created a slight S curve. Darkening the shadows and lightening the highlights to increase contrast.

This gives us a moody and mysterious feel

Ok, lets apply the color splash effect and just make her hat red. (Very Carmen San Diego)
Click on the mask on our black and white layer.
Make sure black is our foreground color.

Grab a brush. (B key) ![]()
![]()
Choose a hard edged brush and paint over the hat and you should see the color appear as you paint on the mask.

And here is the result!

I hope you enjoyed this tutorial and added a few useful skills to your arsenal. Check out more tuts here at the cafe. Signup for our mailing list if you haven’t and never miss a tutorial. Also add a comment below, I’d love the hear your thoughts.
See you in a couple of days with a new tutorial!
Colin

This site uses Akismet to reduce spam. Learn how your comment data is processed.
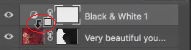
This is a look that I have been using in one way or another for a number of years. I...
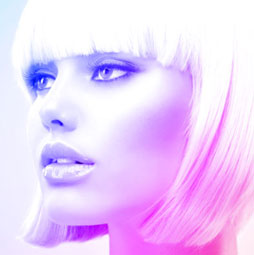
Learn how to reshape animals and people with the puppet warp tool in Photoshop. This tutorial shows you the best...
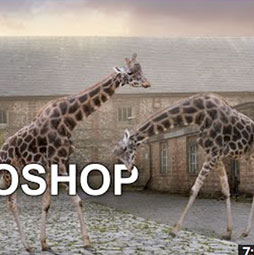
Colin Walks through the entire process of creating large panoramas in Photoshop and Lightroom. Shoot, and edit, every step explained...


Leave a Reply